Search smallrig.com...


How To Choose The Perfect Tripod For Flawless Live Streaming
SmallRig 2025-12-04 04:21:04
Contents
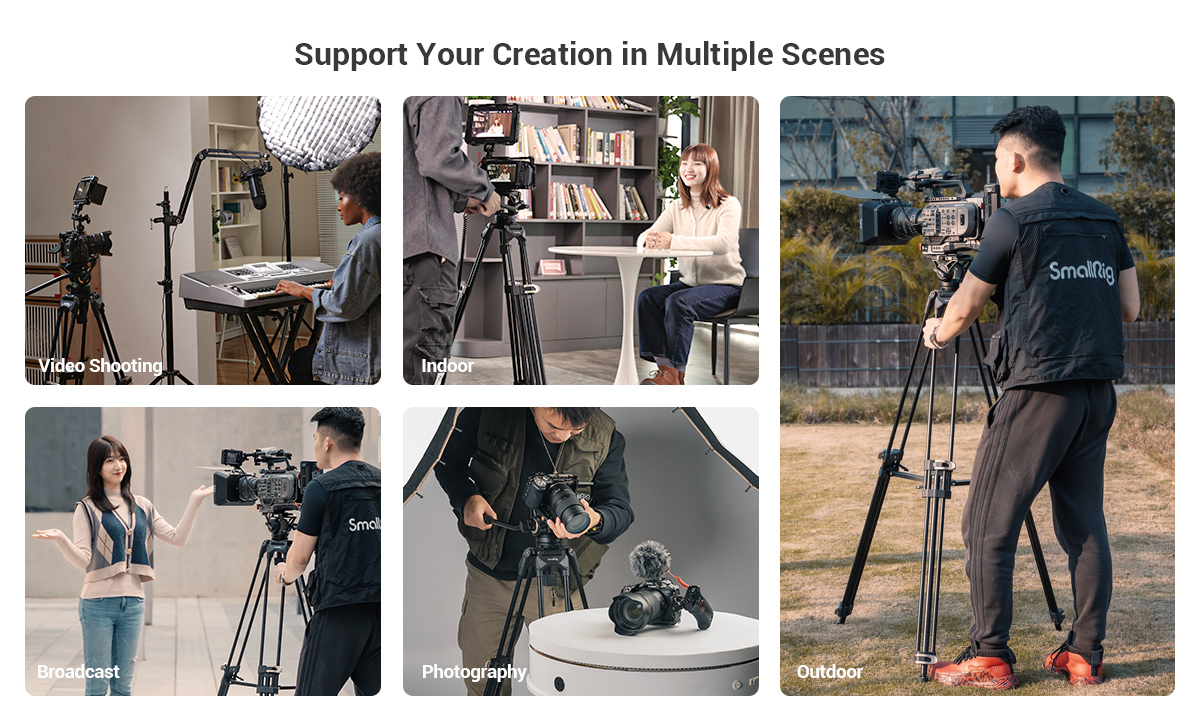
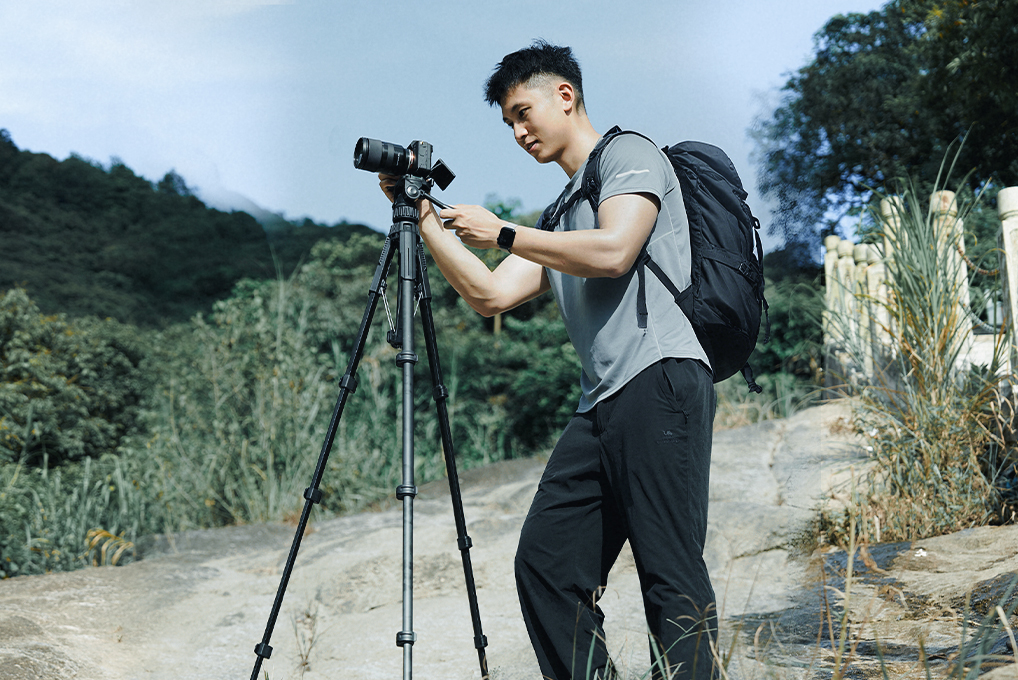
Smooth live streaming starts with stable support. Pick the right video tripod or camera tripod, match the payload to your rig, choose a fluid head you can control, and make sure height and feet fit your set. Do that, and pans look clean, frames don’t drift, and you work faster. The guide below walks you through four practical questions, then ends with a short FAQ and a quick call-to-action checklist.
Which Core Specs Should You Check First In A Video Tripod?
Before you fall in love with features, lock down the basics—how much weight it holds, how the head moves, how high it goes, and how it locks. These four specs decide whether the tripod actually works on a busy live day, not just on paper.
Payload And Safety Margin
Start with total rig weight: camera body, lens, mic, on-camera light, transmitter, monitor, plates—everything that rides the head. Add a safety margin of roughly one-third to one-half so the head stays in its sweet spot. Under-rating a video tripod causes micro-bounce and droop during long takes; over-rating gives you smoother control and fewer surprises as your rig grows.
For a clear baseline, a kit like the SmallRig AD-01 Heavy-Duty Fluid Head Tripod supports a tripod load of up to 8 kg and works from 85–186 cm, giving headroom for growing live rigs without relying on a center column.
Head Type And Drag Steps

For live streaming, a true fluid video head matters. Look for an adjustable pan/tilt drag you can feel, not just labeled “levels.” Smooth starts and clean stops come from consistent resistance. Click-in counterbalance steps help when you swap lenses mid-show. If your head fights you, your moves will show it.
Height Range And Minimum Height

Know your tallest and lowest needs. Standing hosts often want eye-level framing; tabletop demos might need low angles without switching to a mini tripod. Check max height without a center column (more stable) and a low-angle option that still clears cables. A video tripod that covers both saves time on set.
Leg Sections And Locking Mechanisms
More leg sections pack smaller but flex more. Three or four sections are common; pick what fits your bag and your stability needs. Twist locks are quick and sealed; flip locks are fast to read at a glance. What matters: locks must bite firmly and repeatably.
If you only remember one thing from this section, make it payload + fluid control. Get those right and the rest falls into place.
What Should You Look For In A Camera Tripod Head?
Your head is the “feel” of the system. A solid set of legs won’t save you if the head sticks, rebounds, or tilts forward under load. Treat head choice like you treat your lens choice—critical.
Fluid Video Head Essentials
A real fluid head uses fluid cartridges to dampen movement. That’s what creates that syrupy pan you see on broadcasts. You want adjustable drag, a long pan bar, and zero “stiction” at the start of a move. Test by starting and stopping slowly; if the image jerks, keep looking.
Counterbalance And Spring Settings
Counterbalance keeps the camera from nosediving when you let go. Step-based systems are quick; continuous systems are more precise. Match the counterbalance to your camera’s center of gravity (big zooms sit forward). A camera tripod with proper counterbalance reduces operator fatigue and keeps horizons level during long streams.
Pan Bar Ergonomics
Use a pan bar length that fits your wingspan and position. A slightly longer bar gives you finer control at low drag. Knobs and levers should be reachable with the left hand while your right stays on the pan bar—tiny ergonomics that add up in a two-hour live.
Quick-Release Plate Standards
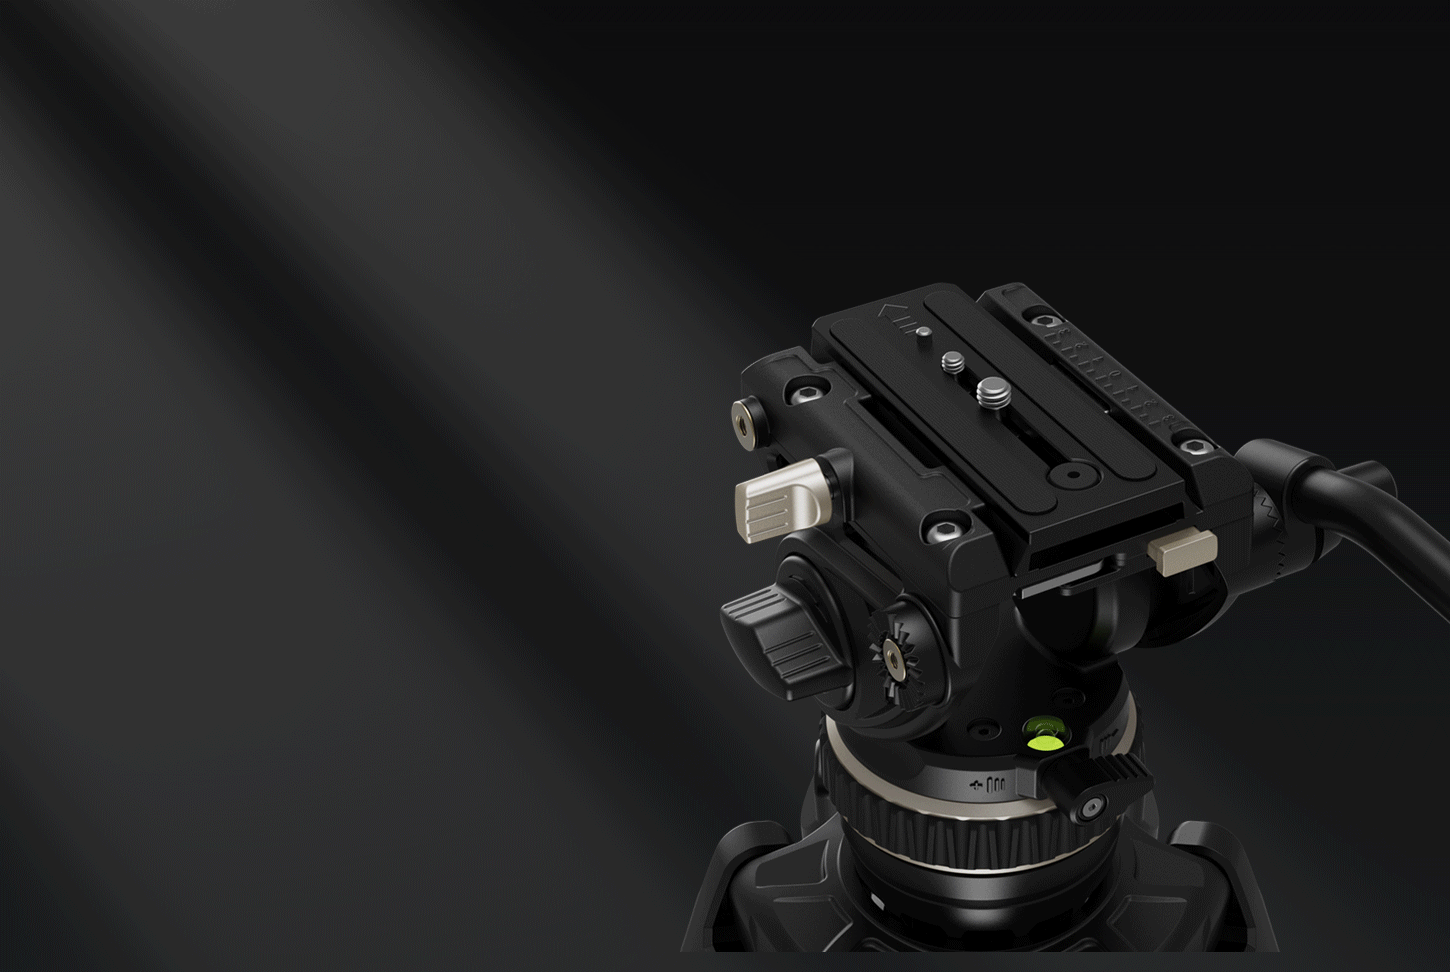
Quick-release standards (like 501/504/Arca) affect how easily you move from tripod to slider or gimbal. Pick one standard across your kit if you can. Plates should have anti-twist pins or a lip so heavy lenses don’t walk under torque.
If you need taller coverage for stage cams while staying light, SmallRig’s FreeBlazer Carbon Fiber Video Tripod Kits pair carbon legs with counterbalanced fluid heads and interchangeable wide/spike feet, keeping tall shots controllable on varying floors.
A great head disappears under your hands. If you’re thinking about the head during a shot, the head isn’t right.
Which Materials And Builds Keep A Video Tripod Stable And Light?
Stability is a mix of materials, tube size, spreaders, and how well the system resists twist. You don’t need the most expensive carbon fiber, but you do need a layout that keeps your frame locked when talent turns or wind gusts hit.
Aluminum Vs Carbon Fiber
Aluminum is durable and budget-friendly; carbon fiber is lighter with better vibration damping. If you travel a lot, carbon pays off in your back and your pocket. If you mostly stream in a studio, aluminum legs are a solid value.
Torsional Rigidity And Tube Diameter
Bigger tubes, bigger collars, less twist. Look for a larger diameter in the top section and firm clamps. Torsional rigidity shows up when you pan—if the tripod twists before the head moves, your first few frames won’t be true.
Ground Spreader Vs Mid-Level Spreader
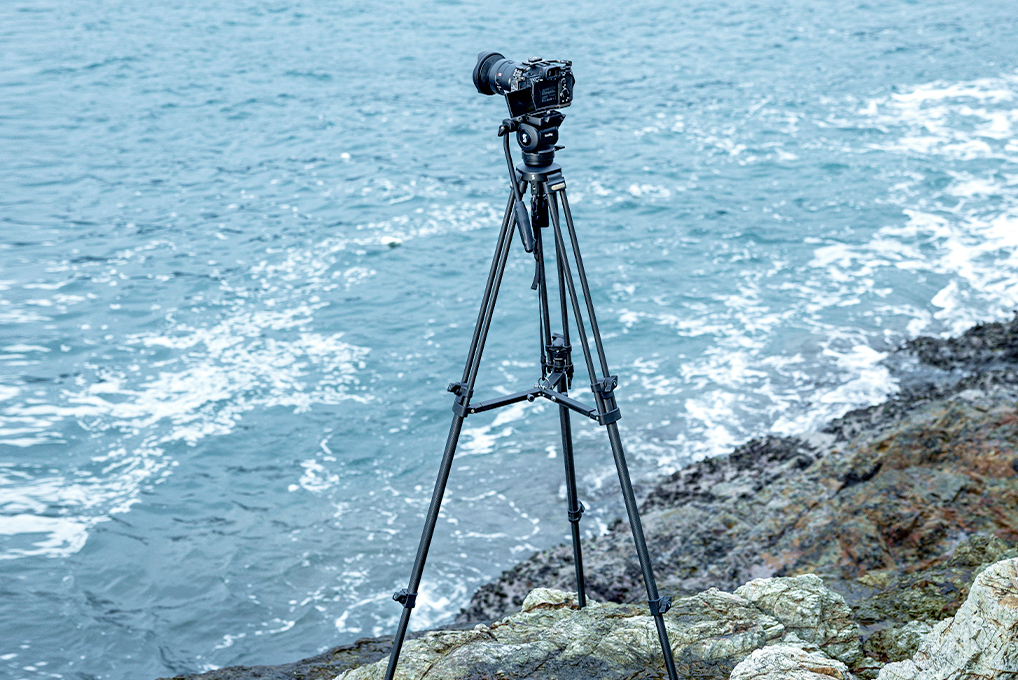
Ground spreaders lock the legs on flat floors and feel rock solid in studios. Mid-level spreaders give you stability on stairs, grass, or uneven ground. If you split time between studio and field, mid-level spreaders are the flexible choice.
Vibration Damping And Rebound Control
Rubber feet help kill micro-vibes on hard floors; spiked feet bite outdoors. Some kits let you switch in seconds. The goal is not zero vibration—that’s impossible—but quick settling so the frame stops wobbling right after your move.
Pick the material and spreader that match your venues. A stable video tripod should feel boring—in a good way.
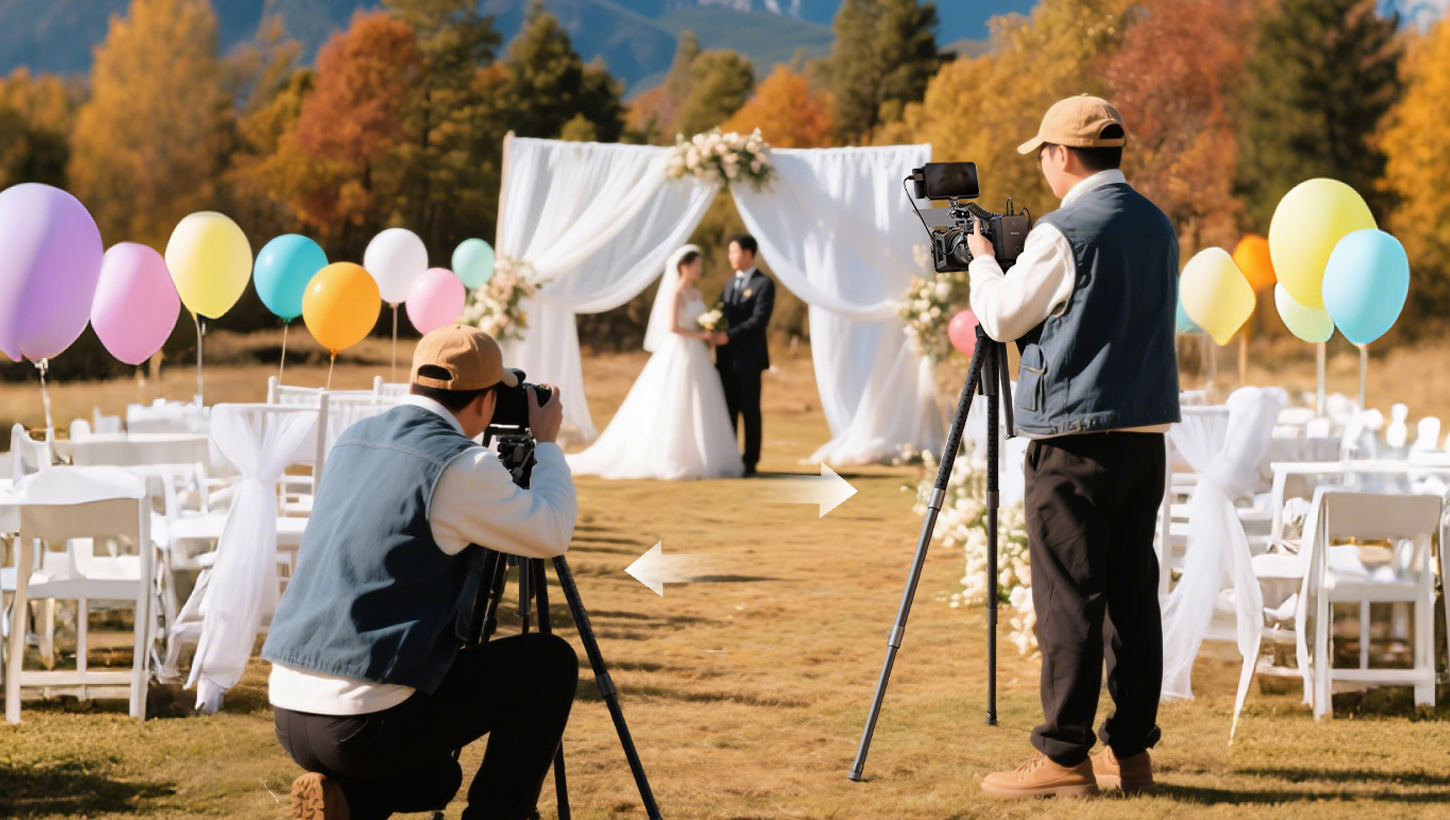
How Should A Camera Tripod’s Height And Feet Match Your Location?
Great height and the right feet make your life easier. You don’t want to stand on a case to reach eye level or fight for balance on a hillside. Plan for your real locations, not just the spec sheet.
Standing Host Eye-Level Height
Eye-level framing for standing talent is usually near 5.5–6.5 ft, depending on talent height and lens. Make sure your camera tripod hits that without raising the center column. Columns are fine for static height, but they reduce stability during moves.
Low-Angle And Desktop Setups
For product demos, cooking streams, or instrument shots, a low-angle position is clutch. Check for a low-angle setting that keeps the head’s range of motion free. Bonus points if the legs splay wide and still clear your HDMI and power runs.
Rubber Feet Vs Spiked Feet
Rubber feet protect floors and add grip indoors. Spikes are for dirt, turf, or ice. Some feet twist to expose spikes; others pop on and off. Have both in your kit so you aren’t stuck improvising with sandbags.
Indoor Floors Vs Outdoor Terrain
Studios favor mid-level spreaders plus rubber feet; outdoor sets often mix spikes and sandbags. Wind is the silent killer of good pans—hang a weight from the center hook to lower the center of gravity when gusts pick up.
Height and feet sound small, but they decide how fast you lock a shot and how steady it stays when people start moving.
FAQs about Tripods
Q1: How Do I Test a Tripod In-Store Without My Full Rig?
If you can’t bring your whole kit, bring the heaviest piece you easily can—often your camera and a mid-range zoom. Mount the head, balance roughly, then try three moves: a very slow pan, a quick pan-stop, and a long 15-second tilt. Listen for creaks, feel for stiction, and watch the image settle. Extend to max height and repeat. Press gently sideways on the head to check leg twist. If it passes these small tests, it’ll likely behave on set.
Q2: What’s the Best Way to Travel with a Tripod for Live Events?
Use a padded case that fits overhead or checks safely with foam around the head. Remove the pan bar, lock drag to minimum, and add a soft wrap around knobs and levers. For flights, mid-level spreaders and carbon legs save weight and setup time. Pack spare feet, a multi-tool, and a ¼-20/⅜-16 adapter. Label everything—crew swaps parts by accident under pressure. A simple checklist (legs, head, plate, bar, feet, tools) prevents the classic “no plate, no stream” disaster.
Q3: How Often Should I Service a Tripod Used Weekly?
Wipe legs and locks after each show, especially after dust or rain. Monthly, check screws, re-seat rubber feet, and clean the bowl/flat base. For fluid heads, follow the maker’s guidance—don’t open cartridges yourself. If drag feels uneven or the head starts to rebound, book a service. Proper care keeps motion consistent and extends life far beyond the warranty.
Conclusion
Ready to make your live pans look like a broadcast? Match payload and a real fluid head, pick legs that fit your venues, and set height and feet for your common shots. Grab your camera, a lens, and five minutes at a counter to test slow starts, clean stops, and leg twist. Build a short shortlist today—then book a quick on-site test before your next stream. Your viewers will notice the difference on the very first pan.
Want a fast shortlist? Compare SmallRig’s AD-01 (85–186 cm, 8 kg tripod load), travel-friendly AD-50 (~73–163 cm, ~2.8 kg, mid-level spreader), compact CH20 head (~350 g, 4 kg), and FreeBlazer carbon kits (interchangeable feet, counterbalance options) on SmallRig Global, then match them to your venue and rig.
Keep Reading
 Camera Tripod Price Guide: How Much Should You Actually Spend in 2026?
 What’s The Best Height For A Video Tripod?
 The Ultimate Guide to Tripods: Tripod Components and Essential Setup Techniques