Search smallrig.com...


How to Choose the Best Camera Shoulder Rig for Your Needs
SmallRig 2025-12-12 04:40:12
Contents
Picking the right camera shoulder rig doesn't have to be complicated. A good shoulder rig keeps your shots steady and your arms from getting tired. This guide breaks down everything you need to know about camera rigging systems so you can find the perfect match for your shooting style and budget.
What Exactly Is a Camera Shoulder Rig?
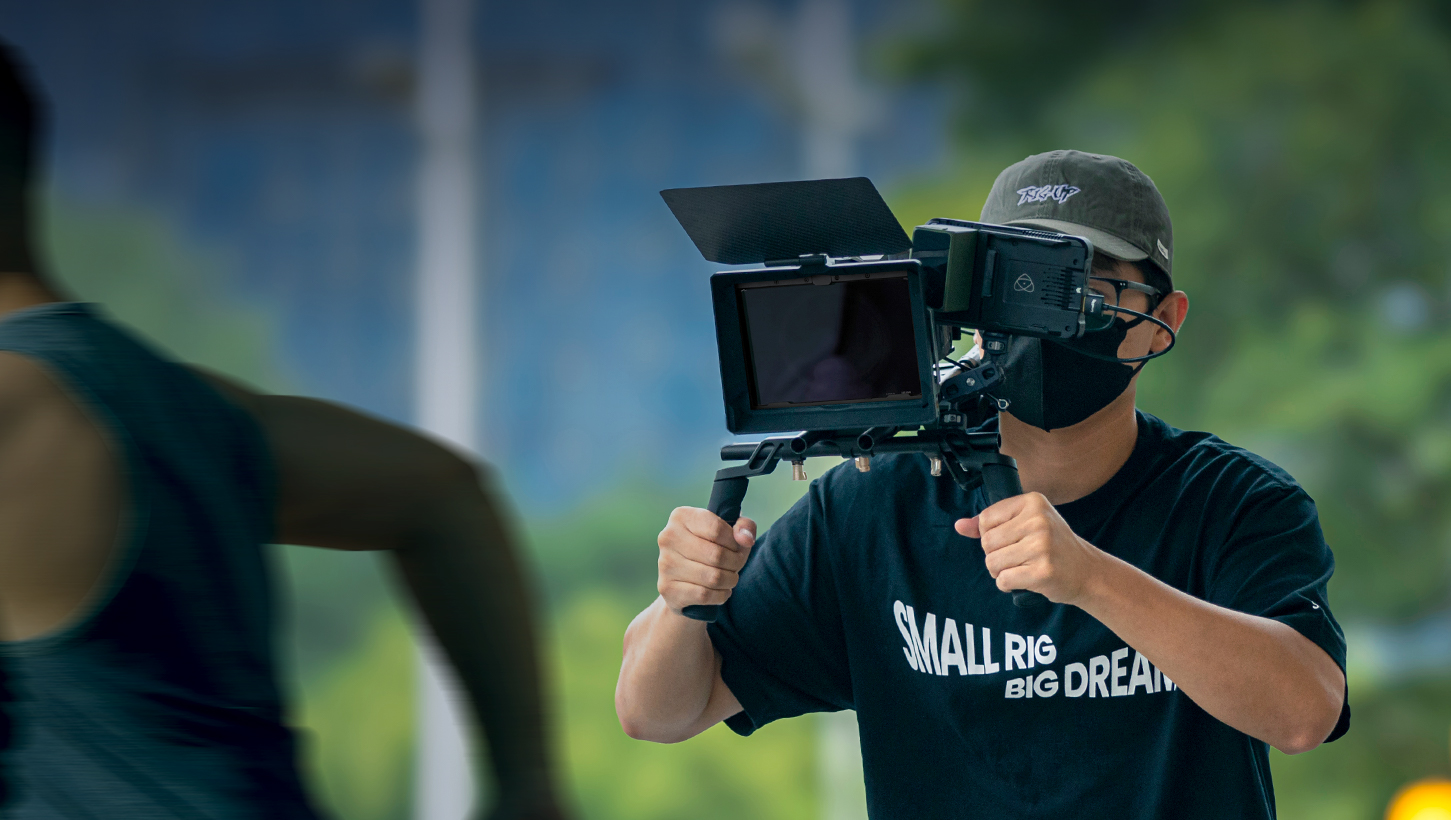
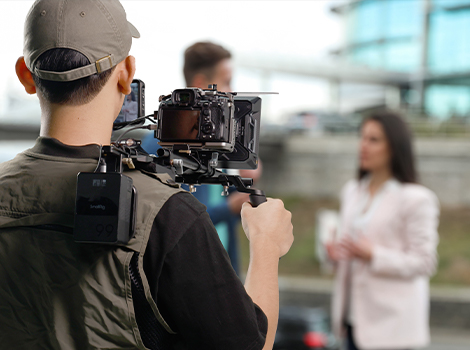
A camera shoulder rig is a support frame that rests on your shoulder while filming handheld. It distributes your camera's weight across your body instead of holding everything with your arms.
Basic Components and Working Principle
Most camera shoulder rigs have a shoulder pad (usually padded), mounting plates for your camera, handgrips, and support rods. The whole thing sits on your shoulder while you hold the grips, creating a stable triangle between your body, hands, and camera.
The physics is straightforward. By spreading the camera's weight across a larger area and using your shoulder as a pivot point, you get smoother movement and can shoot for hours without fatigue.
Key Advantages Over Other Stabilizers
Unlike gimbals that stabilize electronically, shoulder rigs give you direct control over camera movements. You're not fighting against motors or waiting for the gimbal to catch up. For run-and-gun shooting, this responsiveness matters.
Compared to tripods, shoulder rigs let you move freely. You can walk through crowds, go up stairs, or follow action without stopping to set up every few minutes. And unlike monopods, you're not holding all that weight with just your arms.
What Types of Camera Shoulder Rigs Can You Choose From?
The camera rigging market offers plenty of options, from simple designs to complex modular systems. Understanding these categories helps narrow down what'll work for your projects.
Structure-Based Categories
-
Basic shoulder rigs have fixed positions with minimal adjustability. They're lightweight, quick to set up, and perfect for DSLRs or mirrorless cameras. These typically cost around a few hundred US dollars (often in roughly the $100–$400 range, depending on brand and features).
A typical example would be a compact kit like the SmallRig Basic Shoulder Rig Kit, which is built around a universal baseplate, 15mm rods, and an ergonomic shoulder pad for mirrorless and DSLR setups.
-
Professional support systems include adjustable components, better padding, and the ability to handle heavier cinema cameras. You'll find quick-release plates, multiple mounting points for accessories, and robust materials. Expect to spend somewhere in the mid-hundreds to low four figures (about $500–$1,500 for many common kits).
For heavier builds, systems such as the SmallRig Shoulder Rig Kit (Pro) or the HawkLock Shoulder Rig SR007 Pro provide two-layer quick-release plates, vertical rod adjustment, and expanded accessory mounting options—making them strong choices for cinema-style shooting.
-
Modular setups let you add or remove parts based on what you're shooting. These systems grow with you as your gear collection expands, though they'll run into four-figure territory and can go higher with advanced components.
Application-Based Options
-
For documentary shooting, lightweight rigs win. You need something you can carry all day and set up in seconds. Look for designs under 3 pounds that fold down small.
-
Narrative filmmaking typically uses heavier, more stable rigs since you're setting up shots deliberately. These might weigh a few to several pounds once fully built out, but give you a rock-solid platform.
Wedding videographers need mobility plus professional results. Mid-weight rigs with good padding work best since you'll be on your feet for a full wedding day.
How Do You Select the Right Camera Shoulder Rig?
Choosing a camera shoulder rig comes down to matching the equipment to your specific needs. Let's break down the major factors.
Weight Capacity Requirements
-
First, weigh your entire camera package—body, lens, follow focus, monitor, microphone, and anything else you mount. Add 20% as a safety buffer for future accessories.
-
Most basic rigs are designed for typical DSLR or mirrorless setups in roughly the 2–5 kg (about 4–11 lb) range, rather than very heavy cinema builds.
-
If you're shooting with a Sony A7S III with a standard zoom, you're around roughly 3–4 pounds total for the body plus a fast 24–70mm lens, before adding small accessories.
-
Cinema cameras like the RED Komodo can easily push a fully built shoulder rig into the high single-digit to low double-digit pound range once you add a cinema lens, battery, matte box, monitor, and accessories. Don't cheap out here—an undersized rig will wobble and potentially damage your gear.
Balance portability and stability. A rig rated for 15 pounds might weigh 6 pounds itself. If you're hiking into remote locations, that extra weight adds up fast.
Critical Features to Consider
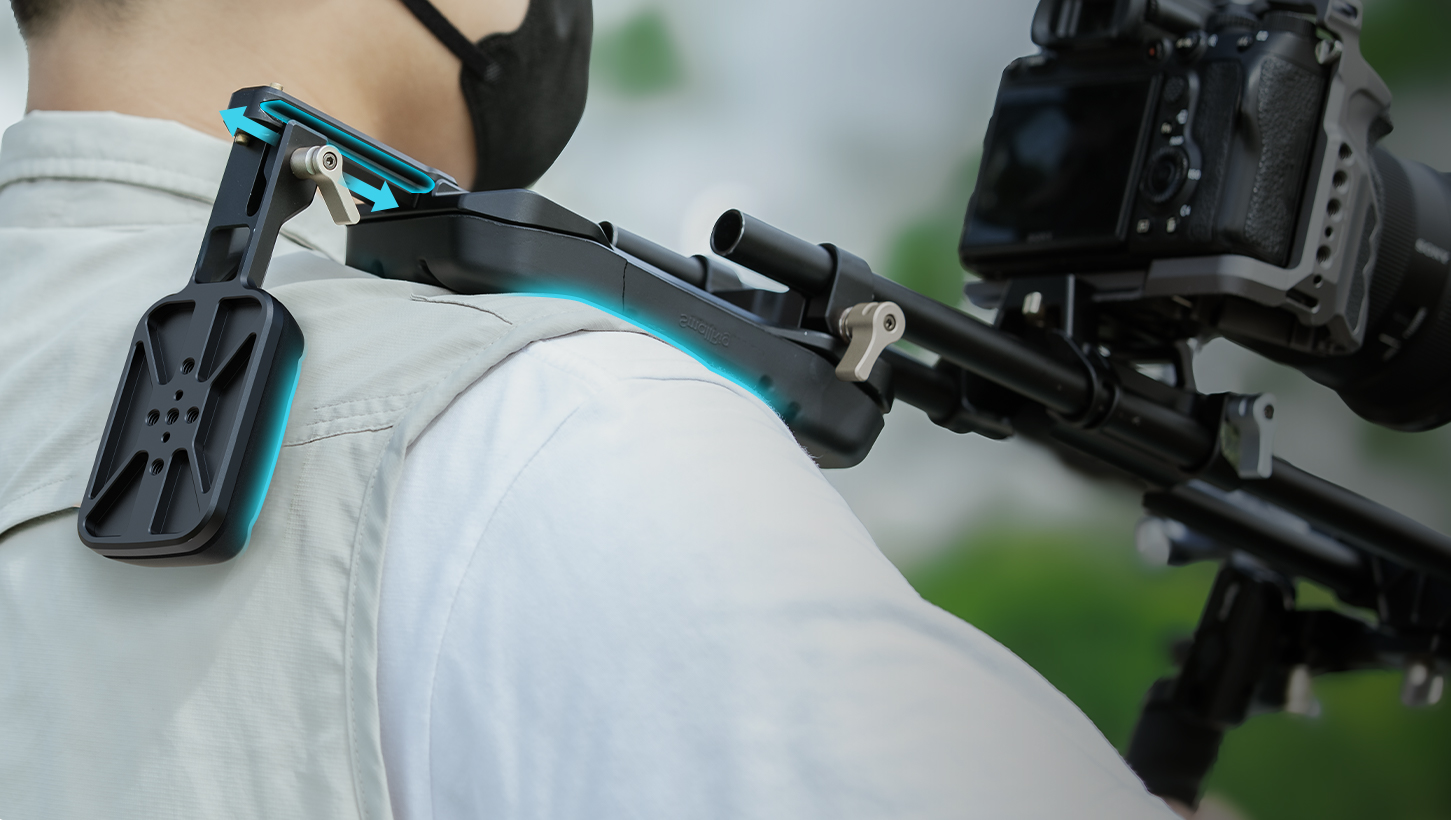
Adjustability is huge. Look for rigs with adjustable shoulder pads (height and width), moveable handgrips, and flexible camera mounting positions. You should dial in the perfect fit in just a few minutes.
Build quality determines whether your rig lasts two years or twenty. Aluminum is lightweight but can bend. Carbon fiber costs more but saves weight while staying strong. Stainless steel components at stress points prevent wear over time.
Mounting options matter more than you think. Standard 15mm rod systems are the industry norm and give you the most accessory compatibility. Some cheaper rigs use proprietary mounting systems that lock you into one manufacturer's ecosystem.
Ergonomics separates comfortable all-day shooting from shoulder pain. Good padding uses dense foam that doesn't compress after a few months. The shoulder pad should be wide enough to distribute weight but not dig into your neck.
Matching Your Shooting Style
-
Documentary shooters need speed and flexibility. Look for designs with quick-release camera plates and minimal adjustments. The fewer screws you need to turn, the better.
-
For narrative work, spend time on setup. More adjustable rigs make sense because you'll dial in your settings once and lock them down for the day.
-
Event videography sits in the middle. Consider rigs with tool-free adjustments—nothing worse than needing an Allen wrench when the bride's about to walk down the aisle.
Budget Planning
Entry-level rigs ($100-$500) work fine for lightweight cameras and occasional use. Brands like Neewer and Movo offer solid options. You'll give up some build quality and adjustability, but these rigs prove the concept.
Mid-range systems ($500-$2,000) hit the sweet spot for working professionals. Companies like Tilta, SmallRig, and Shape make rigs that'll last through years of regular use.
High-end rigs (often in the $1,000–$2,000-plus bracket, especially from cinema-focused brands) from manufacturers like Zacuto or Wooden Camera are built for cinema production. Only worth it if you're shooting with expensive camera packages where the rig cost is a small percentage of total gear investment.
How Should You Set Up Your Camera Shoulder Rig?
Getting your camera shoulder rig properly configured makes the difference between smooth footage and shaky messes.

Installation and Assembly Steps
-
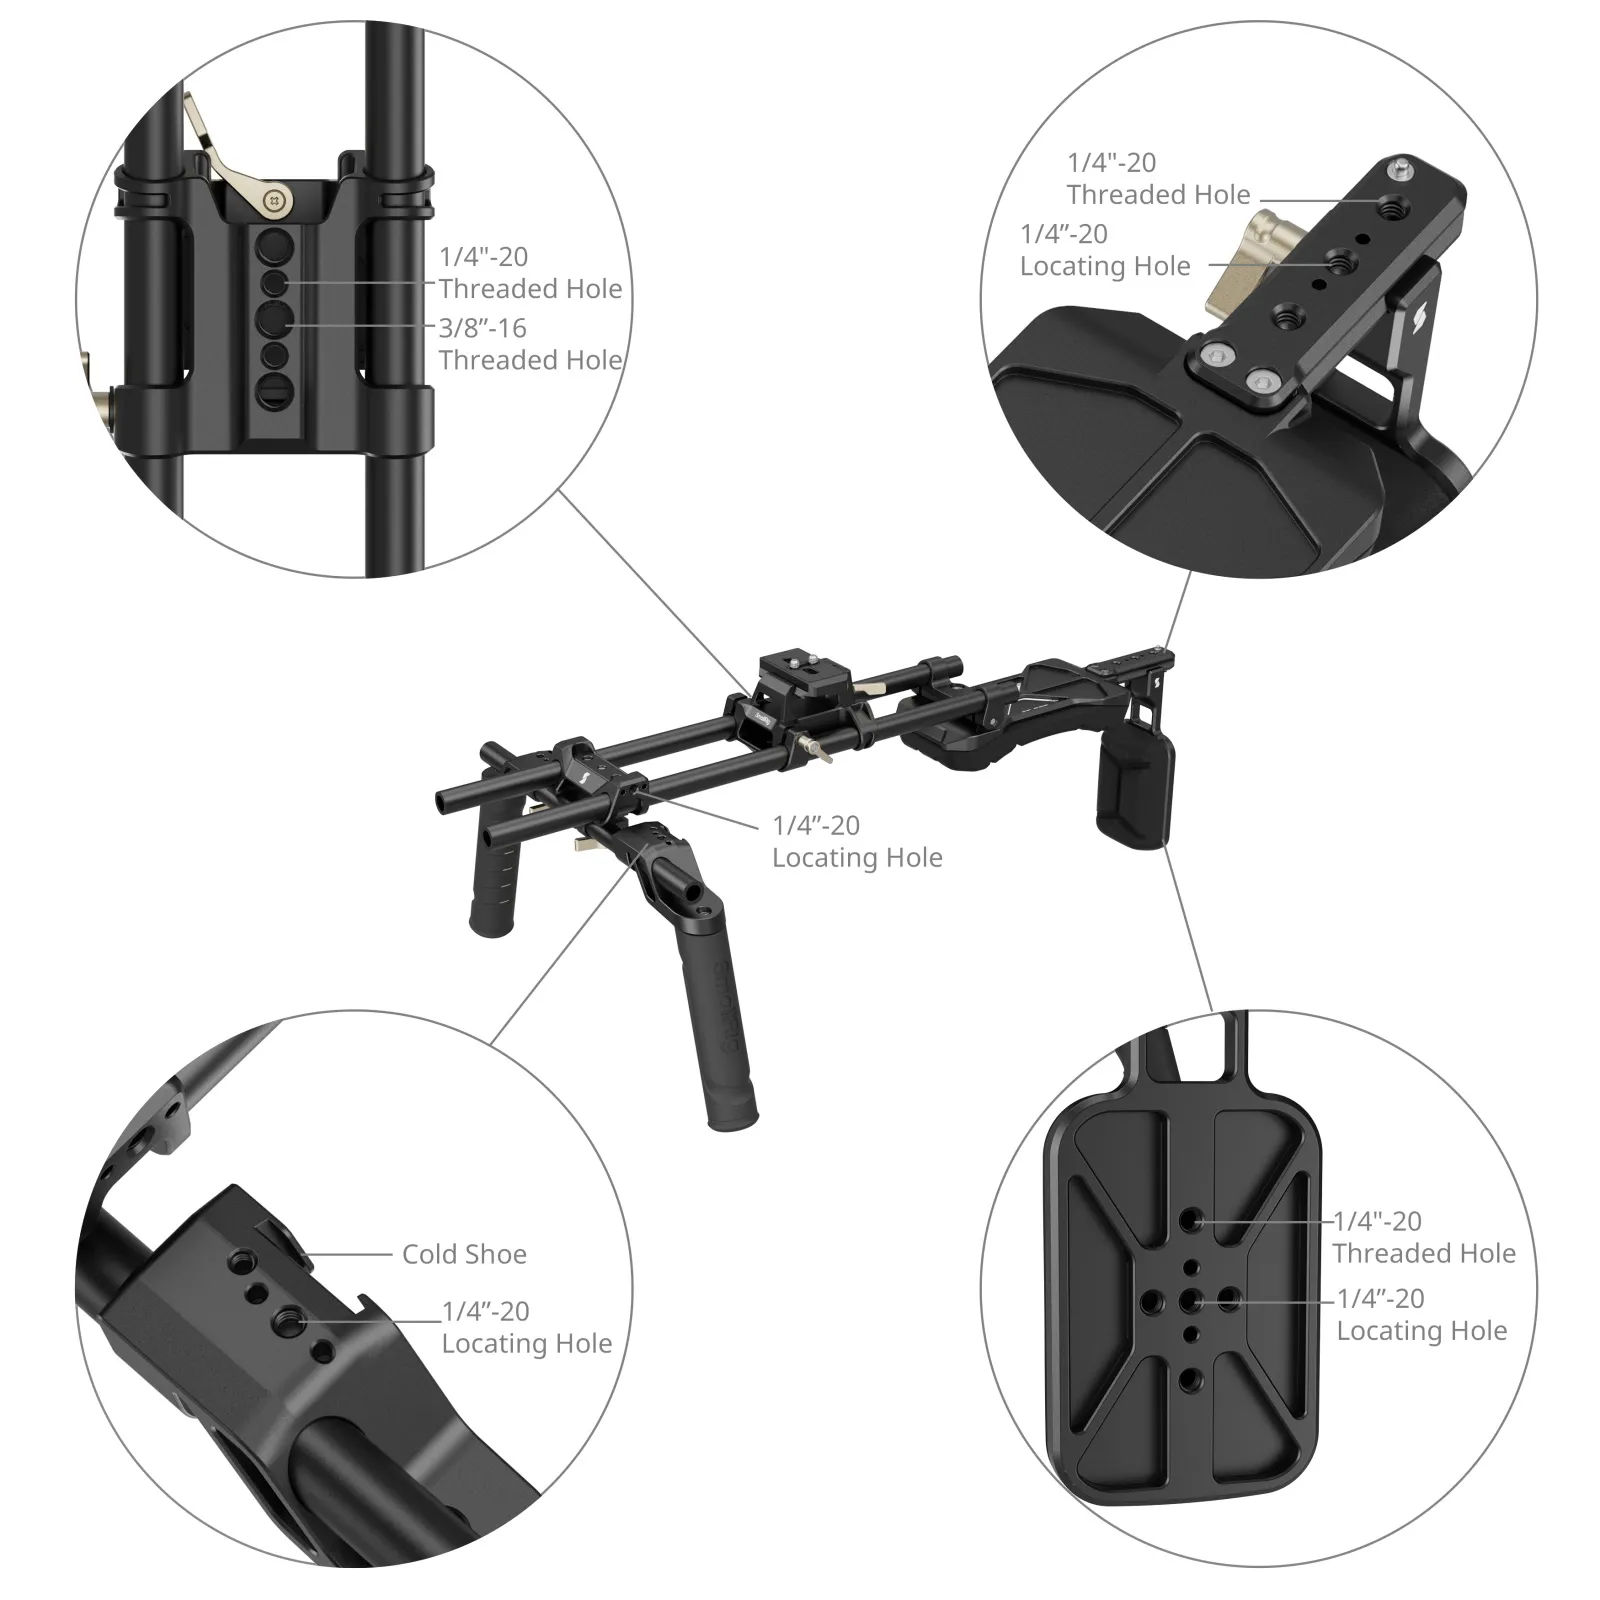
Start by mounting your camera to the rig's baseplate using the 1/4"-20 or 3/8"-16 screw. Tighten firmly but don't overtighten—you can strip threads or crack plastic camera bodies.
-
Next, attach accessories in order from closest to the camera outward. Mount your follow focus, then matte box, then monitor. This prevents having to remove everything later.
-
Check that all rod clamps are tight. Loose rods will slide around during shooting, throwing off your balance. Give everything a good shake test before filming.
Balance Adjustment Techniques
-
Proper balance means the camera stays level when you take your hands off the grips momentarily. Slide the camera forward or backward on the mounting plate until you find this sweet spot.
-
Adjust the shoulder pad's fore-aft position so most of the weight sits directly over your shoulder. If it's too far forward, you'll strain your neck. Too far back, and you'll constantly fight to keep the camera from tipping backward.
-
Side-to-side balance matters less, but eyepieces and monitors offset to one side can create issues. Add counterweights on the opposite rod to even things out if needed.
Common Setup Mistakes
The biggest mistake is not matching the rig to the camera. Mounting a 2-pound mirrorless camera to a heavy cinema rig makes no sense. Similarly, putting a 12-pound cinema package on a lightweight DSLR rig risks broken equipment.
Many shooters ignore future needs. If you'll add a wireless video transmitter next month, make sure your rig has the mounting points now.
Some people chase features they don't need. That fancy articulating arm for your monitor looks cool, but if you only shoot at eye level, a fixed monitor mount works fine and costs half as much.
FAQs About Camera Shoulder Rigs
Q1. Can You Use One Camera Shoulder Rig With Different Camera Bodies?
Yes, most modern camera shoulder rigs work with multiple camera bodies as long as the total weight stays within capacity. The key is using quick-release mounting plates specific to each camera. You attach a plate to each camera body, then swap the plate-and-camera combo onto the rig. This works great if you switch between a DSLR and a cinema camera. Just rebalance the rig each time since different cameras distribute weight differently.
Q2. What Accessories Actually Improve Camera Shoulder Rig Performance?
The most valuable additions are a good monitor or viewfinder, proper follow focus, and a matte box if you shoot outdoors. A monitor lets you frame accurately without cramming your eye against the viewfinder for hours. Follow focus gives you precise control over focus pulls with cinema lenses. A matte box controls lens flare and lets you use filters effectively. Beyond these, counterweights help balance side-heavy setups, and a good camera strap acts as safety insurance.
Q3. How Long Before Shoulder Rig Operation Feels Natural?
Most shooters feel comfortable after a few hours of real-world shooting, but developing smooth technique takes extended practice over multiple shooting days. Start by filming static subjects to nail basic posture and grip. Then progress to slow walking shots before attempting complex movements. Your body needs time to build specific muscles and muscle memory for balanced shoulder work. Expect some soreness in your shoulders and core for the first few sessions—this improves quickly.
Final Thoughts: Elevate Your Handheld Footage Today
Finding the right camera shoulder rig means matching your gear's weight, understanding how you shoot, and investing appropriately. Start with your camera's specs, consider where you'll be filming, and don't overspend on features you won't use. Test a few rigs in person before buying—what feels balanced to someone else might not work for your body type.
If you want a proven starting point, explore SmallRig’s shoulder rig lineup: the Basic Shoulder Rig Kit for DSLR/mirrorless setups, the Shoulder Rig Kit for heavier builds, or the Shoulder Rig Kit (Pro) for more advanced cinema configurations.
Keep Reading
 Easy Guide to Installing the Adjustable Clamp Matte Box & Filter Kit
 4402B Remote Control Indicator Light Not On - Troubleshooting Steps
 ND vs. CPL vs. Mist: Which Phone Camera Filter Do You Really Need?