Search smallrig.com...


Hard Light VS. Soft Light? Choosing The Right One Can Make Your Photo
SmallRig 2025-12-01 00:03:45
Contents
There’s no winner between hard and soft light—only the look you intend. If you want shape, drama, and bite, go harder. If you want friendly skin and an easy, natural feel, go softer. Know the difference, then pick with purpose.
How Do Hard Light And Soft Light Differ In Photography Lighting?
Hard and soft are about how shadows look and how edges fall off, not about whether a light is “good” or “bad.” Once you see that, the rest becomes a series of simple choices you can repeat on demand.
| Dimension | Hard Light | Soft Light |
| Core Definition | Focuses on how shadows look and how edges fall off; not a “good/bad” value judgment. | Same focus; the difference is smoother shadows and edge transitions. |
| Contrast | High, crisp, strongly layered; specular highlights are more pronounced. | Low to moderate; overall gentler rendering. |
| Shadow Edge | Sharp, defined; steep transition from bright to dark. | Feathered, gradual; smoother transition. |
| Skin & Edges | Emphasizes texture and micro-contrast; great for portraits with attitude. | Minimizes pores and fine lines; friendlier, smoother look. |
| Typical Use Cases | Editorial/fashion, sports, music, portraits needing punch and shape. | E-commerce, brand libraries, school/family/business headshots seeking reliable, flattering results. |
| Apparent Source Size | Small or farther ⇒ harder. | Large, close, and/or diffused ⇒ softer. |
| Typical Mood | Dramatic, edgy, graphic. | Natural, approachable, easy. |
| Common Tools | Bare COB, undiffused LED, reflectors/grids. | Softbox, umbrella with diffusion, scrims, bounce/reflect. |
| Mixed Use | Pair with a soft key as rim/edge light to increase separation. | Often used as the key; add a subtle crisp rim for outline. |
| Quick Rule (Master Dial) | — | “Apparent size = master dial”: bigger & closer = softer; smaller & farther = harder. |
Treat apparent size as your master dial—bigger and closer makes light softer; smaller and farther makes it harder. Decide the mood and purpose first, then pick the light type and modifiers to reliably recreate the look.
When Should You Choose Hard Light In Photography Lighting?
Hard light isn’t automatically harsh. Used well, it’s clean, graphic, and precise. Choose it when clarity and shape matter more than gloss.
Dramatic Portrait Style
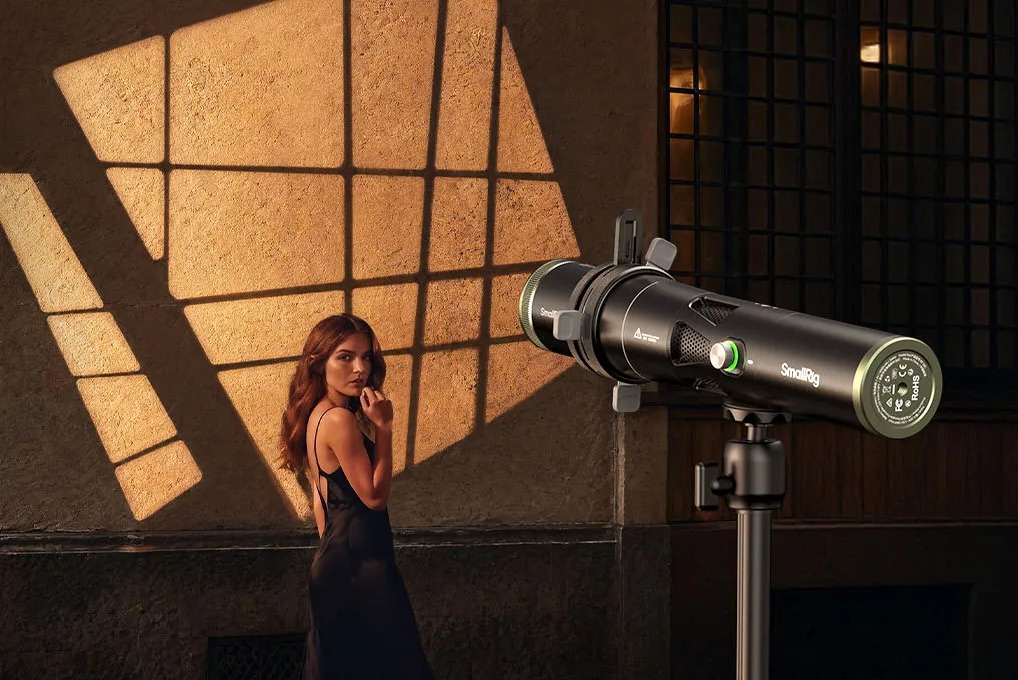
For drama, place a small, specular source slightly off-axis and above eye level. Classic patterns like Rembrandt (about 45° to the side and a touch high) give you sculpted cheeks and a signature triangle of light. Split lighting at 90° goes bolder. Keep the background darker by a stop or two so the subject pops. Flags or grids keep spill off the walls and preserve that in-camera contrast.
Texture And Detail Emphasis
If you want stubble, leather, denim, jewelry facets, or strong makeup lines to read, rake the light across the surface from the side or back three-quarters. The shallow angle creates micro-shadows that reveal texture. If pores feel too present, add a low-level white bounce opposite the key to raise the floor without blunting the shape.
High-Contrast Background Control
Hard keys make it easy to keep backgrounds moody. Pull the subject away from the wall to avoid glued-on shadows. Use a narrow reflector or a grid to confine the beam to the face and upper body, then decide whether you want a slim rim light to outline hair and shoulders. One small light and a piece of black foam core can create a wide range of bold looks.
Use a hard light to carve the subject, then fine-tune shadow density with subtle fill. Keep the edge quality; adjust only the depth.
When Should You Choose Soft Light In Photography Lighting?
Soft light shines when you need approachability, consistent skin, and forgiving coverage across different faces and frames.

Beauty And Business Headshots
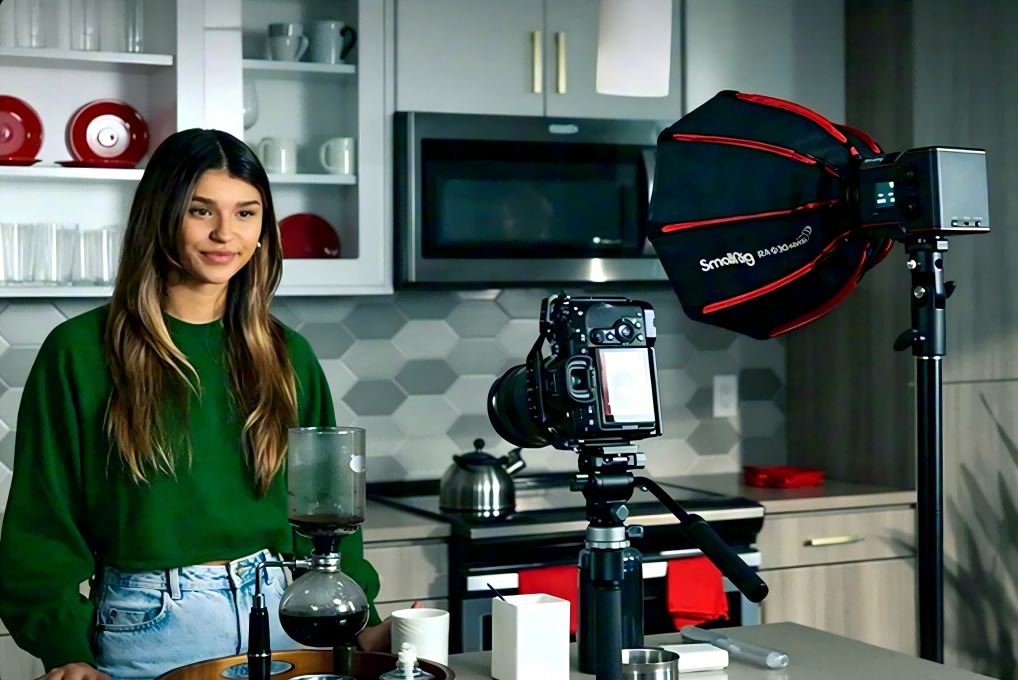
A larger modifier—think 32–48 in (80–120 cm) softbox or diffused LED panel—placed close to the subject smooths micro-contrast and creates a broad, pleasing catchlight. For a cosmetic look, pair the high key with a low, centered fill (classic clamshell). Tilt the key slightly downward to take advantage of a gentle shadow under the brow line, which adds dimension without harshness.
Family And Lifestyle Work
Lifestyle images benefit from an open, airy feel. Use a big, close key and let white walls and ceilings do the fill. A subtle rim at low power separates hair from background without screaming “studio.” Outdoors, open shade plus a white card under the face is a portable recipe you can repeat at any park, porch, or patio.
Groups And Full-Length Portraits
Coverage matters for groups. Widen the source (a big umbrella with diffusion, or a large rectangular box) and raise it to even out falloff from person to person. For full-length portraits, back the light up and enlarge it to keep feet and clothing as well-lit as faces. If you must keep the light close for space reasons, add a second, low-power fill to rescue the bottom half.
For dependable, flattering results on real people, go large and close with the key, manage reflections with angle, and add just enough separation to keep subjects from blending into the background.
Which Gear And Modifiers Work Best In Photography Lighting?
You don’t need an ocean of gear. Pick tools that change apparent size, direction, and spill control. Everything else is preference.
COB Lights And LED Panels
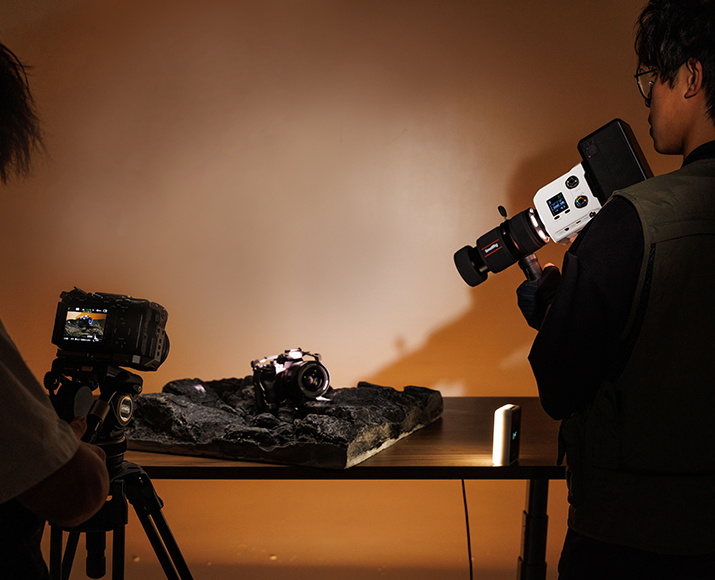
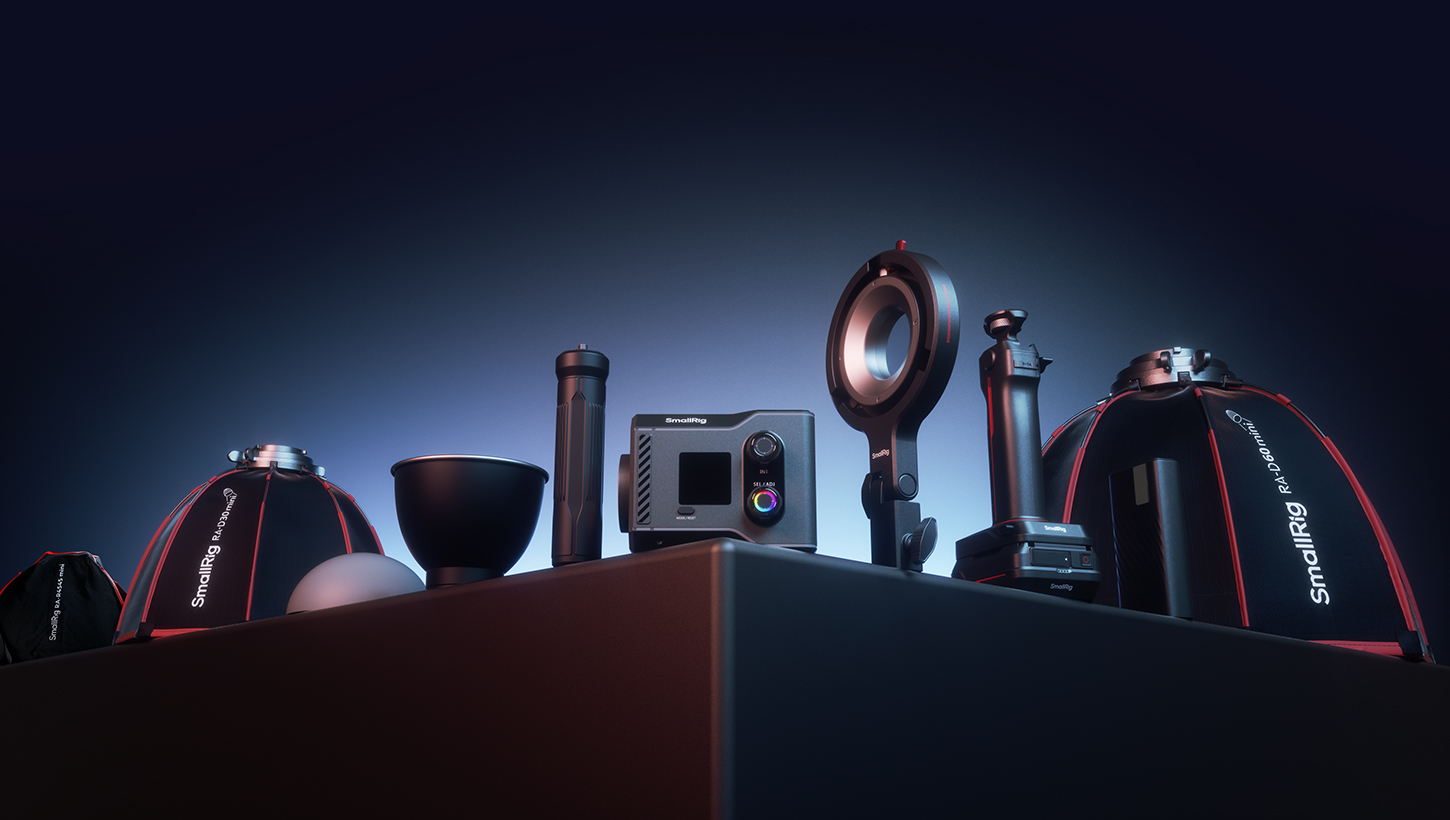
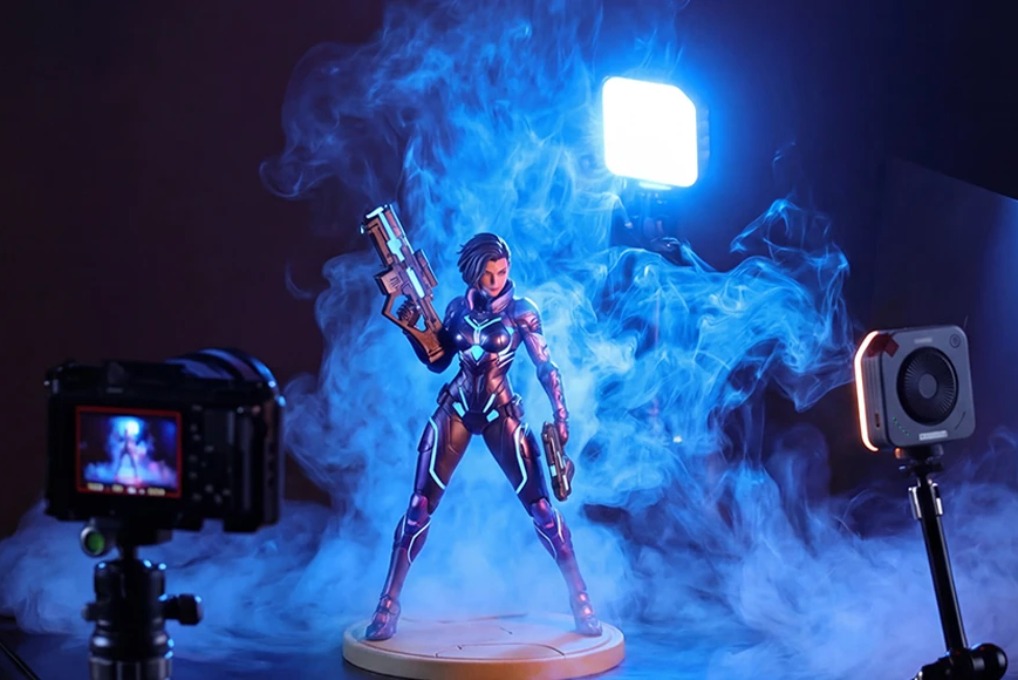
COB (chip-on-board) heads are bright and punchy, and they pair well with reflectors, grids, and softboxes. LED panels are broader out of the box, great for quick, soft coverage—especially with diffusion. Either can do hard or soft; add or remove modifiers to taste. If fan noise matters (in video or quiet spaces), check the decibel specs or keep the light farther away and enlarge the source with a bounce. SmallRig’s COB lighting systems strike a balance between compact power and modular flexibility, making them a strong choice for both solo creators and studio teams.
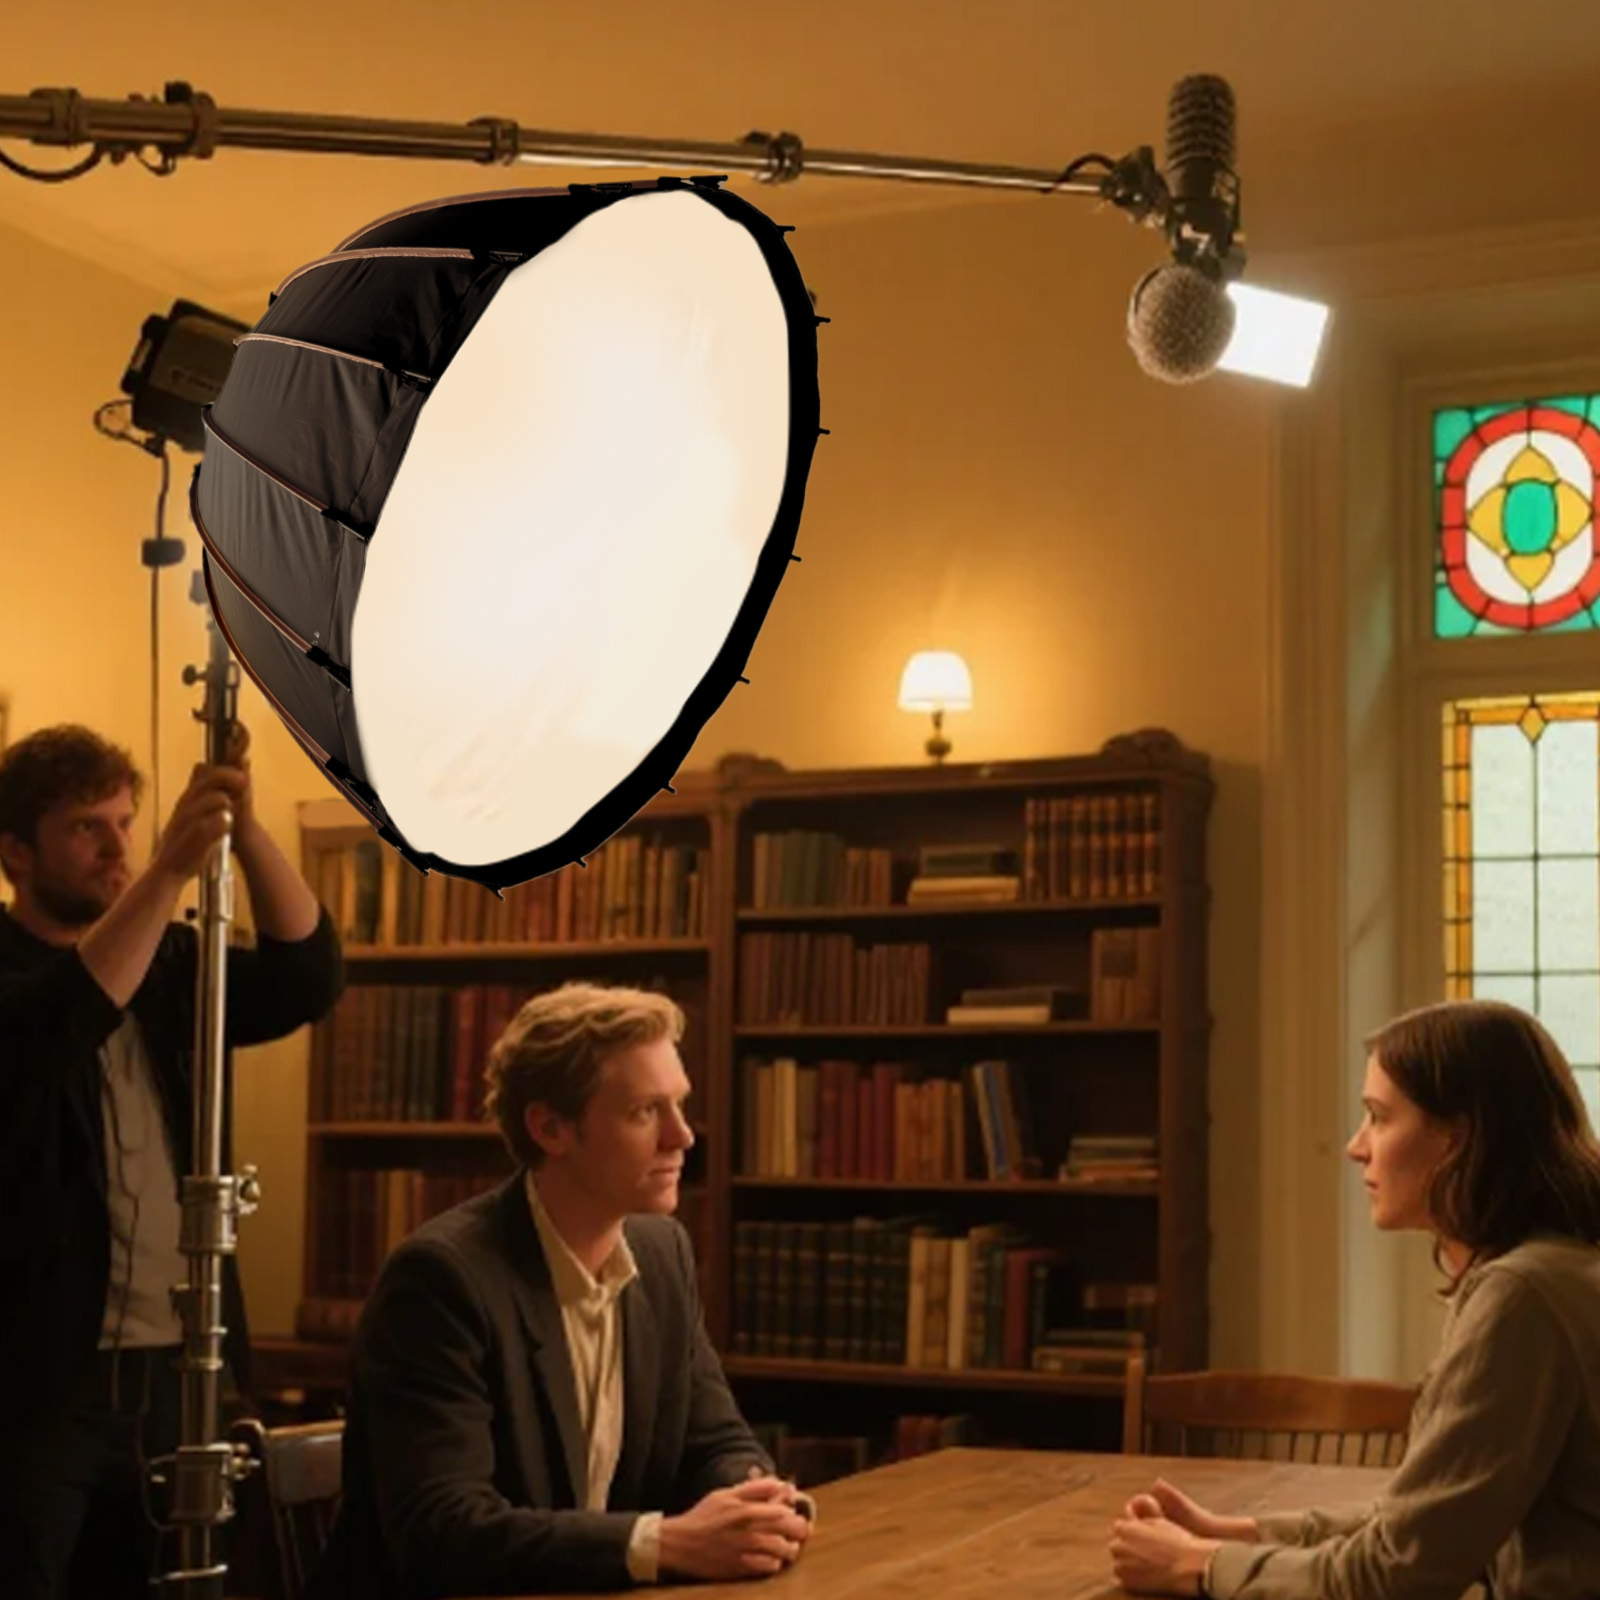
Softboxes And Umbrellas

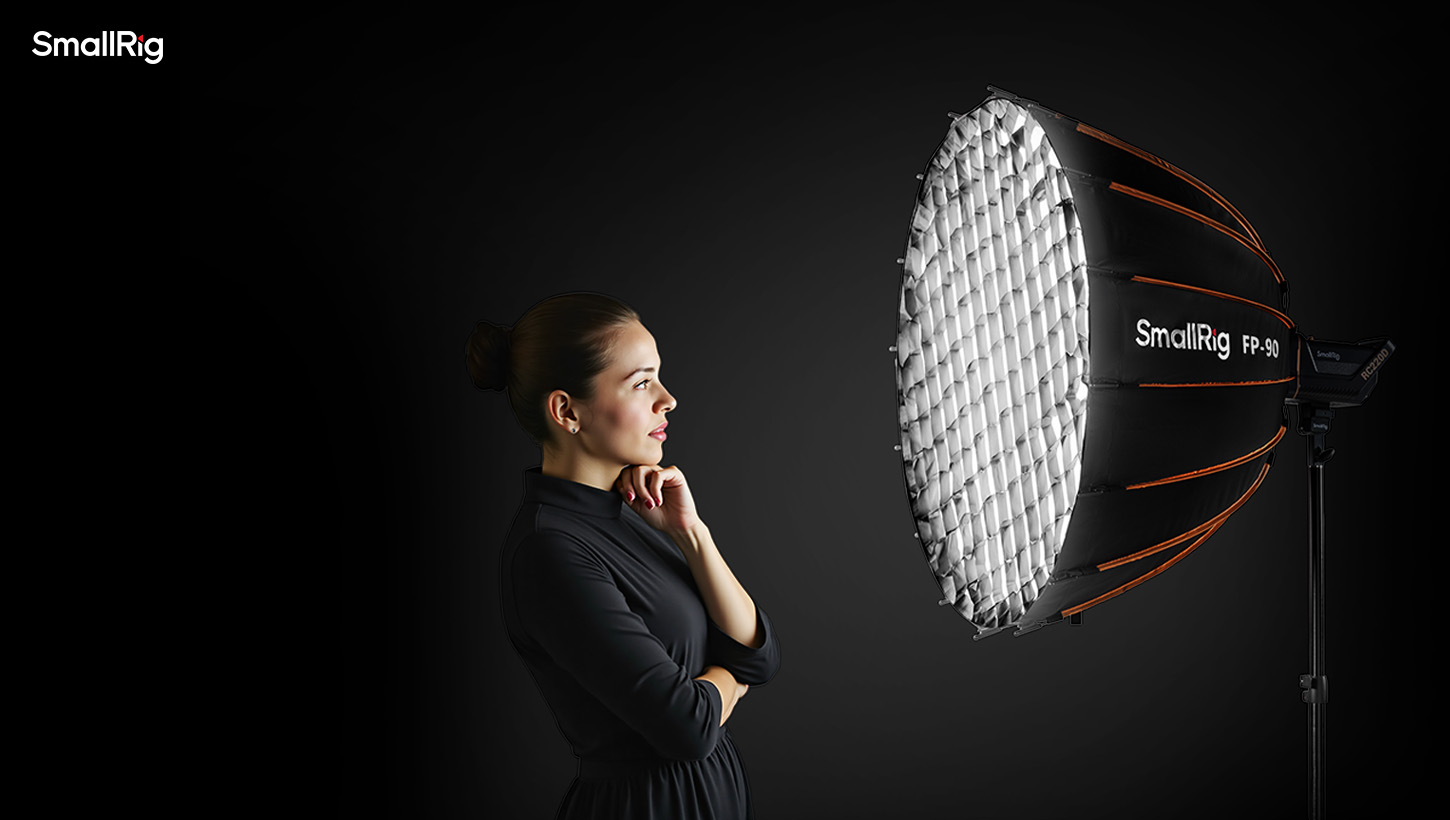
Softboxes give you controlled spill and a shape you can place precisely. Double diffusion (inner baffle + outer fabric) cleans up specular reflections and evens out the field. Umbrellas with diffusion are fast, light, and big—excellent for groups or quick headshots—but spill more, so flag the sides if you need control. Octagonal softboxes create round catchlights in the eyes; rectangles mimic window light and are easy to feather. SmallRig softboxes, especially their quick-release models, help keep setup time short while delivering pro-level light quality.
Grids And Flags

Grids narrow the beam without changing hardness; they keep your soft key off the background and your hard key off the ceiling. Flags (black foam-core, V-flats) block spill and deepen contrast exactly where you want it. A single black V-flat, placed opposite your key, can replace a negative-fill wall and instantly add cheekbone definition.
Light Meters And Mobile Apps
A handheld meter speeds consistently when you repeat setups across days or locations. If you don’t own one, light-test once: shoot a gray card and skin at your target exposure, note distances and power, and save the recipe. Mobile apps help with field of view, sun position, and rough exposure planning; your final tweaks still come from what you see on skin and histogram.
Buy for control, not for brand. A reliable head, one big soft modifier, one precise reflector or grid, and simple flags cover 90% of portraits.
SmallRig’s ecosystem of lights and modifiers offers just that: a practical toolkit for real-world control—without the studio baggage.
FAQs about Hard & Soft Light
Q1: Can I Mix Hard And Soft Light In One Portrait Without It Looking Messy?
Yes—just decide who’s the boss. Let one source be the key and set the mood (hard or soft), then add the other as support. A common hybrid is a soft key for skin plus a crisp rim from behind to carve edges. Keep the rim 1–2 stops brighter than the shadow side so it reads as a clean outline, not a second key. If things start looking chaotic, kill the rim first; if the image holds, you didn’t need it. If it collapses, bring it back at a lower power and tighter angle.
Q2: How Do Lens Choice And Background Affect The Feel Of Hard Versus Soft Light?
Telephoto lenses compress distance and often make light feel flatter because you’re farther from the source to keep framing; wide lenses do the opposite and can exaggerate contrast across the face. Background tone matters too: a dark backdrop amplifies the drama of hard light, while a mid-tone wall supports the calm of soft light. If you want soft light but still crave depth, keep the key soft and drop the background a stop. If you want a hard light without harshness, use a slightly brighter background so shadows don’t feel bottomless.
Q3: What’s a Starting Recipe If I Don’t Own A Meter?
For soft headshots: a big softbox about a forearm’s length from the face, centered slightly to the side and above; camera at base ISO, around f/4–f/5.6, adjust light power until skin sits near mid‑highs without clipping; add a white card under the chin. (Based on commonly advised ranges)
For hard portraits: a small reflector on a COB, about 45° to the side and above; background pulled back; add a white bounce at knee height to lift shadows a hair. Take one frame, check the histogram and highlights, nudge power and distance, and lock it in with a phone note.
The Final Verdict: Choosing Your Light with Purpose
Pick your look on purpose: hard for shape and edge, soft for ease and approachability. Then set apparent size, distance, angle, and fill to match. Do a five‑minute A/B today—one hard setup, one soft—save the distances and power. Next shoot, pull up your notes and recreate the win. Ready to level up? Build one soft and one hard “house style” you can set in under ten minutes.
Keep Reading
 Best Portable Lighting Setup for Solo Content Creators
 Review: SmallRig RF 20C Portable Zoom Light
 Why You Need a Video Light: A Complete Guide for Content Creators
Related Products from SmallRig