Search smallrig.com...


How to Film Your Ride | Professional Cycling Video Guide with Action Cameras
SmallRig 2026-02-06 01:03:45
Every mountain, lake, and moment of battling the wind on your ride deserves to be captured beautifully. An action camera can be your personal cinematographer on the road. However, many end up with footage that's shaky, monotonous, or lacks texture—essentially a mindless montage of footage. This guide breaks down the process step-by-step, from basic mounting to creative shots, and composition & lighting. Beginners can follow along directly, while seasoned riders can unlock new creative ideas to transform their cycling videos from uninspired clips to compelling, cinematic storytelling.
Foundational Mounting Positions
The goal here is stable framing, simple setup, and intuitive angles—your go-to shots perfect for long stretches of road and scenery.
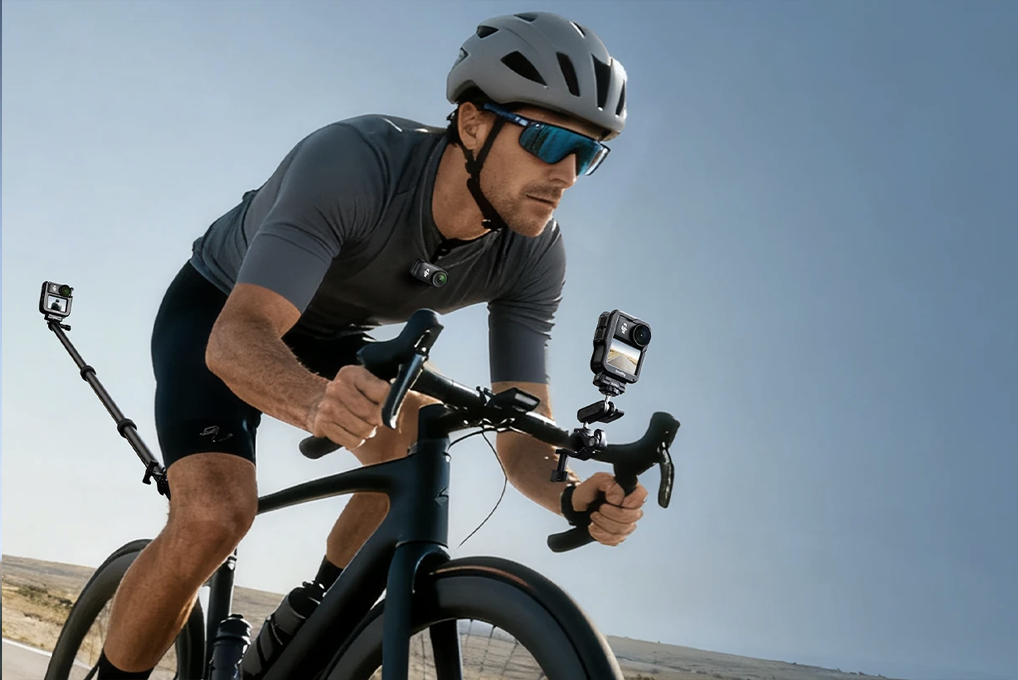
Handlebars
Pros: Stable field of view, clearly captures the road ahead and scenery, easiest to mount and remove.
Pro Tip: Tilt the camera upwards by about 10°. This avoids a frame dominated by the road and incorporates more sky and surroundings.
Avoid: Don't mount on the bar ends, as vibration causes shake. Mount closer to the stem. Ensure it doesn't interfere with brake or gear cables. A reliable Handlebar Clamp is essential here.
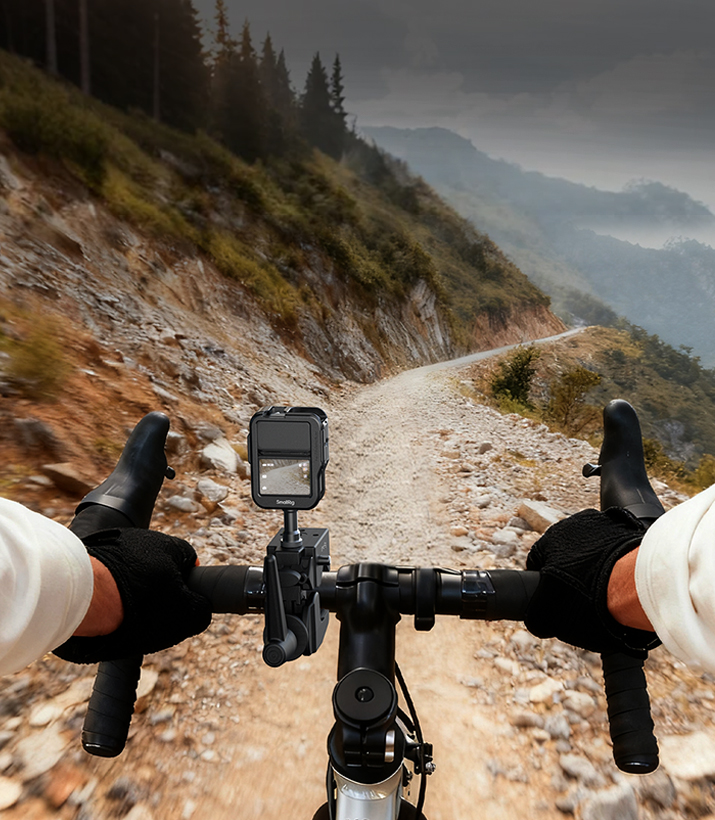
Computer Mount / Stem Cap
Pros: Centered, balanced frame with no hand obstruction. Often more stable than the handlebar position, ideal for first-person POV shots.
Tip: Use a quick-release mount for fast angle changes when stopped.
Seat / Seatpost
Pros: Captures the scenery behind you and your riding posture. For solo rides, it adds a valuable "full-body" shot.
Pro Tip: Angle the camera slightly to the side. This prevents the frame from being just your seat and rear wheel, bringing more of the roadside environment into view.
Long Ride Essential: Avoid filming from a single angle for more than 30 minutes. Even stunning scenery becomes tedious with a static shot. Quickly switch between two foundational positions during stops, or plan to intercut these shots in post-production.
Creative Angles
First-Person Immersive Angles
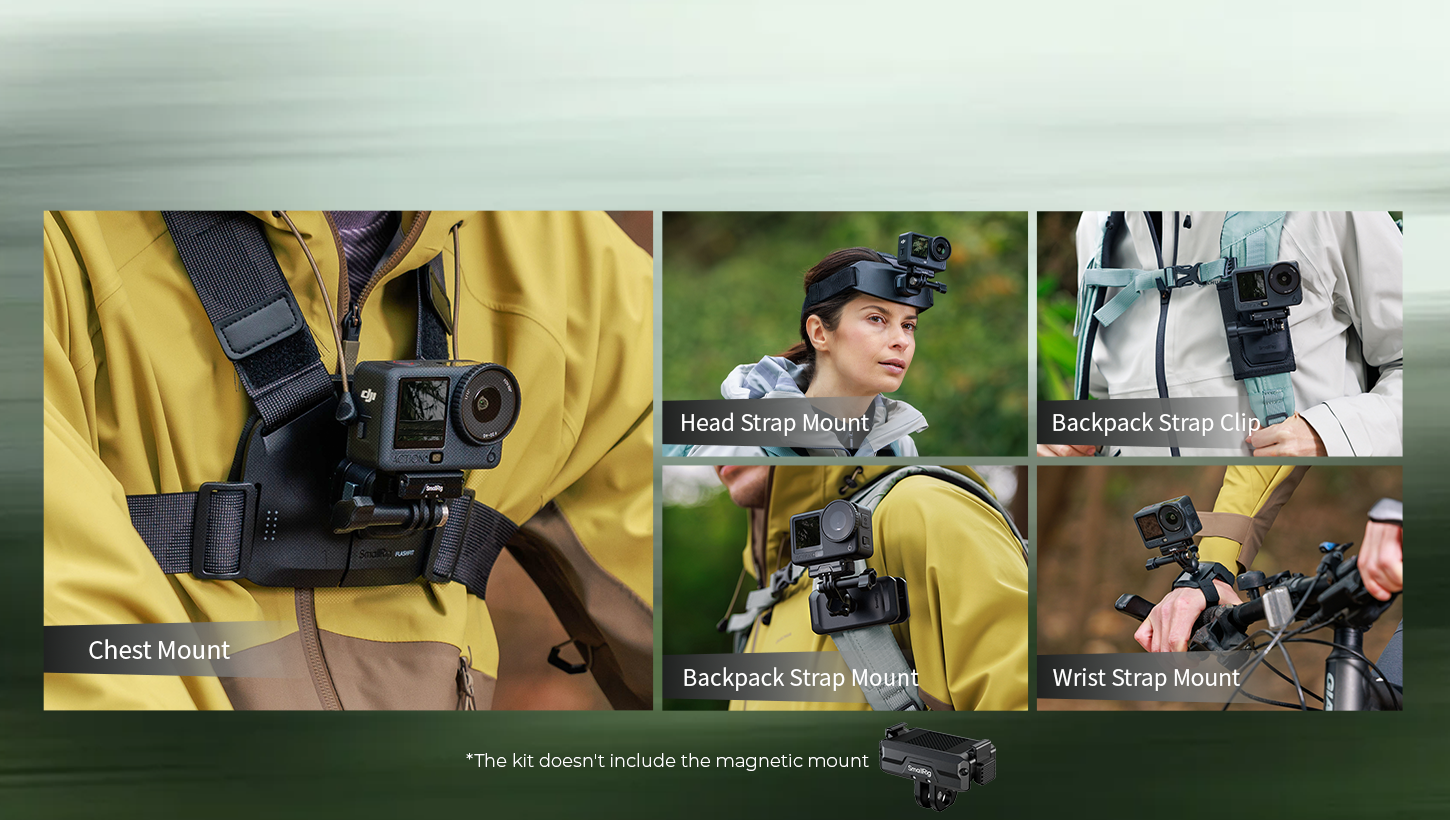
Chest Mount
Pros: Ultra-stable footage, a near-Steadicam stability effect. Captures handlebar grip and gear shifting for added authenticity.
Cons: Breathing sounds are easily picked up; hands are constantly in frame.
How-To: Adjust the harness for a "snug but not tight" fit. Tilt the camera up about 15° to minimize the bike's top tube in the shot. Breathing noise can be reduced in post-production. For the steadiest results in this position, many riders prefer using a dedicated Chest Mount harness designed specifically for action cameras, which offers a secure fit.
Important Reminder: It is not recommended to connect a wired external microphone while riding, as cables pose a snagging hazard.
Head Mount
Pros: Your line of sight becomes the shot—turning, looking up at a sign—creating a powerful sense of immersion.
Cons: Inconvenient to power on/off, easy to forget and run the battery flat, increases wind resistance.
How-To: Set the camera to auto power off after 30 minutes of inactivity. Use the camera’s companion app for remote monitoring if available. Ensure the lens isn't blocked by a helmet brim. A minimal, low-profile Head Strap can be a good alternative to helmet mounts.
Dynamic Angles
Wrist Mount
Pros: Unmatched flexibility to adjust the shooting direction—perfect for side scenery, pedal strokes, or selfies. An excellent choice for B-roll.
Safety Alert: Adjust the camera angle only on closed roads or when completely stopped. Never take a hand off the handlebar while moving to adjust it.
Tip: Use a quick-release wrist strap.
Extreme Bike Mounts (Requires good camera stabilization & absolutely secure mounting)
Front Rack / Down Tube (Inverted): Low-angle shot of wheels and road for an explosive sense of speed.
Chainstay Mount: Close-up of the rear wheel interacting with the road, highlighting mechanical texture and motion.
Safety & Setup:
Always use screw-fastened mounts—never rely on adhesive alone. For maximum security in dynamic mounting positions, dedicated mounts such as Handlebar Clamps provide reliable, vibration-resistant fastening.
After inverted mounting, enable "Rotate Video" or "Flip" in your camera settings to ensure correct video orientation.
These low positions are susceptible to mud and water splashes. Consider using a protective lens filter.
Composition & Camera Movement
Great shots start with great framing. Simple techniques can double your video's impact.
Lighting
Core Principle: Keep the sun behind you or to your side. This provides flattering rim light on you and the landscape, avoids lens flare, and prevents washed-out, lifeless footage.
Golden Hour: The side light during the hour after sunrise and before sunset offers the best texture, saturated colors, and beautiful shadows.
Handling Mixed Light: When moving frequently between woods and open road or through tunnels, lock your camera's exposure and white balance beforehand to prevent abrupt light changes. Use the built-in "Night Mode" for evening rides.
Shot Direction & Camera Height
Forward-Facing (Exploration POV): Use your shoulder or the front of the bike as a foreground element. This adds depth and immersion, preventing a sterile frame.
Rear-Facing (Retrospective POV): Document fellow riders or the path behind you. Occasionally looking back and interacting with the camera adds warmth and narrative depth.
Vary Your Height: Don't limit yourself to bike-level shots.
Low Angle (using a short mount near the ground): Emphasizes speed and road texture for a cinematic feel.
High Angle (using an extended pole): Showcases vast environments and vistas.
Safely capture some high and low-angle B-roll shots while stopped to elevate the pacing of your edit.
Pre-Shoot Checklist
Test Shoot: After setting up a new angle, ride a short distance and review the clip for framing, composition, and stability.
Plan Your Camera Settings: Based on weather and intent (scenic vs. action), decide on resolution and frame rate beforehand.
Equipment Check: Confirm mounts are tight, battery is charged, and memory card has space.
Image Quality Upgrades
Filters solve specific problems but aren't silver bullets.
Polarizing Filter (CPL)

Function: Effectively eliminates glare from non-metallic surfaces (road, water, leaves), making skies bluer and colors more saturated and vibrant.
Key Limitation: A CPL reduces light transmission by about 1-2 stops. Use only on bright, sunny days. Using it on overcast days, at dusk, or in forests will result in underexposed, noisy footage.
Choice: Magnetic versions allow for quick attachment and removal.
Neutral Density Filter (ND)

Function: Acts like sunglasses, evenly reducing light. This lets you use slower shutter speeds (e.g., 1/50s) during the day, delivering natural motion blur on moving wheels and scenery. It dramatically enhances the sense of speed and cinematic flow, preventing a jittery "rolling shutter" effect.
When to Use: Primarily for daytime shots where you want to emphasize speed. Remove it when light fades.
Choice: ND8 or ND16 works for most sunny conditions. A variable ND filter offers more flexibility.
3 Quick Post-Production Techniques
The final goal is a polished edit. Here are 3 quick techniques for beginners (using apps like CapCut or InShot):
Angle Intercutting: Edit in a sequence like "foundation front shot → creative POV → low-angle dynamic shot" to avoid a monotonous single perspective.
Beat-Synced Editing: Match your cuts to the beat of your cycling soundtrack to instantly boost the video's rhythm.
Basic Color Grading: Slightly increase contrast and saturation to mimic the CPL filter's effect, making footage shot on less-than-perfect days appear more vibrant.
Final Word
The joy of cycling cinematography lies in active creation, not just passive recording. Your action camera is a second set of eyes on the world. You don't need the most expensive gear, but you do need to master how to "speak" to your equipment, and always maintain respect for the road ahead.
Now, check your gear, internalize these key principles, and set off. What lies ahead isn't just miles to conquer, but a story uniquely yours, waiting to be captured through your unique lens.
Keep Reading
 Best Portable Lighting Setup for Solo Content Creators
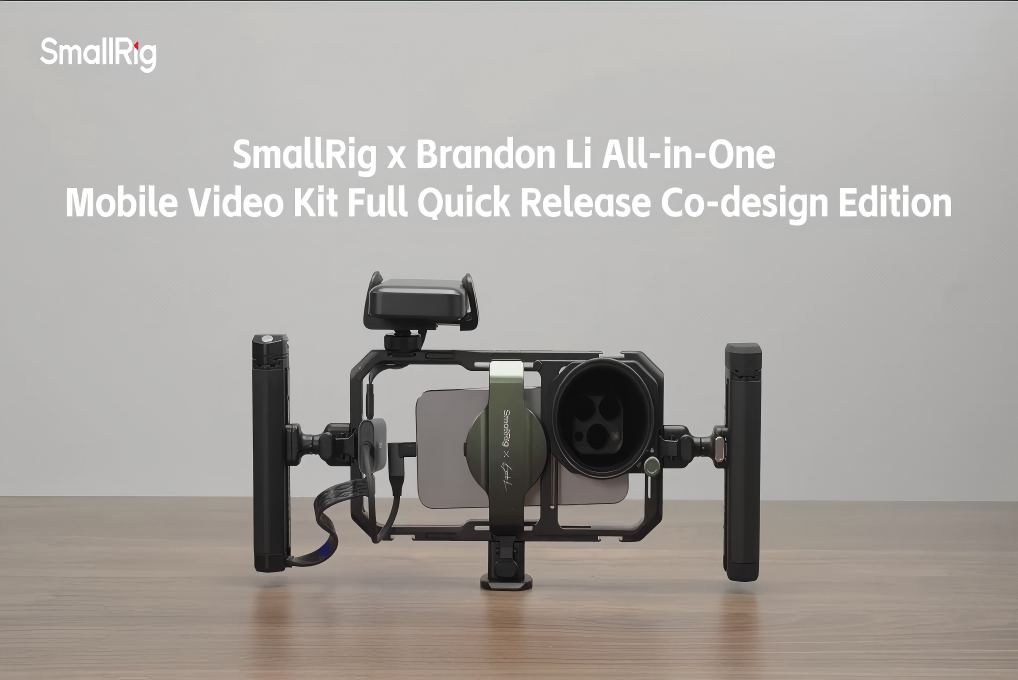 From Bare Phone to Pro Rig: The Complete Setup Guide for SmallRig × Brandon Li
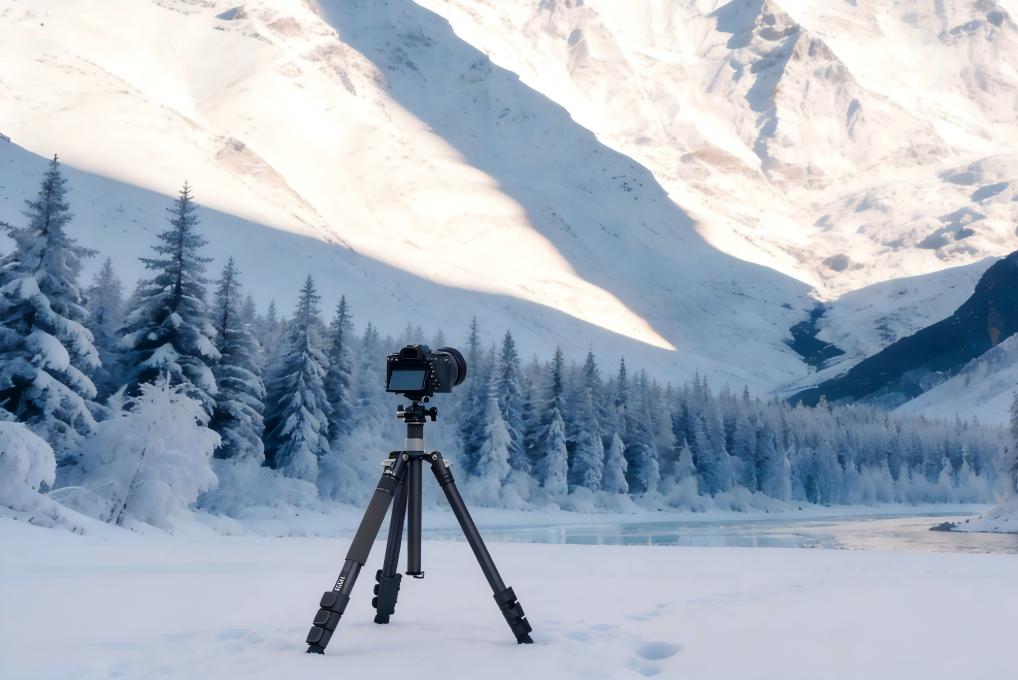 Best Travel Tripods 2026: Carbon Fiber vs Aluminum — Which Should You Choose?
Related Products from SmallRig