Search smallrig.com...


The Ultimate Guide to Tripods: Tripod Components and Essential Setup Techniques
SmallRig 2025-12-02 20:10:39
Contents
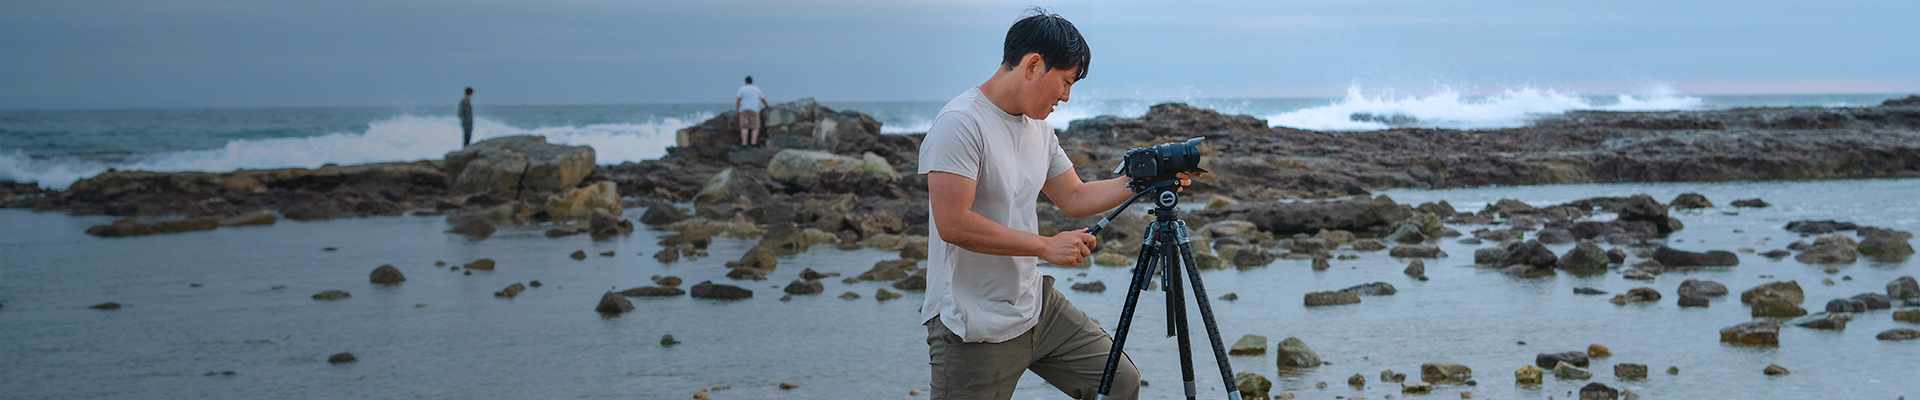
A tripod is a three-legged support device that keeps your camera or phone steady while shooting. Understanding tripod components and proper setup methods improves shooting stability and unlocks creative possibilities. This guide covers everything from essential parts to installation techniques for cameras and phones, including iPhones.
What Are the Key Components of a Camera Tripod?
Every camera tripod consists of several parts working together to keep your gear stable. Understanding these components helps you select the right tripod and use it effectively.
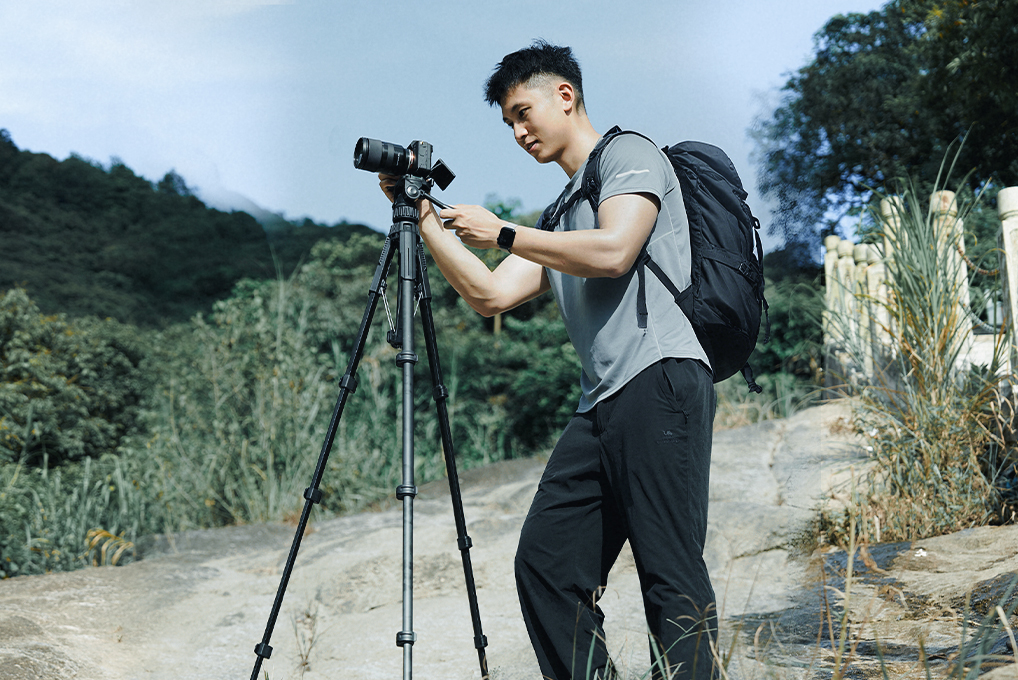
Legs and Locking Mechanisms
Tripod legs typically consist of three to five sections that collapse for easy portability. The locking system determines how easy your tripod is to set up. You'll find two main types: twist locks and flip locks.
Twist locks require you to rotate each leg section to tighten or loosen it. They're sleek and less likely to snag on things. Flip locks use lever mechanisms that you flip open or closed. They're faster to adjust, especially when you're working quickly.
Most tripod legs are made from aluminum or carbon fiber. Aluminum tripods are less expensive (for example, many aluminum travel and video tripods from brands like SmallRig are commonly listed for around US$90–$170 at major retailers) and can withstand everyday use well. Carbon fiber tripods for stills and video commonly fall within the US$130–$400 range for many SmallRig kits, yet still come in noticeably lighter versions than comparable aluminum models in the same lineup.
Center Column
The center column (also called the center post) is the vertical shaft connecting the legs to the tripod head. It extends upward to add extra height when needed. Most columns can also be inverted for low-angle shots or overhead positioning.
Here's something important: extending the center column reduces stability. Use it as a last resort for extra height. Your tripod is most stable when the center column stays retracted and you only adjust the leg height.
Feet and Stability Design
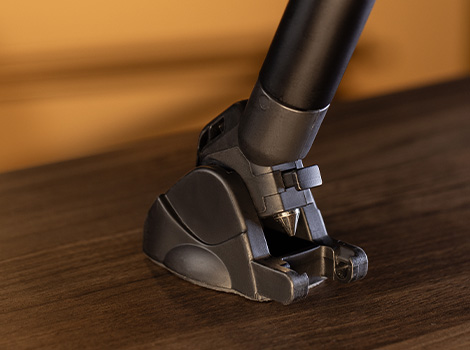
Tripod feet are available in various styles to accommodate different surfaces. Rubber feet work great on hard floors and prevent scratching. Spiked feet dig into soft ground, such as dirt or sand, for a better grip. Many tripods include interchangeable feet, allowing you to swap them based on your shooting location.
The foot spread also affects stability. Wider leg angles provide better balance but take up more space. Most tripods allow you to adjust the leg angle through settings—typically three positions, ranging from narrow to wide.
Load Capacity and Weight Rating
Every tripod has a maximum load capacity listed. This number indicates the maximum weight the tripod can safely support. Add up the weight of your camera body, lens, and any accessories to determine your total payload weight.
Don't push the limits. A common recommendation is to choose a tripod rated for at least about 1.5 times your total gear weight. For example, if your setup is around 8 pounds, look for a tripod rated somewhere in the 12-pound-and-up range, rather than one that matches 8 pounds exactly. This safety margin prevents accidents and reduces vibration during shooting.
What Is a Tripod Head and How Do You Pick One?
The tripod head sits on top of the legs and actually holds your camera in place. Many tripods come with legs only—you buy the head separately. Understanding head types is important because the wrong head can make shooting frustrating.
Ball Head Design
Ball heads use a single ball-and-socket joint. Loosen one knob, position your camera as desired, and then tighten to secure it in place. They're compact, lightweight, and fast to adjust.
Ball heads excel at still photography, where you need to quickly reframe shots. They're less ideal for precise video work because you can't smoothly pan or tilt—you either lock everything or unlock everything.
Quality ball heads range from $60 to $ 300. Look for ones with separate pan locks and adequate load capacity for your camera.
Pan-Tilt Head Features
Pan-tilt heads (also called three-way heads) have separate controls for each movement axis. One handle controls panning (horizontal rotation), another handles tilt (up and down), and the third manages portrait-to-landscape rotation.
These heads give you precise control for each adjustment. You can lock two axes while adjusting the third. They're bulkier than ball heads but better for methodical composition work and architecture photography.
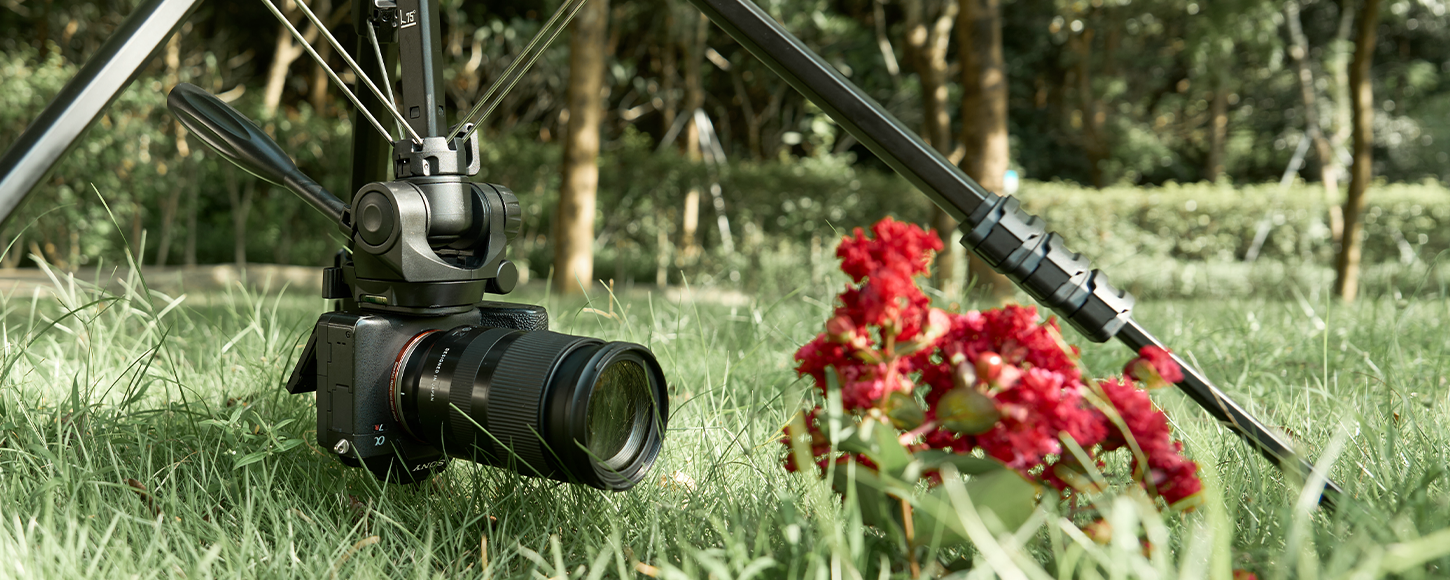
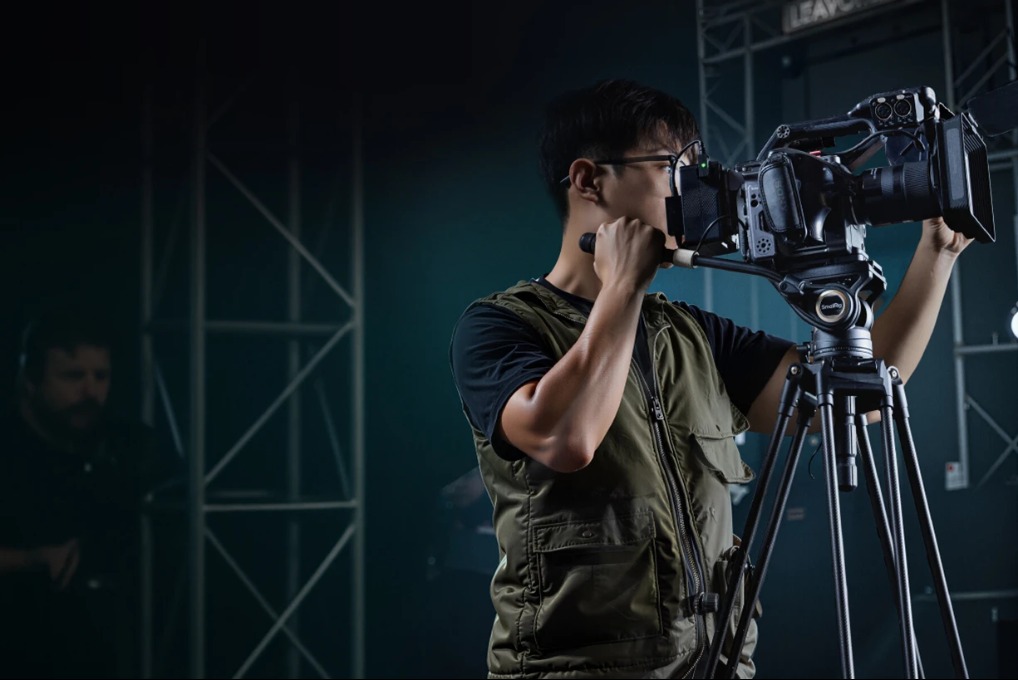
Fluid Head for Video
Fluid heads contain dampening fluid that creates smooth, controlled movement. They're designed specifically for video work where you need buttery-smooth pans and tilts.
A decent fluid head costs between $100 and $ 400. Professional models run $500+. If you shoot any video beyond basic clips, a fluid head makes a huge difference in production quality.
Quick Release System
Quick-release plates let you attach and detach your camera without screwing and unscrewing every time. The plate stays on your camera. When you want to mount it, you just drop the plate into the head's clamp and lock it.
Two standards dominate: Arca-Swiss and Manfrotto. Arca-Swiss is more universal—most high-end gear uses it. Manfrotto uses its own system that works well but isn't as widely adopted. Stick with Arca-Swiss if you're buying new gear.
How Does a Phone Tripod Differ from a Camera Tripod?
Phone tripods and camera tripods share basic concepts but differ in important ways. Understanding these differences helps you pick the right gear.

Size and Portability
Phone tripods are usually smaller and lighter. Many pocket-sized models —for example, SmallRig's ST20 Pro selfie-stick tripod—fold down to about 11–12 inches (roughly 30 cm) and weigh around 260–270 grams (about 9–10 ounces) while still fitting easily in a bag. They're designed for travel and spontaneous shooting.
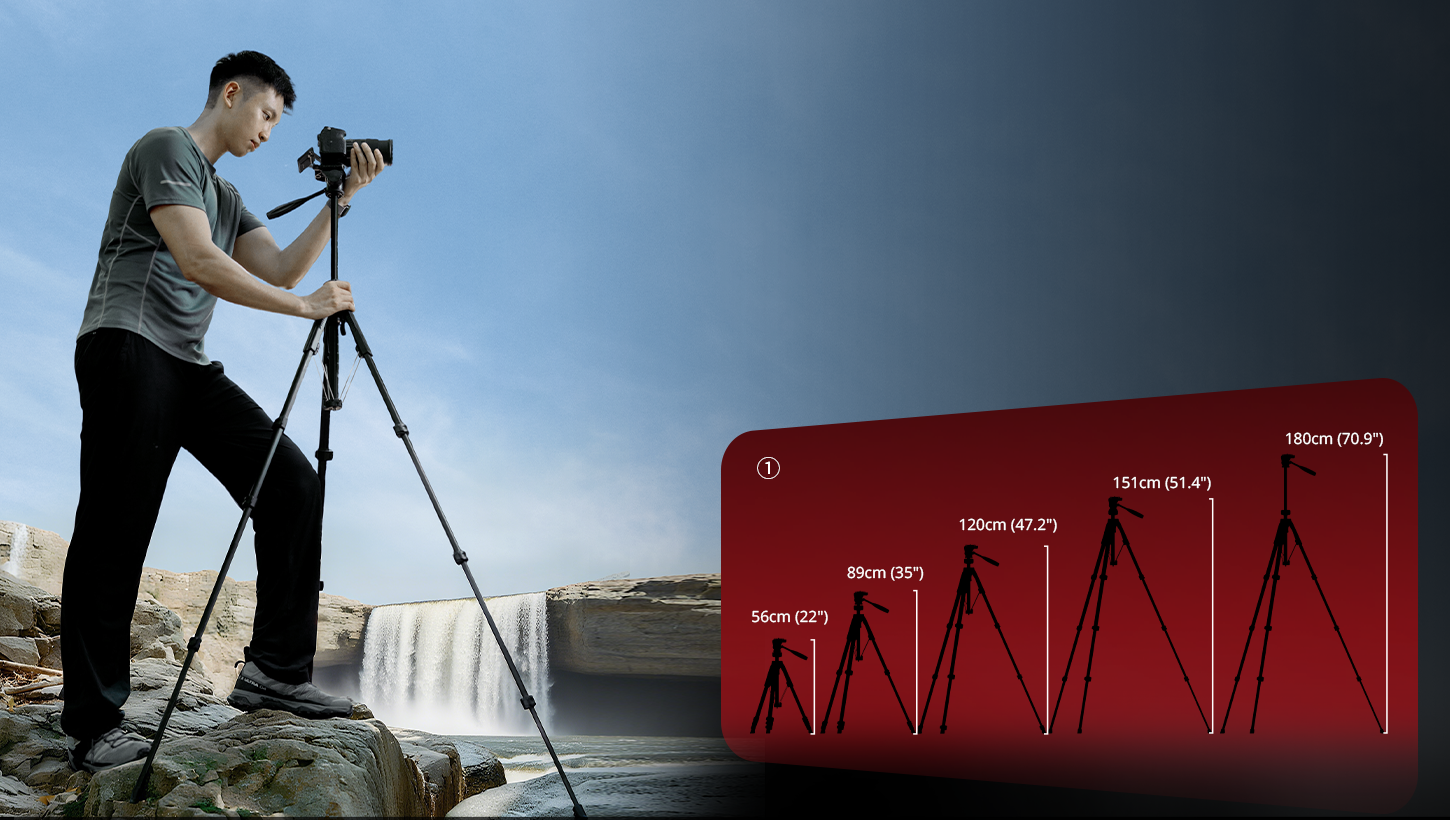
Full-size camera tripods often reach a maximum height of roughly 60–75 inches (about 150–190 cm) and, for many still and video kits from brands like SmallRig, weigh between 3 and 9–11 pounds, depending on whether they're lightweight travel designs or heavy-duty systems. Even compact travel tripods such as SmallRig’s Lightweight Travel Tripod AP-02 typically fold to around 20 inches (about 53 cm), with many full-size tripods packing down into the mid-teens of inches rather than truly tiny sizes. The size difference is significant if you're carrying gear all day.
Phone Mounting Systems

Instead of a threaded screw mount, phone tripods use spring-loaded clamps or magnetic holders. These grips expand to fit phones of different sizes—typically covering a range of about 2.2 to 3.5 inches (roughly 57–90 mm) in width for many universal phone cages and clamps.
Look for tripods with rubber-lined grips that won't scratch your phone. The clamp should hold firmly without excessive pressure. Some models feature built-in Bluetooth remotes that allow for remote photo triggering.
Weight Requirements and Stability
Phones weigh 5-8 ounces. Even with a case, you're under half a pound. This lightweight design means phone tripods don't require heavy-duty construction. A $20-40 phone tripod handles most needs perfectly fine.
The tradeoff is that lightweight phone tripods are less stable in the wind. They tip easier on uneven ground. For outdoor phone shooting, add weight to the center hook (if available) or shelter the tripod from direct wind.
iPhone Tripod Features
Tripods marketed specifically as "tripods for iPhone" models often include additional features, such as built-in lighting or charging ports. Some fold into selfie stick configurations for dual-purpose use.
These iPhone-specific features are nice but not necessary. Any phone tripod with adjustable clamps works with iPhones. Don't overpay just for iPhone branding unless you actually need those bonus features.
How to Attach a Camera to a Tripod Correctly?
Proper mounting prevents accidents and ensures stability. This process takes 30 seconds once you are familiar with the steps.
Finding the Tripod Mount
Every camera has a threaded socket on the bottom. It's a 1/4"-20 standard thread size. On DSLRs and mirrorless cameras, this socket sits roughly in the center of the camera base, usually aligned with the lens mount.
Some cameras have multiple tripod sockets. Use the one closest to the lens for better balance, especially with heavy lenses.
Securing the Quick Release Plate
Quick-release. Attach the quick-release plate to your camera's tripod socket first. Use a coin or the included hex key to tighten it snugly—do. Don't overtighten. The plate should sit flush against the camera's bottom.
Slide the plate into the clamp of the tripod head. You'll hear or feel a click when it locks. Give the camera a gentle pull upward to verify it's secure, then let go.
Balancing Your Camera Setup
With telephoto lenses or heavy accessories, balance matters. The camera shouldn't want to tip forward or backward when you loosen the head. If it does, adjust the plate position forward or back until the camera stays level on its own.
Some quick-release systems have position markers. Remember your preferred setting for different lens combinations to speed up future setups.
Mounting a Phone on a Tripod
Phone mounting is simpler. Open the spring clamp, center your phone in the holder, then release the clamp. Make sure the phone sits securely with the camera lens unobstructed.
Most phone mounts rotate 360 degrees. Position your phone in portrait or landscape orientation as needed. Tighten any rotation locks to prevent the phone from spinning during use.
Before shooting, test the setup by gently pressing the phone screen. It shouldn't wobble or shift. If it does, adjust the clamp pressure or check that the tripod legs are properly locked.
FAQs about Tripod Selection, Stability, and Use
Q1. Can I Use the Same Tripod for Both Photography and Video Work?
Yes, but your shooting experience varies significantly based on the tripod head you choose. A standard ball head works fine for still photos, but makes smooth video panning nearly impossible. If you shoot both regularly, consider getting a tripod with interchangeable heads—use a ball head for photos and swap to a fluid head for video sessions. Alternatively, some mid-range fluid heads handle basic photography adequately, though they're bulkier than ball heads. Budget around $150-250 for a versatile setup that handles both uses reasonably well without major compromises.
Q2. What’s the Actual Difference Between a $30 Tripod and a $200 One?
The price gap reflects the quality of the build, materials, and longevity, rather than basic function. Cheap tripods often utilize plastic components that wear out quickly, wobbly leg locks that fail to stay tight, and heads that drift when attempting to maintain a position. They're fine for occasional phone videos but frustrating for serious use. Mid-priced tripods ($100-$ 200) typically feature metal construction, reliable locks, and improved stability in wind or on uneven ground. They last for years with regular use. Expensive tripods ($300+) offer carbon fiber weight savings, superior damping for vibration, and precision that matters for professional work. For most hobbyists, the sweet spot is between $80 and $ 150.
Q3. How Do I Know If My Tripod Is Stable Enough Before Taking a Shot?
Run through this quick checklist every time you set up:
-
First, make sure all leg locks are fully tightened by trying to twist each section—they shouldn't budge.
-
Second, check that the tripod sits flat with no wobbling when you press down on the head.
-
Third, look at your camera from the side to verify it's balanced and not leaning forward or back.
-
Finally, tap the camera body lightly—it should barely move and then stop vibrating quickly.
On soft ground, press each foot into the soil for a better grip. In the wind, hang your camera bag from the center hook for added weight. These checks take 10 seconds and prevent most mounting accidents.
Master Your Tripod for Stable Shots
Understanding tripod components and proper attachment techniques makes every shoot more stable and professional. Whether you're using a camera tripod, a phone tripod, or a tripod for your iPhone, the fundamentals remain the same. Start with the basics, practice your setup routine, and your shots will immediately improve. Get out there and put these techniques to work.
If you’d like a shortcut to gear that matches these principles, check out SmallRig’s tripod range—from lightweight carbon travel tripods and compact phone tripods to heavy-duty fluid head systems—so you can pick a setup that fits your camera, shooting style, and budget.
Keep Reading
 Camera Tripod Price Guide: How Much Should You Actually Spend in 2026?
 What’s The Best Height For A Video Tripod?
 How To Choose The Perfect Tripod For Flawless Live Streaming
Related Products from SmallRig