Search smallrig.com...


The Ultimate Guide to Rigging Your iPhone 17 Pro for Professional Video
SmallRig 2025-10-28 04:42:57
Contents
Getting your iPhone 17 Pro ready for serious video work means building the right setup with quality gear. Your phone already shoots incredible up to 4K footage, but adding a proper iPhone camera rig takes your content from good to pro-level. This guide breaks down everything you need to know about creating a filming setup that actually works.
What an iPhone Cage Does
An iPhone cage is essentially the bottom of any professional film setup. It's essentially the skeleton that holds everything together and gets your phone ready to record.
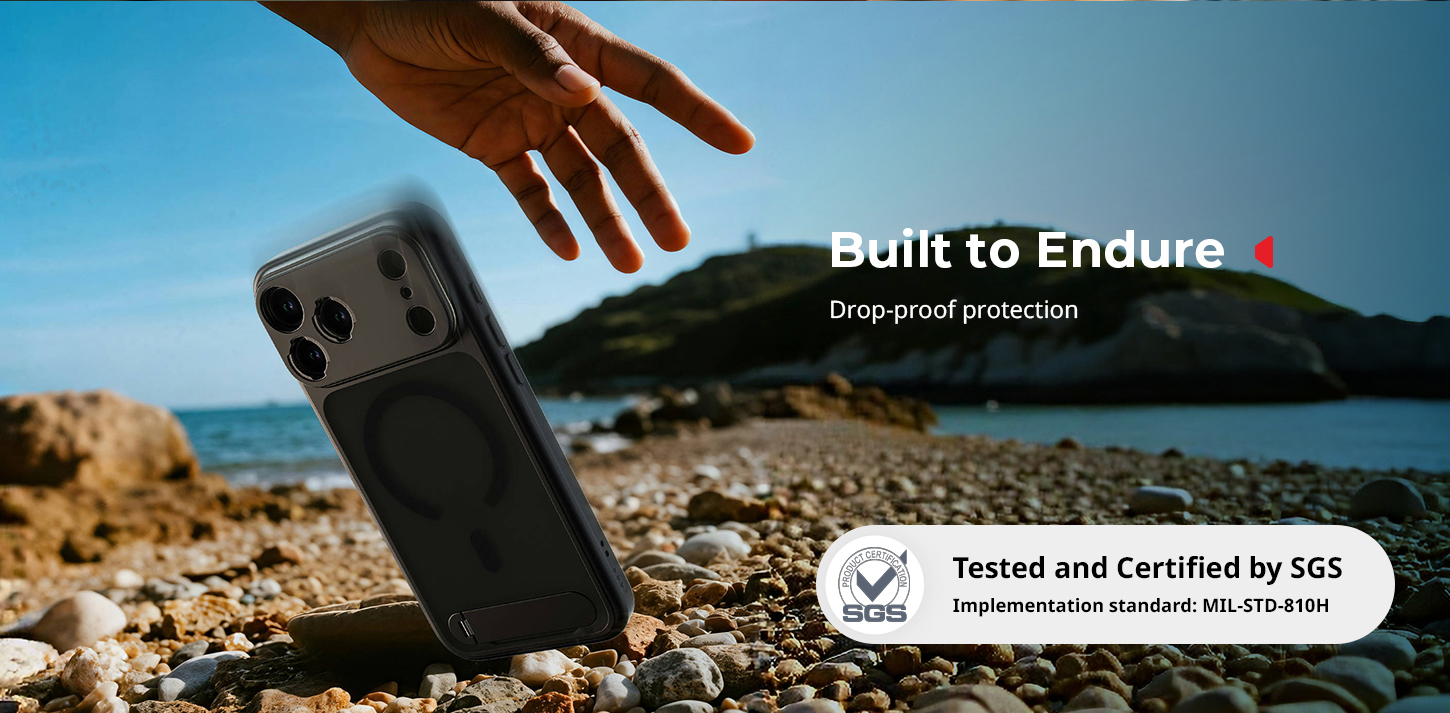
Protection Basics
Your iPhone 17 Pro starts at $1,099, so insuring it should be your top priority. A good iPhone case features a sturdy aluminum or carbon fiber framework. It protects your device against drops, bumps, and the usual mayhem of film sets. While cheap phone covers concentrate shock through a small surface onto your phone's rear or bezels, a decent cage absorbs shock throughout the entire length of the cage.
Mounting Points
Here is where cages truly shine. Most decent iPhone cages offer multiple threaded mounting options – such as standard 1/4"-20 and 3/8"-16 threads. These threaded holes allow you to connect a wide range of gear, from microphones and lights to external monitors. And pro cages also include cold shoe mounts for quick changes of accessories.
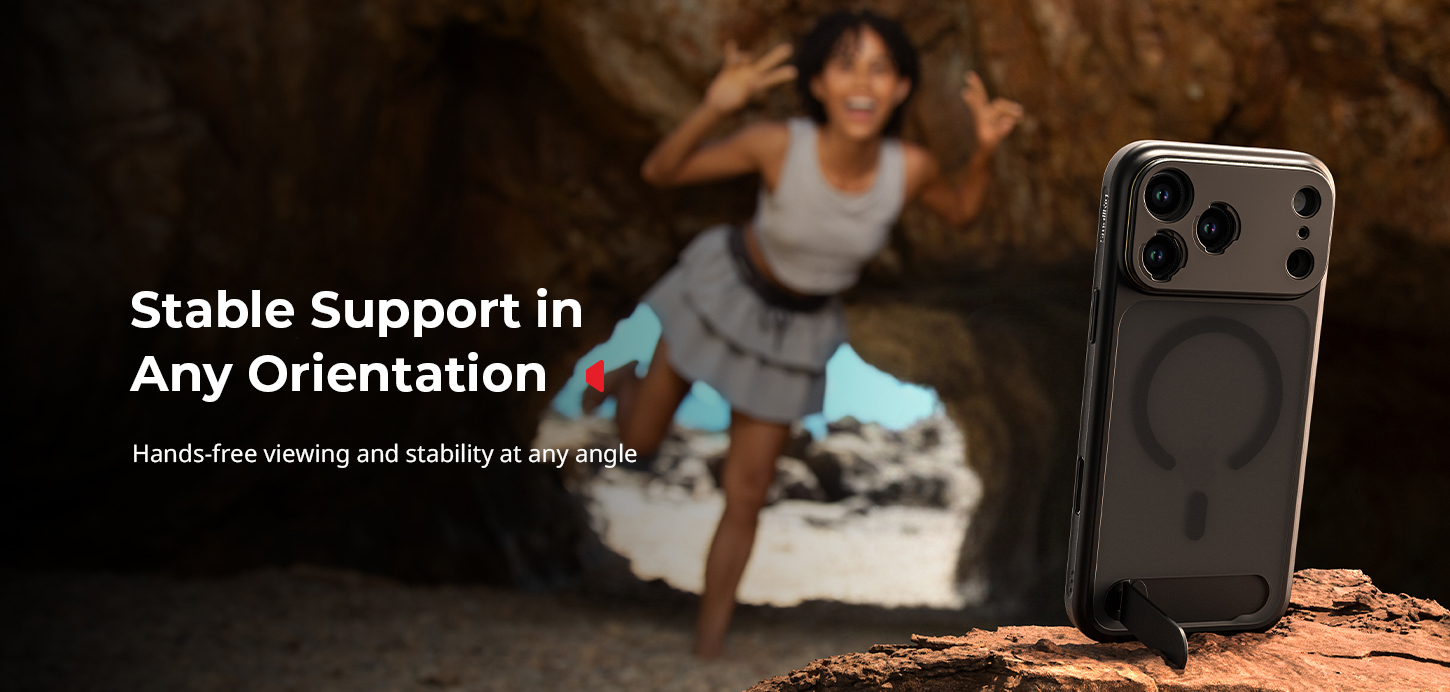
Stability Benefits
Live iPhone footage may appear shaky, regardless of the device's intrinsic stabilization. A decent cage increases weight and offers you several grip points, automatically compensating for tiny motions. Micro-trembles that cause handheld footage to appear amateur are also damped due to the added weight.
Essentially, a cage converts your phone into a mountable and safe camera. With everything secured, everything mounted, and stable, you are ready to go with the remainder of the setup.
How to Choose the Right Rig for Your iPhone 17+: 4 Steps
It's all about obtaining the proper gear that fulfills your real needs for capturing. I.e., why buy an expensive cage if you are making a talking head video from your home office?
Step 1: Set Your Budget Range
Beginner iPhone camera rigs start at $50-100, featuring simple cages and a few accessories. Mid-level kits cost $200-400 and come with decent cages, primary stabilizers, and core accessories, such as external microphones. Advanced professional iPhone camera rig kits can cost $800 or more once you add high-level cages, gimbal-like stabilizers, professional-grade audio equipment, and lights.
Step 2: Learn Your Use Cases
Various styles of photography necessitate varying equipment. Run-and-gun documentary production needs lean, minimal setups that won't hinder you. Studio interviews are enhanced with heavy-duty rigs featuring professional audio and lighting integration. Take into consideration your average photography environment as well - exterior photography necessitates weatherproof gear and a more extended battery capacity.
Step 3: Compare Leading Brands
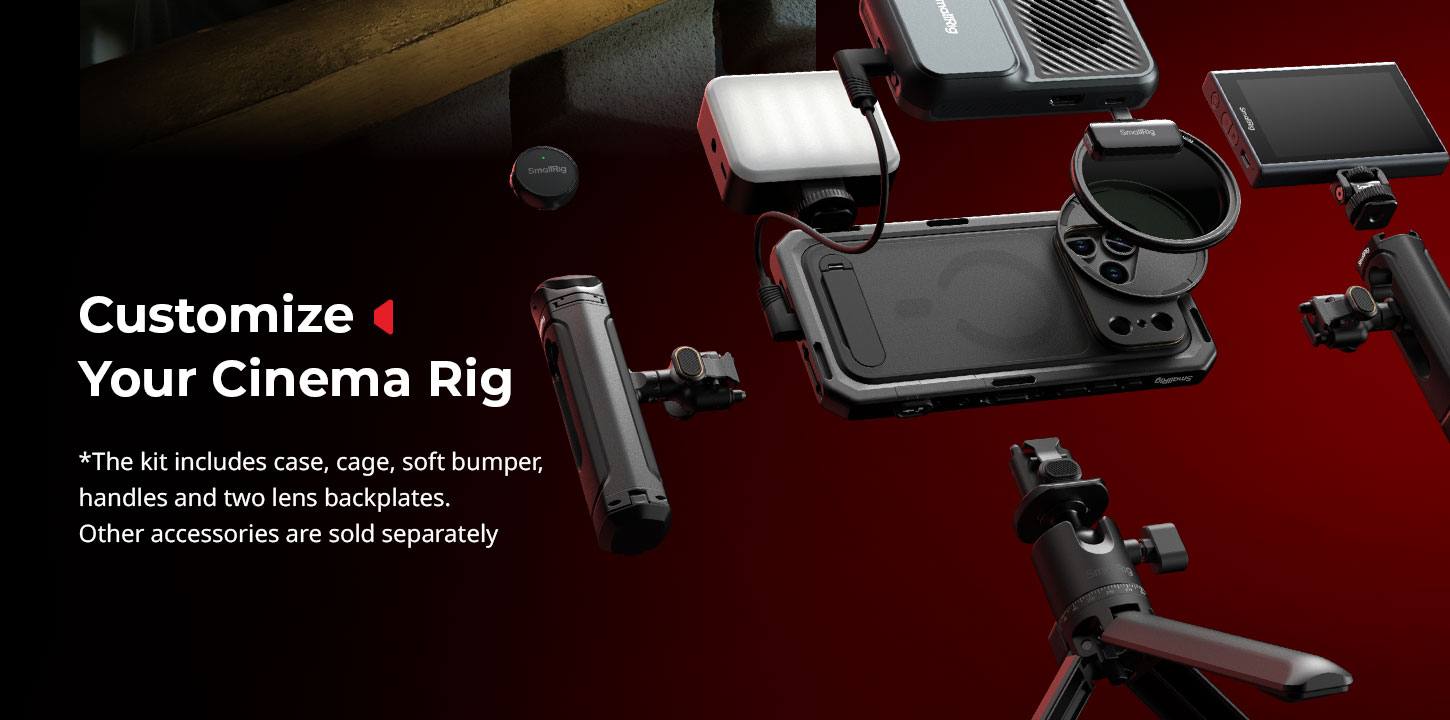
SmallRig also offers model-specific Mobile Video Cages for current iPhones (including iPhone 17/16 series) with all-metal coverage, several 1/4"-20 mounts and cold shoes, quick-release interfaces, and interchangeable lens backplates (M-mount, 17/37mm threads, Moment T-series). These are priced roughly between about $50–$70, depending on the edition, with a Universal Mobile Phone Cage at approximately $36.99 and complete mobile video kits at approximately $119.99.
Step 4: Check Device Compatibility
Not all iPhone models are compatible with all iPhone rigs. Older-model iPhone 17 Pros are specific in their dimensions and camera bump spots, which cannot be adequately handled with some older cage designs. Always verify exact model compatibility before purchasing, especially with precision-fit cages.
Define your budget and use cases, select an ecosystem you can rely on, and then determine the specific device fit. If you do that, the "correct" rig will pretty much choose itself.
Essential Gear of iPhone 17 Pro Camera Rig
Building a functional rig means starting with core components and expanding based on your specific needs. Don't try to buy everything at once - start simple and add pieces as your skills and requirements grow.
Core Cage Selection
Your cage choice determines everything else in your setup. Look for models with at least 6-8 mounting points spread around the frame. Cold shoe mounts on top work great for accessories like microphones or small lights. Pay attention to port access - the best cages provide full access to USB-C port, wireless charging areas, and camera controls without requiring removal.
Gimbals vs. Handles
Microphones and Audio
Your iPhone's built-in mics aren't terrible, but they're not professional either. A basic shotgun microphone like the Rode VideoMic Me-C plugs directly into your phone and dramatically improves audio quality for $89. For more serious work, wireless systems like the Rode Wireless Go series give you freedom to move around.
Basic Lighting Tools
Small LED panels that mount directly to your cage provide fill light for interviews or indoor shooting. Look for panels with adjustable color temperature and dimming controls. For outdoor work, reflectors often work better than artificial lights.
Start with a cage + audio as your foundation, then add stabilization and lights as your shots demand. Each new piece should solve a real problem in your workflow.
How to Assemble Your iPhone Camera Rig Setup?
Proper assembly makes the difference between a rig that works smoothly and one that constantly needs adjustment or falls apart during shoots.
Step 1: Install Cage Base
Start with a clean workspace and all your components laid out. Most cages come in two or three pieces that clamp around your phone. Install the back plate first, making sure all camera cutouts align properly. Tighten mounting screws finger-tight initially, then use the included tools to snug them down.
Step 2: Secure the iPhone
With the cage properly assembled around your phone, do a function check. All buttons should click normally, ports should be fully accessible, and the camera should have clear sight lines. Test wireless charging if you use it - some cages interfere with charging coils.
Step 3: Attach Stabilizing Accessories
Add larger components like handles or counterweights next. These affect your rig's balance point, so install them before adding smaller accessories. For gimbal users, balance the rig on the gimbal before powering it on.

Step 4: Cable Management
Nothing screams amateur like cables dangling everywhere. Use the cage's built-in cable guides and add zip ties or velcro straps as needed. Route power cables separately from audio cables to prevent interference.
Step 5: Balance the Rig
A well-balanced rig feels lighter and more stable in your hands. Add or remove accessories to achieve a comfortable balance point. The rig should feel stable when held by the primary grip without excessive front or back weight.
Step 6: Test Mounts and Locks
Before your first real shoot, stress-test all connections. Shake the rig gently and listen for rattling or loose parts. Check that all threaded connections are tight and that quick-release mechanisms engage properly.
Tighten, balance, and test before you hit record. Ten minutes of setup prevents hours of fixes in post.
4 Common Mistakes to Avoid
Learning from others' mistakes saves time and money. Here are the biggest pitfalls that trip up new rig builders.
Over-Complicating the Setup
New rig builders often try to mount every possible accessory, creating unwieldy monsters that are exhausting to use. Start minimal and only add components that solve specific problems in your workflow. Every accessory adds weight, complexity, and potential failure points.
Ignoring Weight Balance
A front-heavy rig causes arm fatigue and shaky footage. Too much weight in the back makes precise framing difficult. Spend time getting the balance right - your arms will thank you during long shooting days.
Poor Cable Organization
Loose cables catch on things, create noise, and look unprofessional. They can also pull out at critical moments, ruining takes. Invest in proper cable management tools and take time to route everything cleanly.
Skipping Maintenance
Threaded connections work loose over time, especially with vibration from handheld use. Check all mounting screws before important shoots and carry the necessary tools for field adjustments.
Keep it simple, keep it balanced, and keep it tidy. Professional results follow when your rig is disciplined and maintained.
Frequently Asked Questions
Q1. What’s the Real Difference Between a Basic iPhone Cage and a Complete Filming Rig System?
An iPhone cage is just the protective frame that surrounds your phone and provides mounting points for accessories. A complete filming rig includes the cage plus all the additional components like stabilizers, audio equipment, lighting, and power systems. You can start with just a cage for $50-100, but a fully equipped professional rig system can easily cost $500, depending on your needs.
Q2. Can I Use iPhone 16 Pro Accessories With the New iPhone 17 Pro Model?
Most accessories will work, but the cage itself probably won't fit properly. Apple typically changes the camera bump size and button locations between generations, which means precision-fit cages need to be model-specific. However, accessories like microphones, lights, monitors, and stabilizers that mount to the cage via standard threading will transfer over fine.
Q3. Why Do Many Creators Recommend SmallRig for iPhone Camera Rigs?
SmallRig has become the go-to choice for many iPhone filmmakers because they offer model-specific cages that actually fit properly. Unlike generic cages that use one-size-fits-all approaches, SmallRig designs dedicated cages for each iPhone model, including the iPhone 17 Pro series. Their cages feature precise cutouts for cameras, buttons, and ports, plus they include multiple 1/4"-20 mounting threads and cold shoe attachments in useful locations. The build quality uses solid aluminum construction that can handle real-world use without bending or breaking.
Get Your Professional iPhone Rig
Building the perfect iPhone 17 Pro filming rig takes time and experimentation, but the results speak for themselves. Start with a quality cage that fits your budget and shooting style, then expand your kit as your skills and projects demand more sophisticated tools.

Don't wait for the perfect setup - grab a basic cage and start shooting. You'll learn more about what you actually need from hands-on experience than from reading specs online.
Keep Reading
 71" Camera Tripod 3935: A Quick Guide to Mastering Versatile Shooting
 A Complete Guide to Using the SmallRig 78" Camera Tripod 3474C
 How to Connect the Wireless Control Handle 4329 with the Follow Focus Motor 4297
Related Products from SmallRig