Search smallrig.com...


Behind the Scenes with SmallRig's Gimbal Stabilizer: Unlocking Professional-Quality Video Production
SmallRig 2024-05-08 00:10:35
Are you tired of shaky and unprofessional-looking footage? Look no further – we have the ultimate solution to transform your filmmaking game! SmallRig's Gimbal Stabilizer is a revolutionary tool that will unlock the power of smooth and steady footage like never before. Whether you're an aspiring filmmaker or a seasoned pro, this FAQ is here to help you have a knowledge about SmallRig’s Gimbal Stabilizer and guide you through the incredible features and benefits of SmallRig's game-changing gimbal stabilizer.
What are the benefits of using the Gimbal Stabilizer of SmallRig?
SmallRig's gimbal stabilizer is an innovative piece of equipment that offers a number of benefits for users. Perhaps the most significant benefit is the fact that it helps to produce smooth, stable footage. This is especially important for users who want to capture cinematic footage. Other benefits of using a SmallRig Gimbal Stabilizer include:
-The ability to quickly and easily adjust the camera's position
-The ability to capture panoramic shots
-The ability to create time-lapse videos
-The ability to take low-light shots
What are the tips for capturing smooth footage with the Gimbal Stabilizer?
SmallRig's Gimbal Stabilizer is a great tool for capturing smooth footage, especially when used in combination with other stabilization techniques. Here are some tips for getting the most out of your Gimbal Stabilizer:
1. Use a tripod. A tripod will help keep your camera steady and prevent it from shaking while you're trying to capture footage.
2. Use a low ISO setting. A low ISO setting will help reduce camera shake and produce smoother footage.
3. Use a fast shutter speed. A fast shutter speed will also help reduce camera shake and produce smoother footage.
4. Experiment with different settings and find what works best for you. Each situation is different, so it's important to experiment with different settings to find what works best for you.
How to set up SmallRig's Gimbal Stabilizer?
First and foremost, you'll need to make sure that your camera is properly balanced on the Gimbal by adjusting the weight distribution of the camera by moving it back and forth or side to side until it is level. Once your camera is balanced, you can power on the stabilizer by pressing the power button located on the side of the unit.
Next, you'll need to calibrate the gimbal. This can be done by holding down the calibrate button (also located on the side of the unit) for 3-5 seconds. The Gimbal will then go through a series of movements to calibrate itself.
Now that your gimbal is calibrated and your camera is balanced, you're ready to start shooting smooth, cinematic footage!
To summarize, SmallRig's Gimbal Stabilizer is a great way to take your cinematic footage to new heights. Whether you are an amateur or professional filmmaker, the possibilities with this innovative device are endless.
Keep Reading
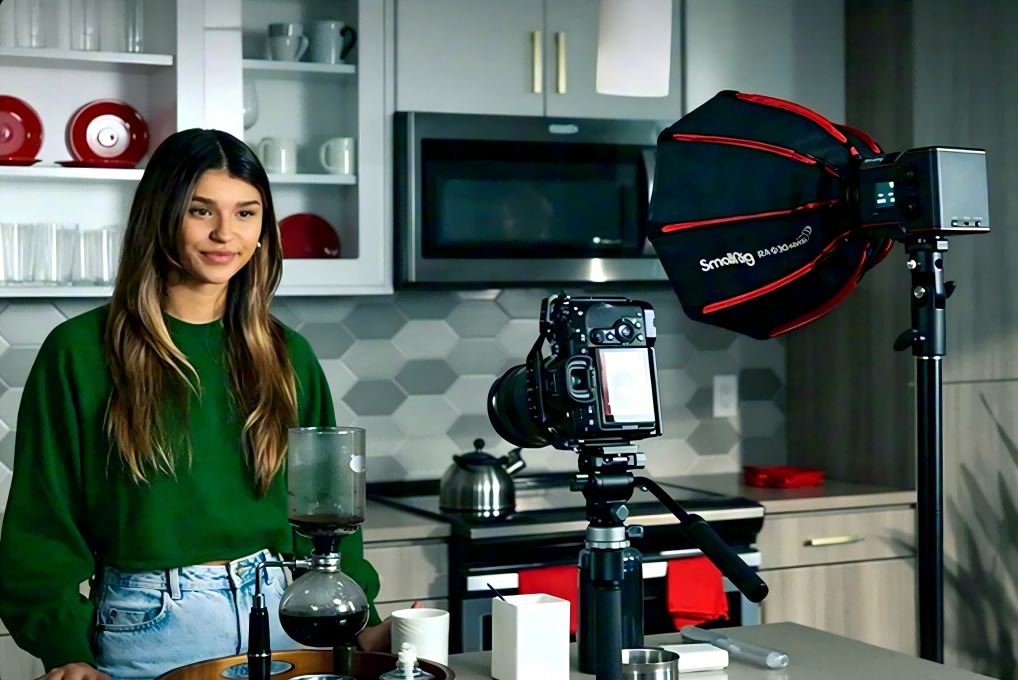 Best Portable Lighting Setup for Solo Content Creators
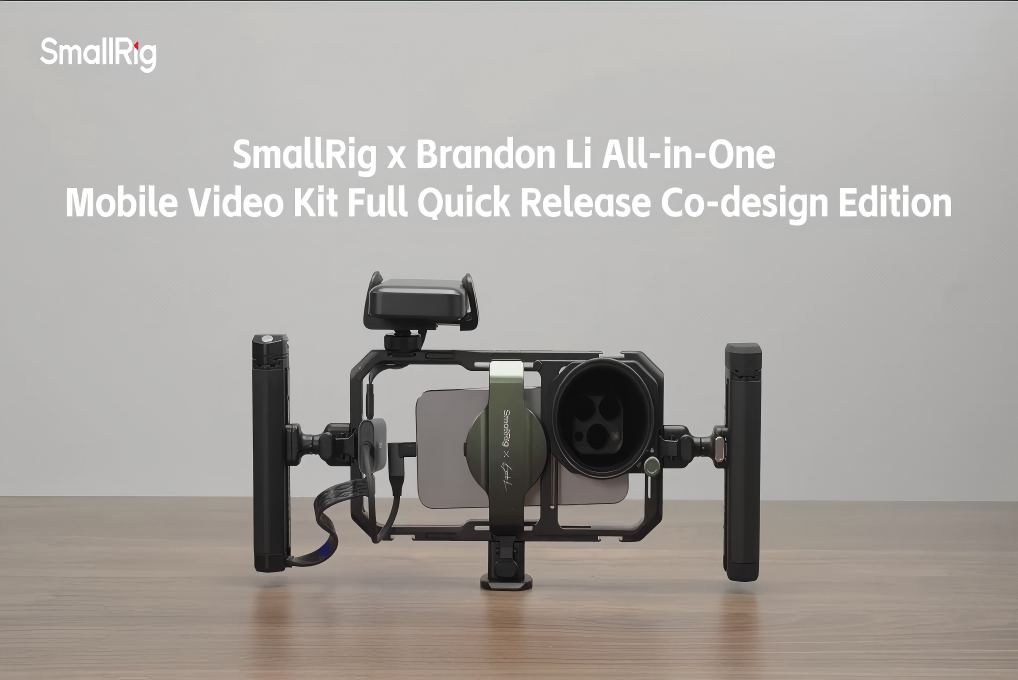 From Bare Phone to Pro Rig: The Complete Setup Guide for SmallRig × Brandon Li
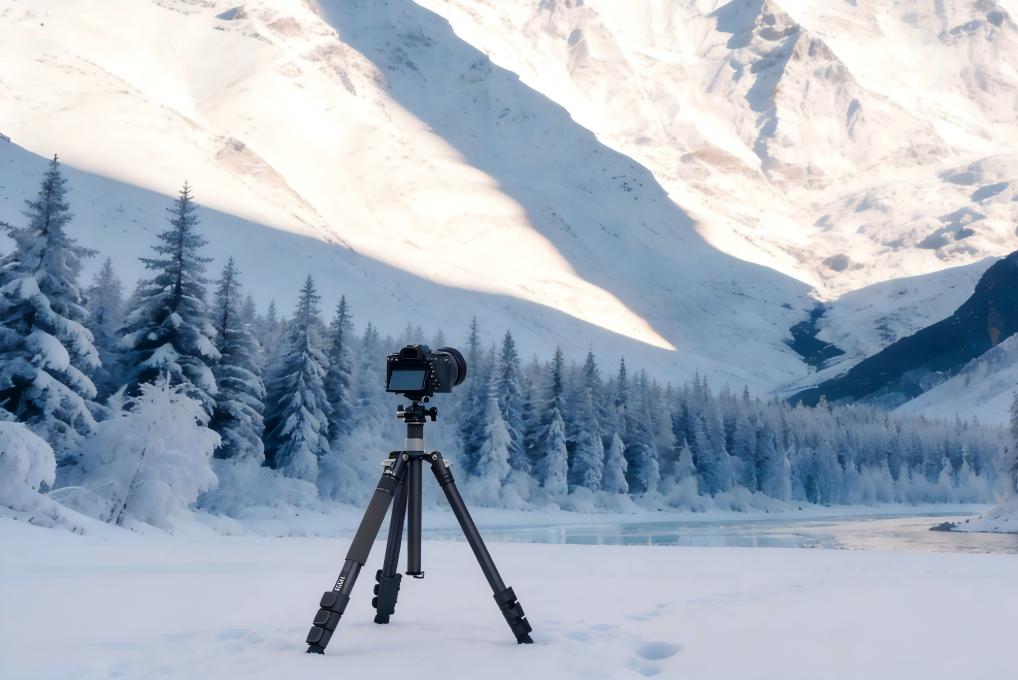 Best Travel Tripods 2026: Carbon Fiber vs Aluminum — Which Should You Choose?