Search smallrig.com...


Shaky Footage Solved: Handheld Stabilizer VS Tripod VS Shoulder Rig
SmallRig 2025-10-28 04:23:40
Contents
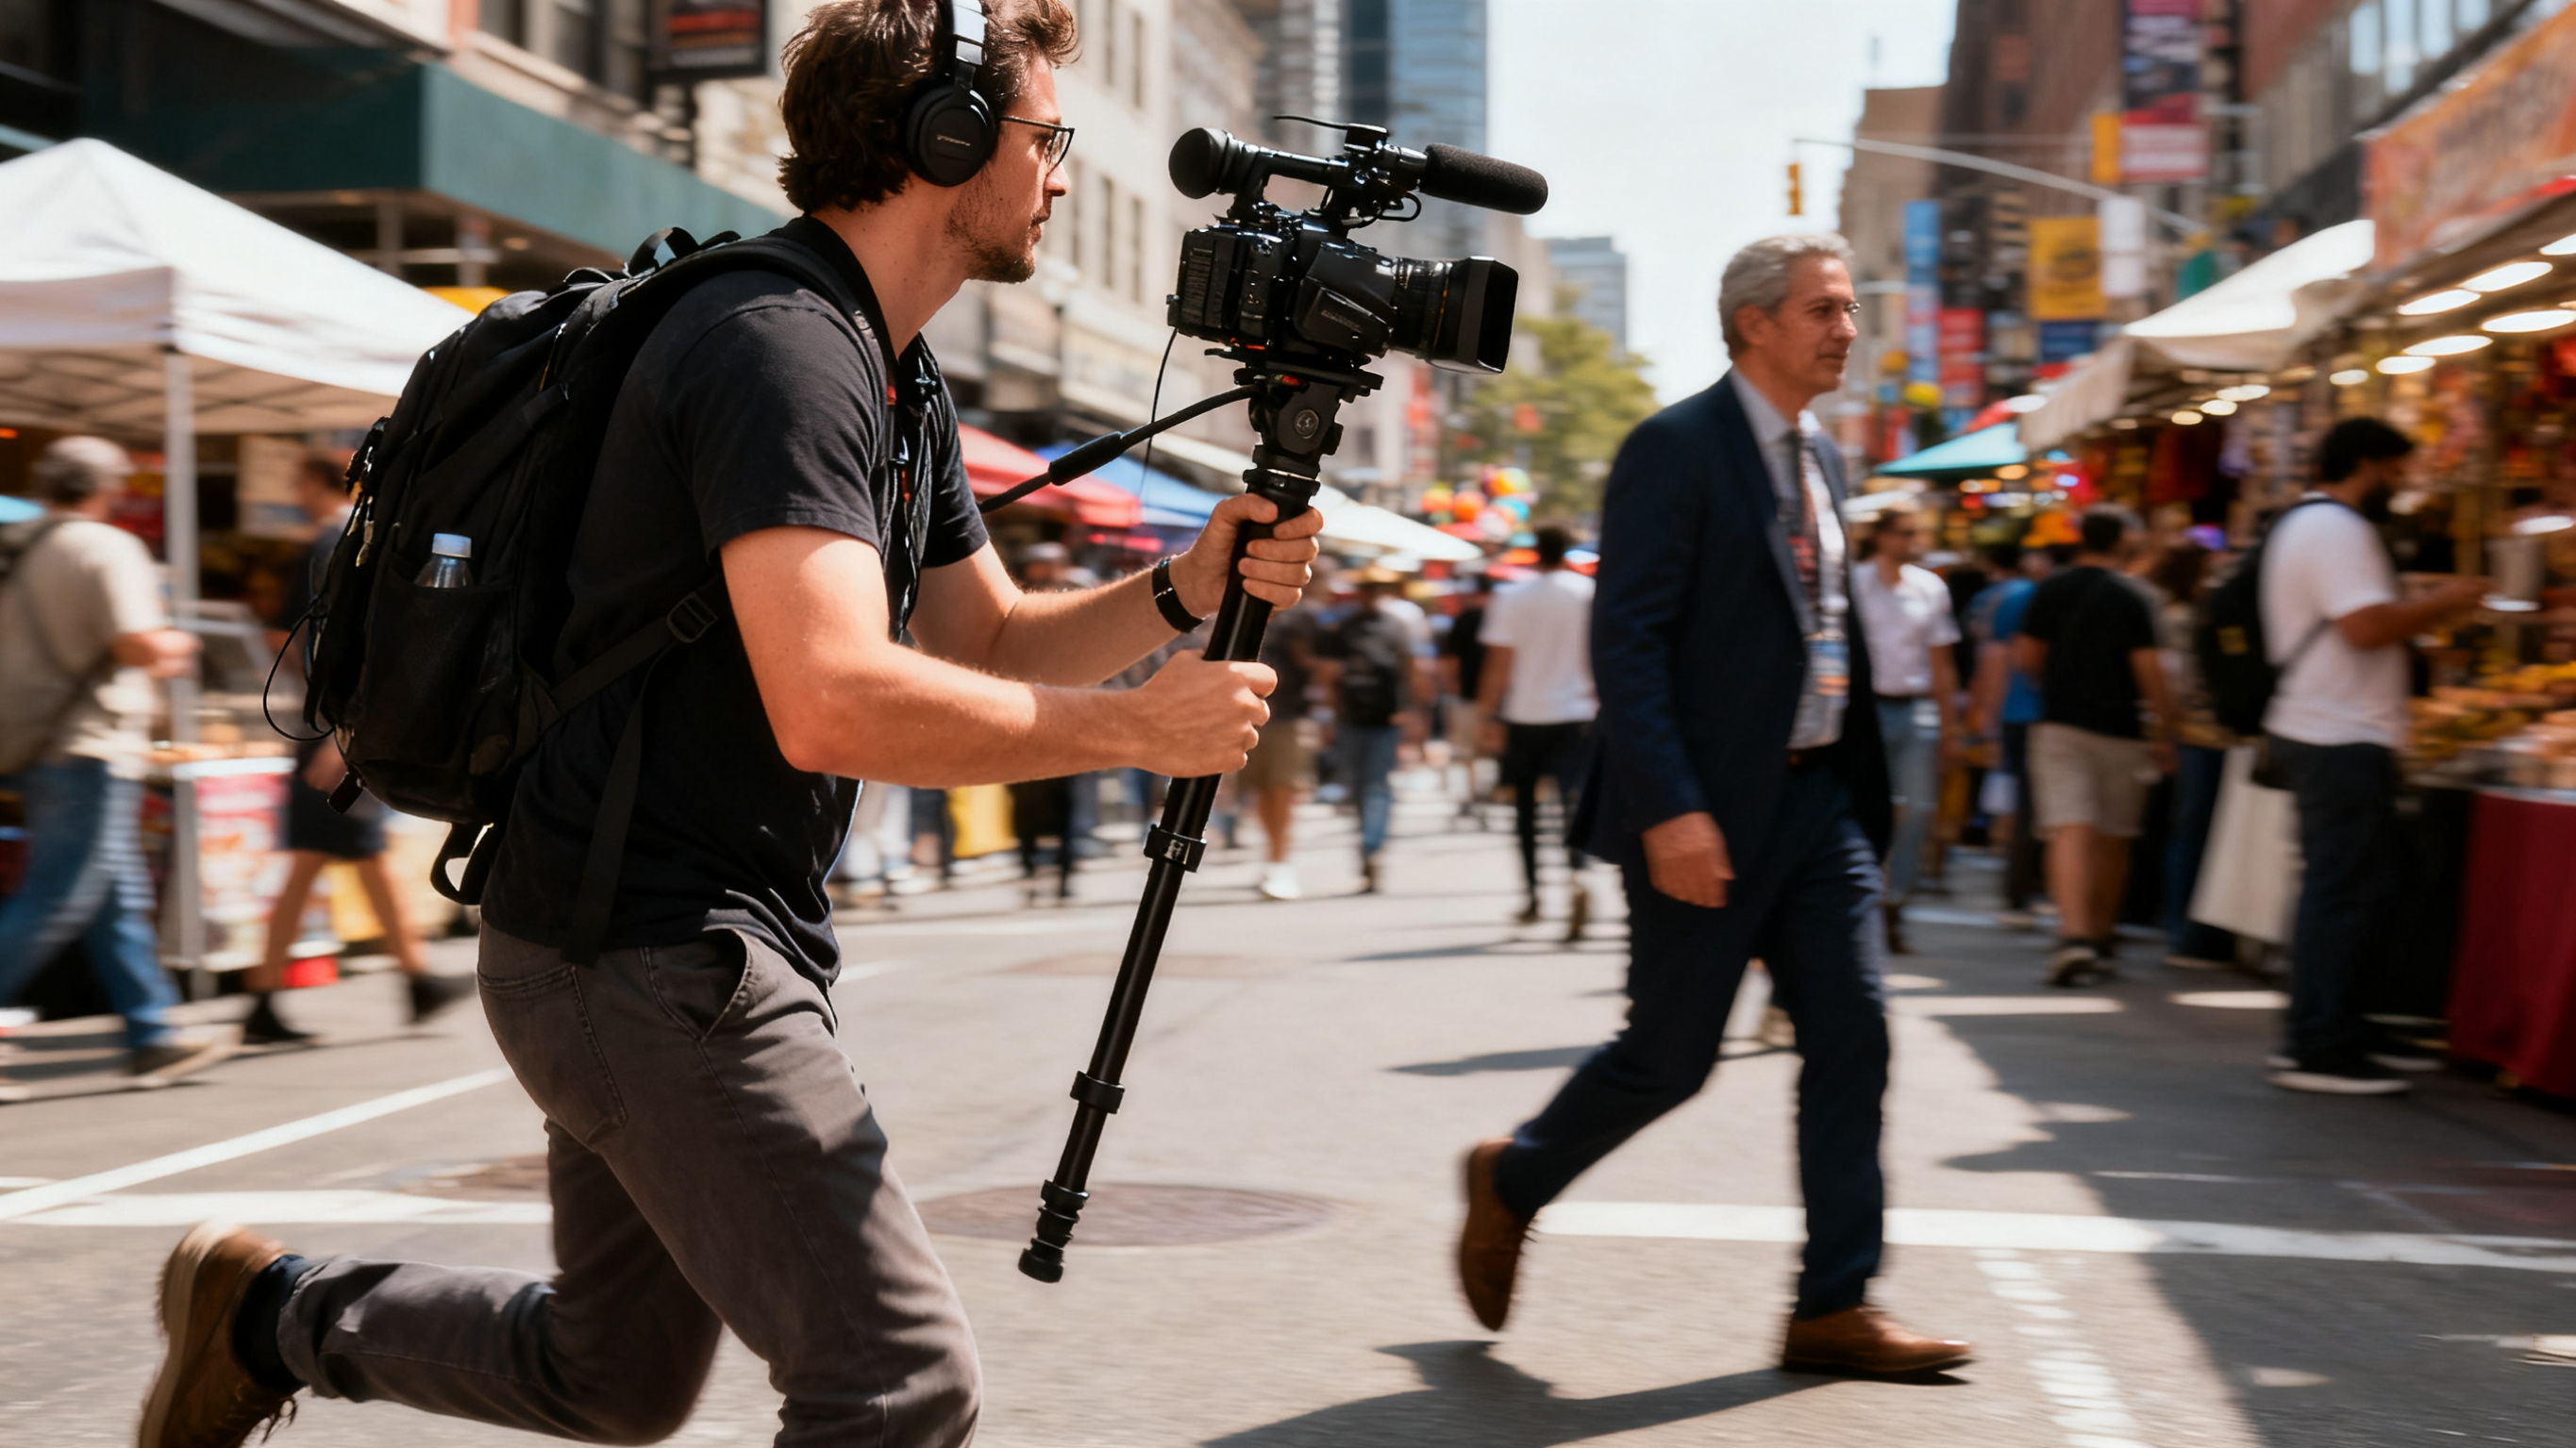
Nobody wants to watch shaky footage – it's unprofessional and makes viewers seasick. The good news is that picking the right stabilization gear can completely transform your video quality. You've got three main options: handheld stabilizers for smooth movement, camera tripods for rock-solid shots, and shoulder rigs for comfortable extended filming. Each tool shines in different situations, and knowing when to use which one will make your footage look way more professional without breaking the bank.
What Are the Core Differences Between These Three Stabilization Tools?
Understanding how these stabilization methods stack up against each other helps you make smarter gear choices instead of just buying whatever looks cool on YouTube.
| Comparison Factor | Handheld Stabilizer | Camera Tripod | Shoulder Rig |
| Stability Performance | Dynamic stability, eliminates movement shake | Absolute stability, completely eliminates camera movement | Reduces handheld fatigue, provides moderate stability |
| Mobility and Portability | Complete freedom of movement, great for tracking shots | Fixed position, requires setup time for repositioning | Mobile friendly, perfect for following subjects |
| Operation Complexity | Requires balancing and battery charging | Simple operation, set up and shoot | Easy installation, adjust for comfort |
| Suitable Scenarios | Dynamic movement shots, creative cinematography | Static shots, professional productions | Documentary work, interviews, extended handheld filming |
Each stabilization tool serves a specific purpose: handheld stabilizers excel at creative dynamic shots, camera tripods deliver professional-grade stability, and shoulder rigs find the sweet spot between mobility and comfort for long filming sessions. Your choice depends on what type of footage you're trying to capture and how much movement you need.
When Should You Use a Camera Tripod?
Camera tripods might seem old-school, but they're still the gold standard for certain types of video work. Don't overlook these sturdy workhorses just because they're not as flashy as newer gear.
For Static and Still Shots
When you need your camera to stay perfectly still, nothing beats a tripod. Product videos, talking head interviews, and establishing shots all benefit from the rock-solid stability that only a camera tripod can provide. Even the steadiest hands can't compete with a good tripod for eliminating micro-movements that show up on camera.
For Studio and Professional Work
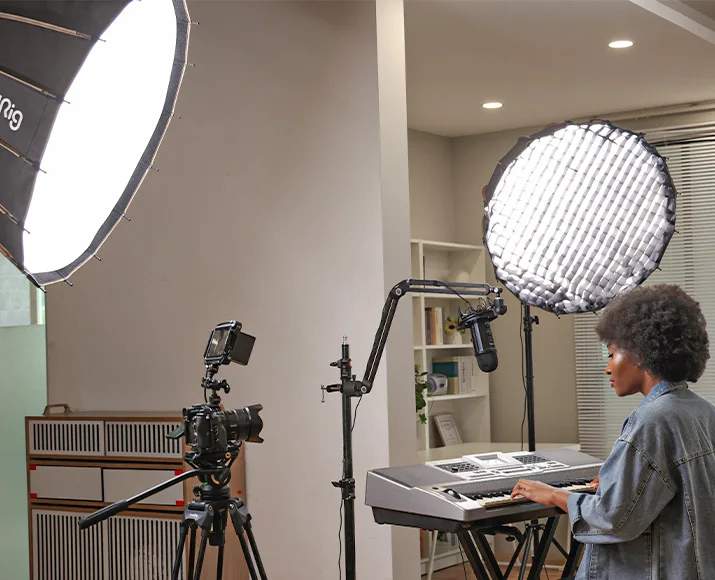
Most professional video studios rely heavily on tripods because they allow for precise camera positioning and repeatable setups. When you're doing multi-camera shoots or need to match angles across different takes, tripods let you mark exact positions and return to them quickly.
For Time Lapse Projects
Time-lapse photography absolutely requires a tripod – there's no way around it. Even the slightest camera movement during an hour-long time-lapse sequence will ruin your footage. A sturdy camera tripod ensures your camera stays in exactly the same position throughout the entire shoot. While video tripods prioritize smooth panning, photography-focused tripods often offer superior stability for these static applications.
For Precision Framing
Some shots demand pixel-perfect framing, especially when you're compositing footage later or working with graphics. Tripods allow you to fine-tune your composition and lock it in place, ensuring consistent framing throughout your take.
Camera tripods remain essential for any serious video production because they eliminate human error and provide a stable foundation that other stabilization methods simply can't match.
What Shooting Scenarios Suit a Camera Shoulder Rig Best?
Camera shoulder rigs don't get as much attention as fancy gimbals, but they're incredibly practical for real-world shooting situations. These rigs solve problems that high-tech stabilizers can't touch.
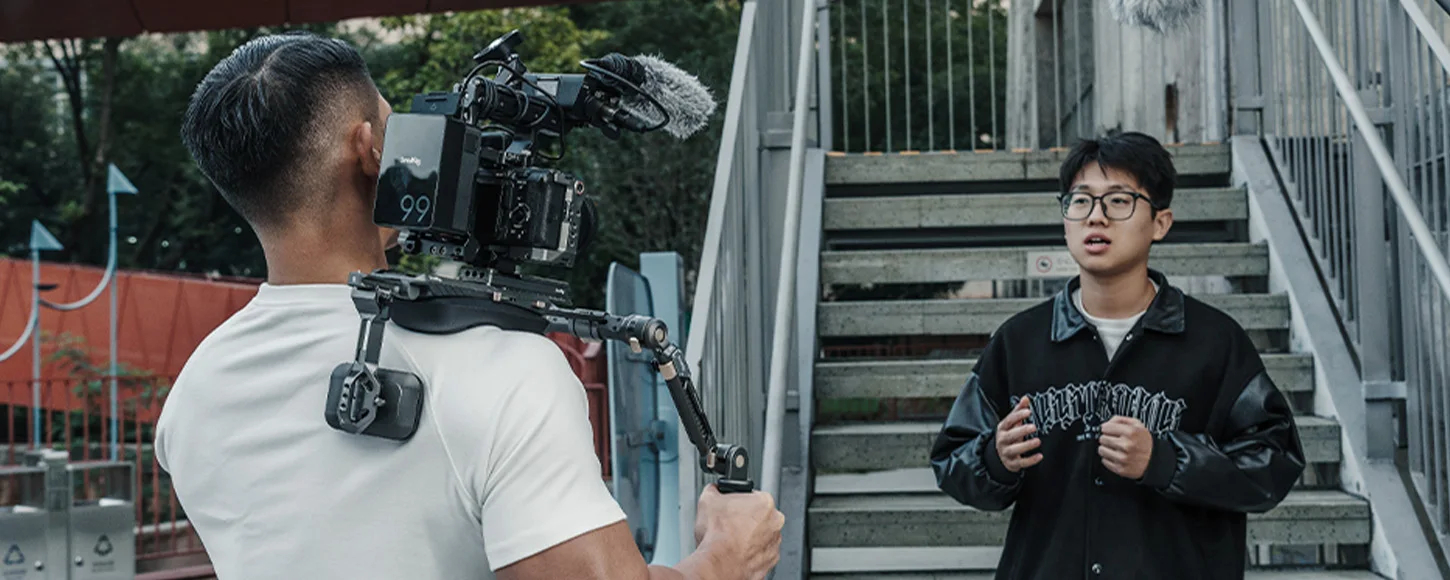
For Long Handheld Filming
After holding a DSLR for 30 minutes straight, your arms start shaking, no matter how strong you are. A camera shoulder rig distributes the weight across your shoulder and chest, letting you film for hours without fatigue. Documentary filmmakers and wedding videographers swear by shoulder rigs for exactly this reason.
For Documentary Style Shooting
Documentary work often requires following subjects around unpredictably, making tripods impractical and gimbals overkill. A shoulder rig gives you the mobility to move with your subject while providing enough stability to keep your footage usable. The slight human movement actually adds to the documentary aesthetic.
For Interview Recording
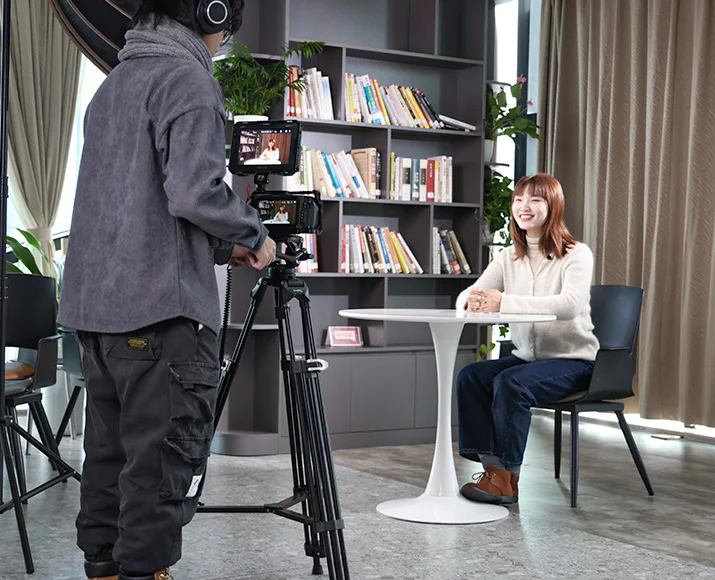
For sit-down interviews, you want something more stable than a handheld but more flexible than a locked-off tripod shot. Camera shoulder rigs let you make subtle adjustments to framing during the conversation while maintaining smooth, professional-looking footage.
For Run and Gun Filming
When you need to grab shots quickly without time for setup, shoulder rigs are perfect. You can shoulder the camera, adjust your settings, and start filming in seconds. This speed makes them ideal for event videography, news gathering, and any situation where you can't control the timing.
Camera shoulder rigs bridge the gap between handheld flexibility and tripod stability, making them perfect for situations where you need both mobility and endurance.
How to Pick and Use a DSLR Shoulder Rig: 4 Steps
Getting the right DSLR shoulder rig and setting it up correctly can make the difference between comfortable filming and an aching back. Here's how to choose and use one like a pro.
Step 1: Check Camera Compatibility
Not every shoulder rig works with every camera. Check your DSLR's weight, dimensions, and mounting points before buying. Most rigs use standard 1/4"-20 tripod threads, but some cameras have off-center mounting points that can throw off the balance. Measure your camera with its heaviest lens attached – that's what the rig needs to handle.
Step 2: Confirm Weight Capacity
Your rig needs to support more than just your camera body. Factor in your heaviest lens, external monitor, microphone, and any other accessories you regularly use. A good rule of thumb is to choose a rig rated for at least twice your total setup weight, since most DSLR/mirrorless rigs weigh 5–12 lbs when fully accessorized with lenses, monitors, and microphones.
Step 3: Test Ergonomic Design
Comfort matters more than you think when you're filming all day. Look for shoulder rigs with padded shoulder pads and chest supports. The weight distribution should feel natural, not front-heavy or awkward. If possible, try the rig in person before buying – what looks comfortable online might not work for your body type.
Step 4: Plan Accessory Expansion
Think about what accessories you'll want to add later. Good DSLR shoulder rigs have multiple mounting points for monitors, microphones, follow focus systems, and external recorders. Rod systems are particularly useful because they're standardized and expandable. Don't get locked into a rig that can't grow with your needs.
The right DSLR shoulder rig should feel like a natural extension of your body, distributing weight evenly while keeping all your controls within easy reach.
What Makes a Handle Rig for a Camera Useful?
Handle rigs might look simple, but the right one can dramatically improve your handheld shooting experience. These basic stabilizers pack more utility than you might expect.
Better Grip and Control
A good handle rig for a camera transforms how your camera feels in your hands. Instead of gripping a small camera body, you get a substantial handle that distributes pressure across your palm. This reduces hand fatigue and gives you better control over camera movements. Look for handles with ergonomic grips and finger grooves.
Strong Build Quality
Handle rigs take a beating during regular use, so build quality matters. Aluminum rigs are lightweight but can show wear, while steel versions are heavier but nearly indestructible. The mounting system should be rock-solid – any flex in the connection will show up as camera shake in your footage.
Quick Attach and Remove
Lever-operated clamps or standard Arca-Swiss quick-release plates let you switch between handheld and tripod shooting in seconds, since this is the most widely adopted system across rigs and tripods.
Best Value for Money
SmallRig handle rigs cover a wider price range than you might expect, starting from about USD $45 for basic aluminum side handles up to USD $180+ for advanced full-featured kits. If you’re looking for a lightweight yet durable option, the compact aluminum models priced around USD $60-90 usually offer the best value. Built from solid aluminum with anti-slip grips and quick-release mounts, they deliver near-professional stability without the bulk of electronic stabilizers. The right SmallRig handle instantly improves handheld shooting stability and comfort, giving you smoother footage without the high cost or complexity of gimbals. With the right material and ergonomic design, you’ll notice the difference immediately in outdoor shoots and everyday video work.
FAQs about Top Stabilization
Q1. Can You Combine Stabilization Methods?
For sure! This combo often gives you the best of both worlds. Many camera shoulder rigs come with tripod mounting threads at the bottom, allowing you to attach the entire rig to a tripod easily. This setup gives you the quick-release ease of a shoulder rig with the super steady stability of a tripod when it's needed. It's especially handy for interviews where you might want to kick things off on a tripod for those formal shots, but then quickly switch to shoulder mode for B-roll or reaction shots. Just make sure your tripod can handle the extra weight and bulk of the setup. What's setup!
Q2. Which Gear Has the Steepest Learning Curve?
The learning curves ranged widely. Camera tripods are point-and-shoot – set them up, lean them, and you're ready to go. Anybody can operate an effective tripod in minutes. Shoulder rigs have an average learning curve, a centered setup, and comfortable operating positions. It may take several shooting expeditions to find an optimal fit and balance. Handheld stabilizers have the most significant learning curve of all. Correct balancing, smooth operating skills, and battery management can take weeks to learn and master. Many operators purchase expensive gimbals and abandon ship due to underestimating the skill required to operate one effectively.
Q3. Do Shoulder Rigs Work With Mirrorless and Camcorders?
Sure, you can use shoulder rigs on different types of cameras, but there are some essential details to consider. Mirrorless cameras tend to be too light for shoulder rigs designed for DSLRs, which can make the camera feel front-heavy and imbalanced. You may need to add in some counterweights or find one designed for smaller cameras. Larger camcorders can be problematic – they could be too heavy for rigs intended to work on their own for DSLRs, and may have different mounting requirements. Heavy-duty camcorder shoulder rigs tend to be stouter and have different balance points themselves. The secret is to calibrate the camera's own weight and center of gravity, rather than expecting it to be one-size-fits-all.
The Final Verdict: Choosing Your Path to Shake-Free Video
Start by examining your regular shooting situations, and then grab yourself some quality gear that matches what you require. Whether it's an ultra-stable camera tripod, an ergonomic DSLR shoulder rig, or an easy-grip handle rig for your camera gear, the appropriate stabilization piece of gear will completely elevate your video quality in just minutes.
Keep Reading
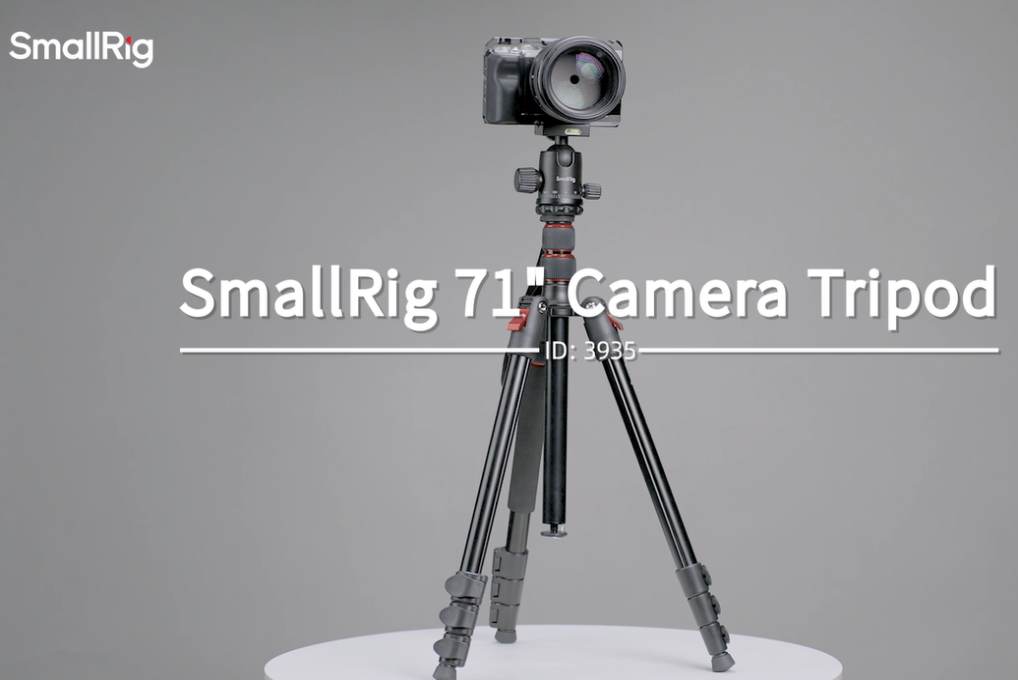 71" Camera Tripod 3935: A Quick Guide to Mastering Versatile Shooting
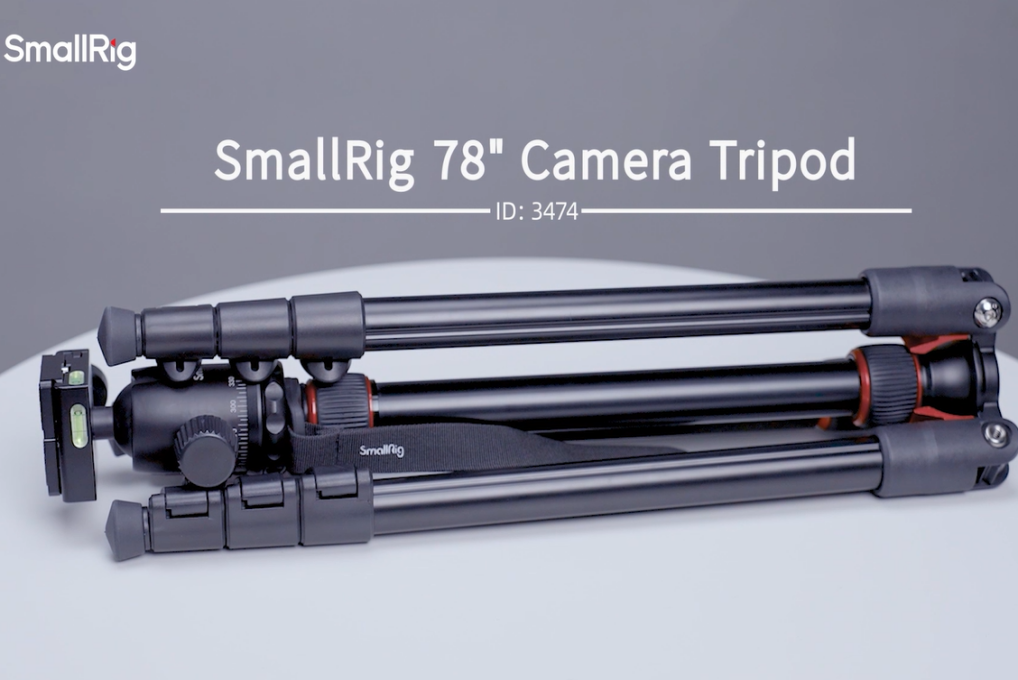 A Complete Guide to Using the SmallRig 78" Camera Tripod 3474C
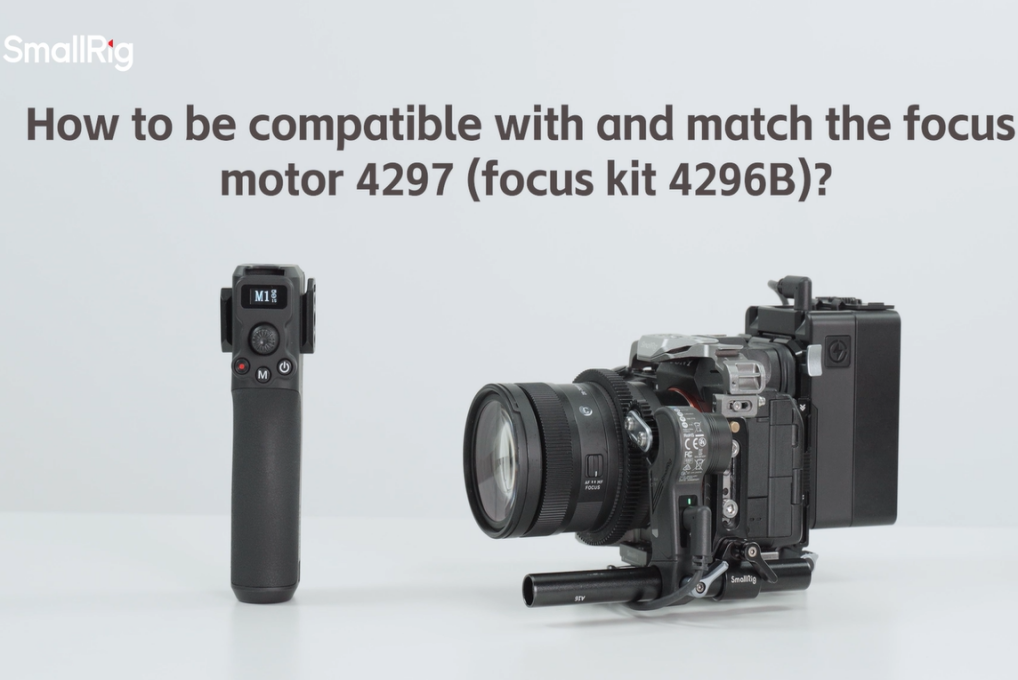 How to Connect the Wireless Control Handle 4329 with the Follow Focus Motor 4297
Related Products from SmallRig