Search smallrig.com...


The Ultimate Guide to Using the RF 10C Portable Focusable LED Video Light
SmallRig Support Team 2025-09-09 00:31:52
Step 1: Quick Start
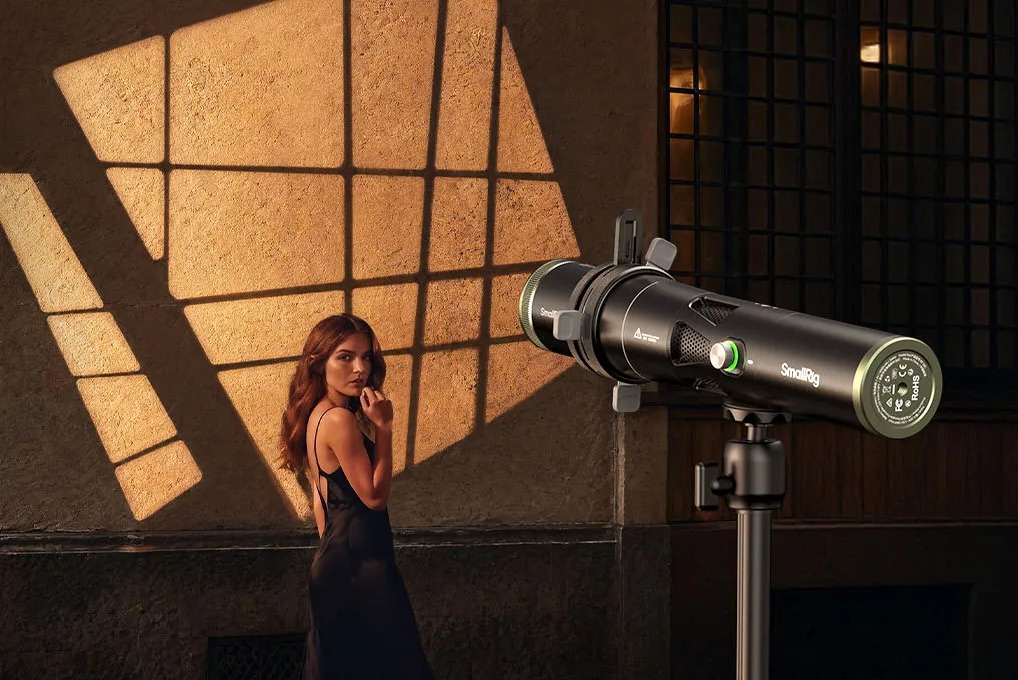
Locate the "Multi-Function Knob" on the light body—simply rotate it half a turn to power on❗️
Locate the "Multi-Function Knob" on the light body—simply rotate it half a turn to power on❗️
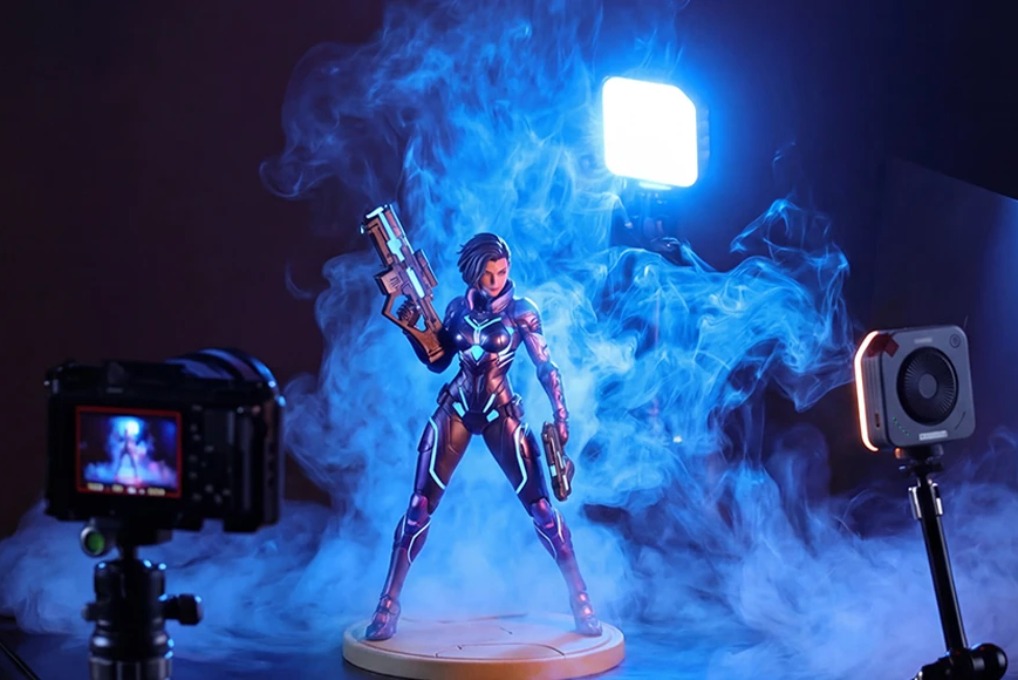
Step 2: Master Color Modes & Brightness Adjustments
▫️ Color Switching Tips
Click the multi-function knob to cycle through four classic tones:
Sunset Orange → Blue → Warm White → Red
Each color adds unique emotion to your shots—use orange for golden hour portraits 🔥, blue for tech-themed product photos 💻, and red for festive holiday scenes 🎄!
▫️ Brightness Control
-
Rotate clockwise = gradually increase brightness ☀️
-
Rotate counterclockwise = smoothly decrease brightness ☁️
-
⚠️ Heads-up: The light will flicker slightly when reaching min/max brightness limits as a reminder
Step 3: Precise Beam Angle Control
This is one of the lamp’s standout features! Use the unique "zoom adjustment mechanism" to switch between spotlight and floodlight:
-
Pull the lamp head forward = narrow beam (spotlight mode) 💥
-
Push the lamp head backward = wider coverage (floodlight mode) 🍃
Common Mistakes to Avoid
✘ Don’t long-press the knob to power on—just rotate it halfway!
✘ Don’t ignore the flicker warning at brightness limits—it helps prevent exposure errors
✘ Don’t stick to one zoom setting—adjust based on shooting distance for optimal results
✘ Don’t long-press the knob to power on—just rotate it halfway!
✘ Don’t ignore the flicker warning at brightness limits—it helps prevent exposure errors
✘ Don’t stick to one zoom setting—adjust based on shooting distance for optimal results
Once you’ve mastered these basics, you’ll see how easy it is to create professional-level lighting magic! Bring the RF 10C on your next shoot and experiment with different color combos and lighting effects!
Keep Reading
 Review: SmallRig RF 20C Portable Zoom Light
 Why You Need a Video Light: A Complete Guide for Content Creators
 The Ultimate Guide to Film Lighting: Techniques, Types, and Setup
Related Products from SmallRig