
Search smallrig.com...


From Bare Phone to Pro Rig: The Complete Setup Guide for SmallRig × Brandon Li
SmallRig 2026-06-25 01:38:18
Contents
You're scrolling through a travel film. The footage is stable, the audio is clean, the colors have that warm, slightly cinematic weight that makes you assume it was shot on a dedicated camera. Then the creator reveals it was a phone — with a rig.
That rig is doing more work than it looks like.
A phone cage doesn't upgrade your sensor or optics. What it does is change the entire ecosystem around the camera — and that ecosystem controls almost everything a viewer perceives as "professional quality." This guide uses the SmallRig × Brandon Li All-in-One Mobile Video Kit (4596) as a real-world example to show exactly what changes, what doesn't, and whether a videography rig is worth it for your situation. We'll also cover when a dedicated phone stand for filming or phone camera stand makes more sense than a full cage.
Bare Phone vs Phone Cage — What Actually Changes?
Let's start with what stays the same: the sensor, the lens, the processing pipeline. A phone cage is not a lens adapter or a sensor upgrade. The light that hits your camera is the same light whether you're holding your bare phone or gripping a fully-loaded rig.
What changes is how you interact with that camera — and how the camera interacts with your accessories.
A bare phone has one serious physical problem: the only way to hold it is by gripping the device itself. That means finger contact, wrist fatigue, and micro-vibration transmitted directly to the sensor. It also means tapping the screen to start recording, which produces a visible jolt in the first half-second of every clip. And since there's no mounting point for anything else, every accessory — a microphone, a light, a filter — requires a separate stand, a separate power source, and a separate workflow headache.
A phone cage solves all of this structurally. It wraps the phone in a rigid frame fitted with standard attachment points: cold shoe mounts (for microphones and lights), NATO rails (for handles and accessories), and 1/4"-20 threads (for any tripod or phone video stand on earth). The cage doesn't change the camera. It turns the camera into a proper production tool.
The six dimensions where this matters most:
-
Stability — two-hand grip with handles eliminates micro-shake; Bluetooth shutter means zero screen contact
-
Audio — cold shoe accepts a directional microphone that dramatically outperforms the built-in omni mic
-
Lighting — NATO rail or cold shoe accommodates an LED panel for controlled, flattering key light
-
ND / VND filters — threaded filter mount enables the 180° shutter rule, adding natural motion blur
-
Workflow — USB-C hub enables external SSD recording and pass-through power, removing storage and battery limits
-
Repeatability — 1/4"-20 socket mounts to any tripod so framing is locked and reproducible
Build List: A Practical Phone Rig Setup
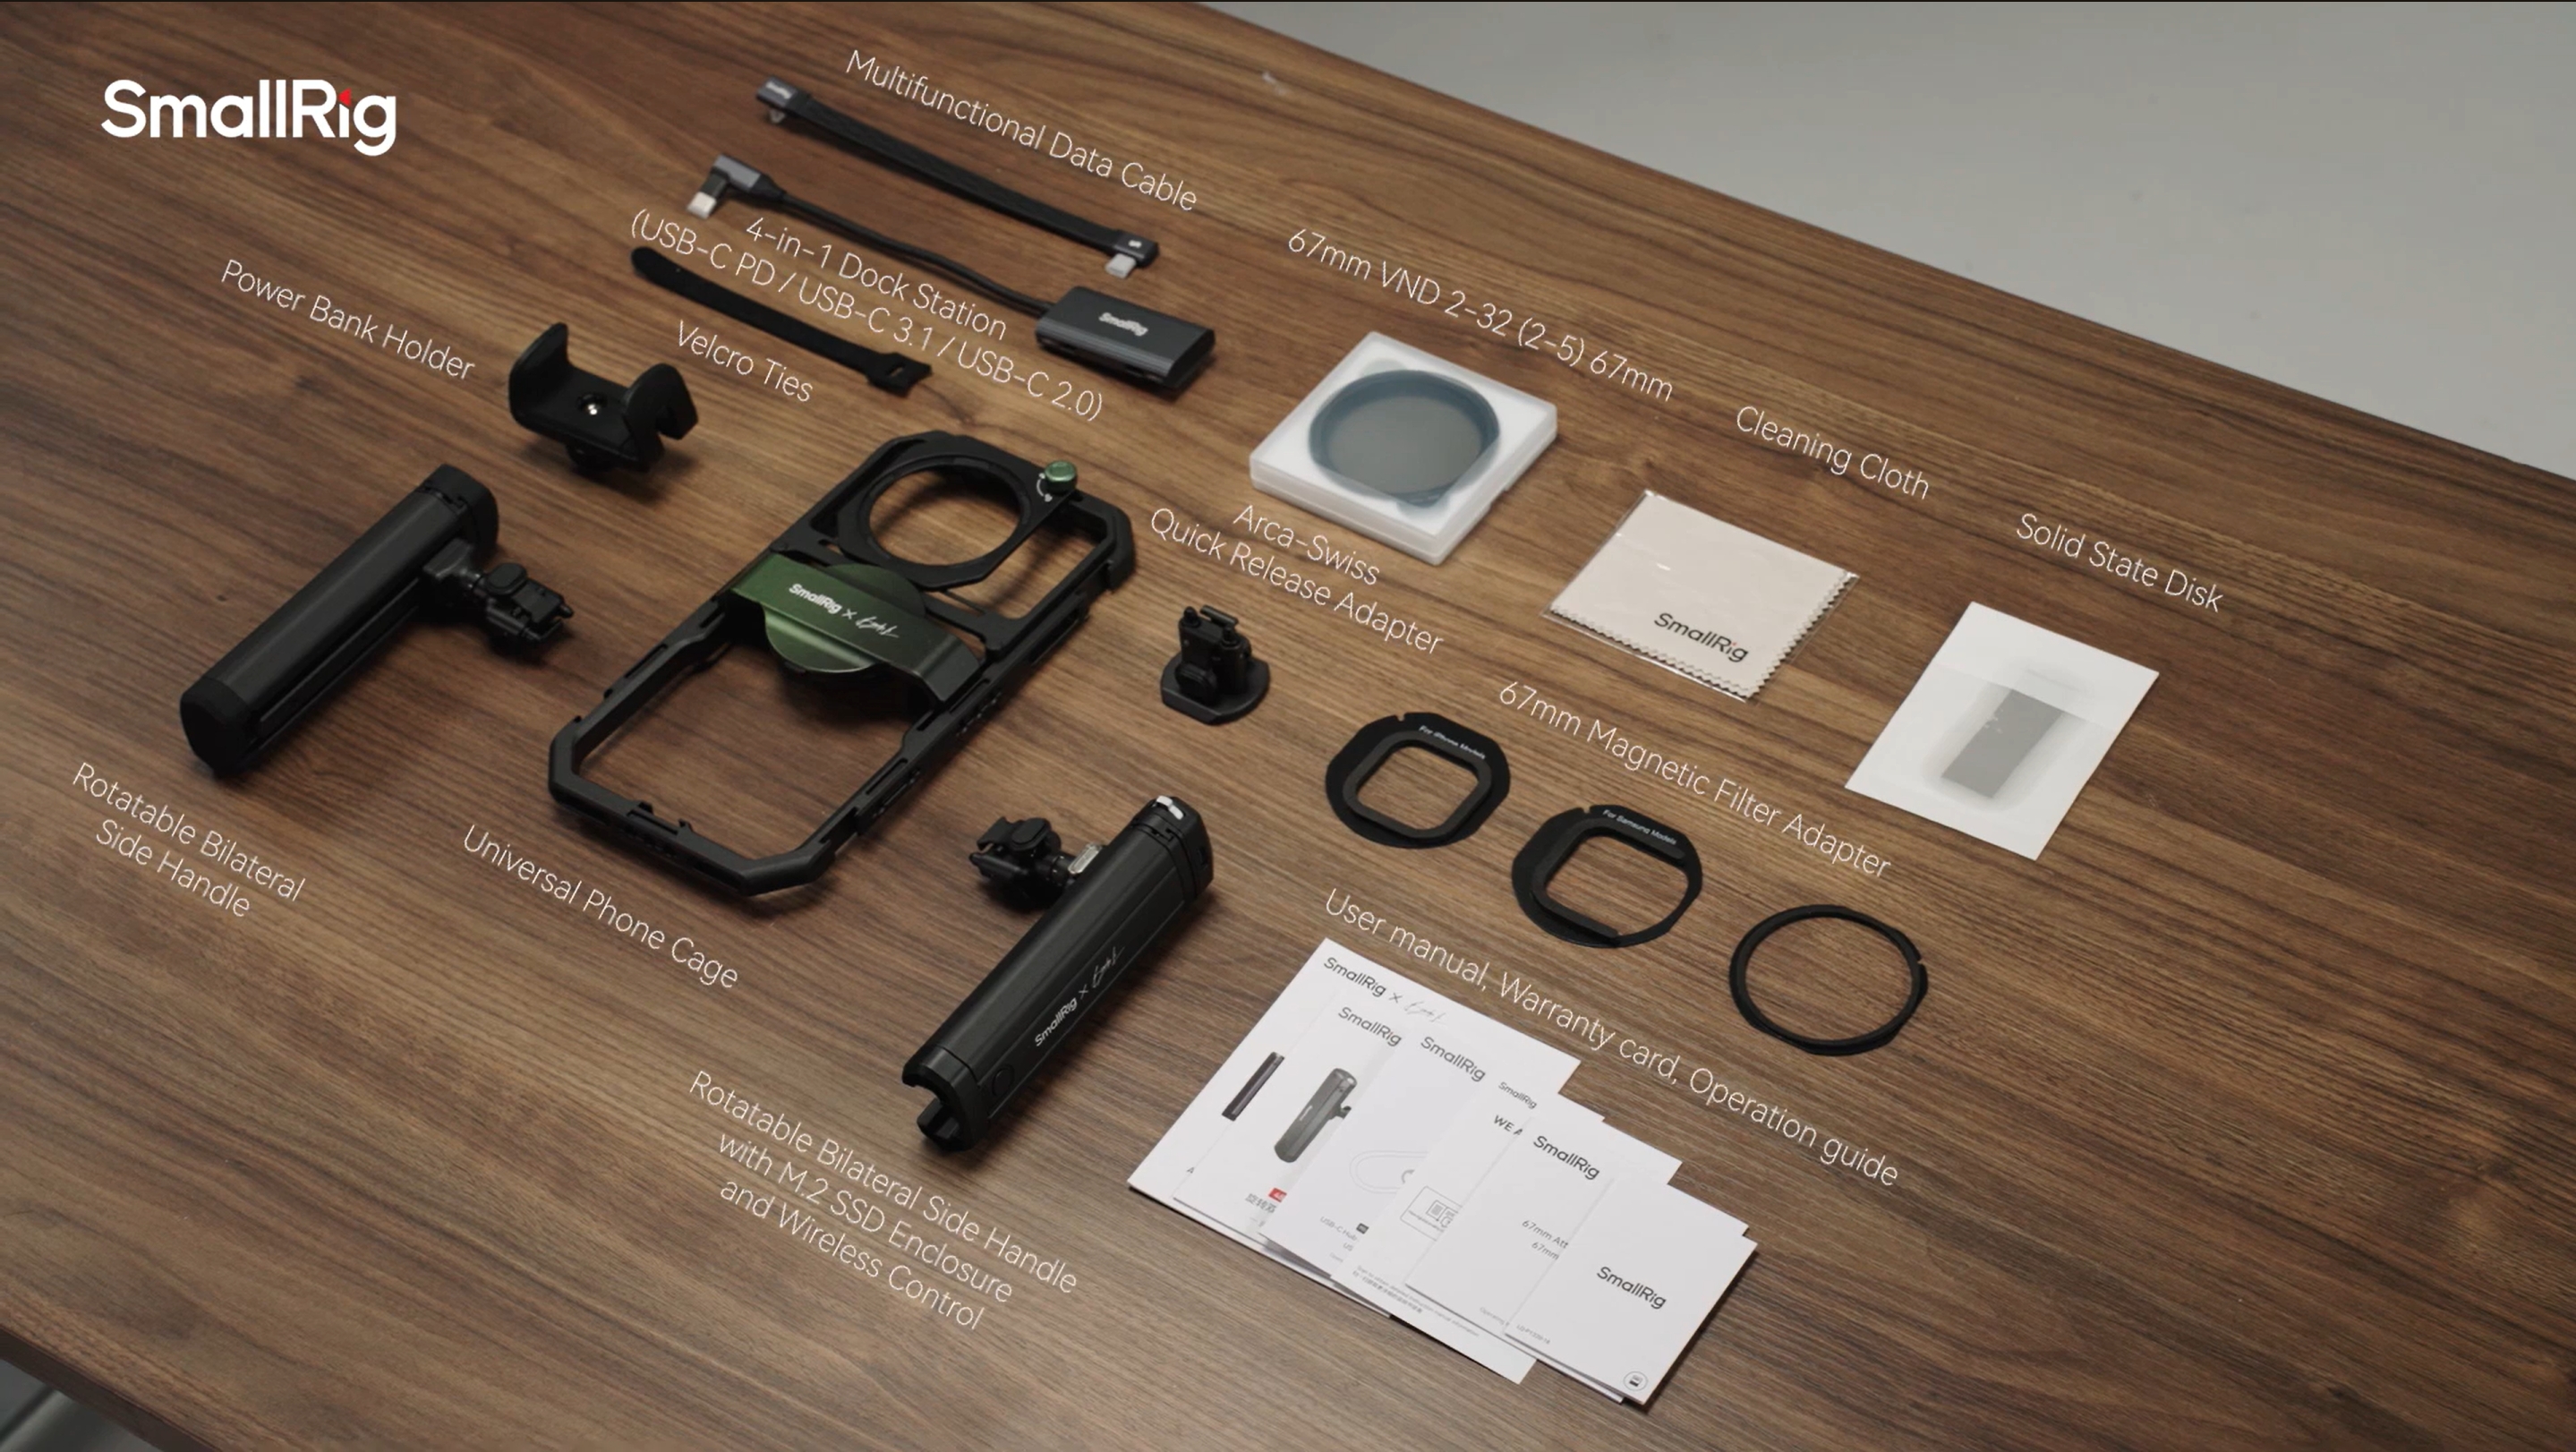
The SmallRig × Brandon Li All-in-One Mobile Video Kit (4596) is the most complete single-kit answer to building a serious phone rig. Brandon Li — known for fast-cut, kinetic travel films — co-designed it around real run-and-gun use rather than studio spec sheets. In one box you get a universal quick-release cage, dual ergonomic handles with a Bluetooth shutter trigger, a variable ND filter, a 4-in-1 USB-C hub with an M.2 SSD slot, and a full set of accessory rails.
Must-have (the 4596 core kit): The cage, handles, VND filter, hub, and SSD mount. This is the foundation. Everything else plugs into it.
Nice-to-have accessories: A directional shotgun microphone (mounts to cold shoe), a compact LED panel (cold shoe or NATO rail), and a compact tripod or iphone stand for recording for static setups. These three additions account for roughly 80% of the perceived quality jump viewers notice.
Optional upgrades: An M.2 NVMe SSD for external recording (essential if you shoot ProRes or LOG), a USB-C PD power bank for all-day shoots, and additional ND filter steps for bright midday exteriors.
Step-by-Step: How to Build the 4596 Phone Cage Setup
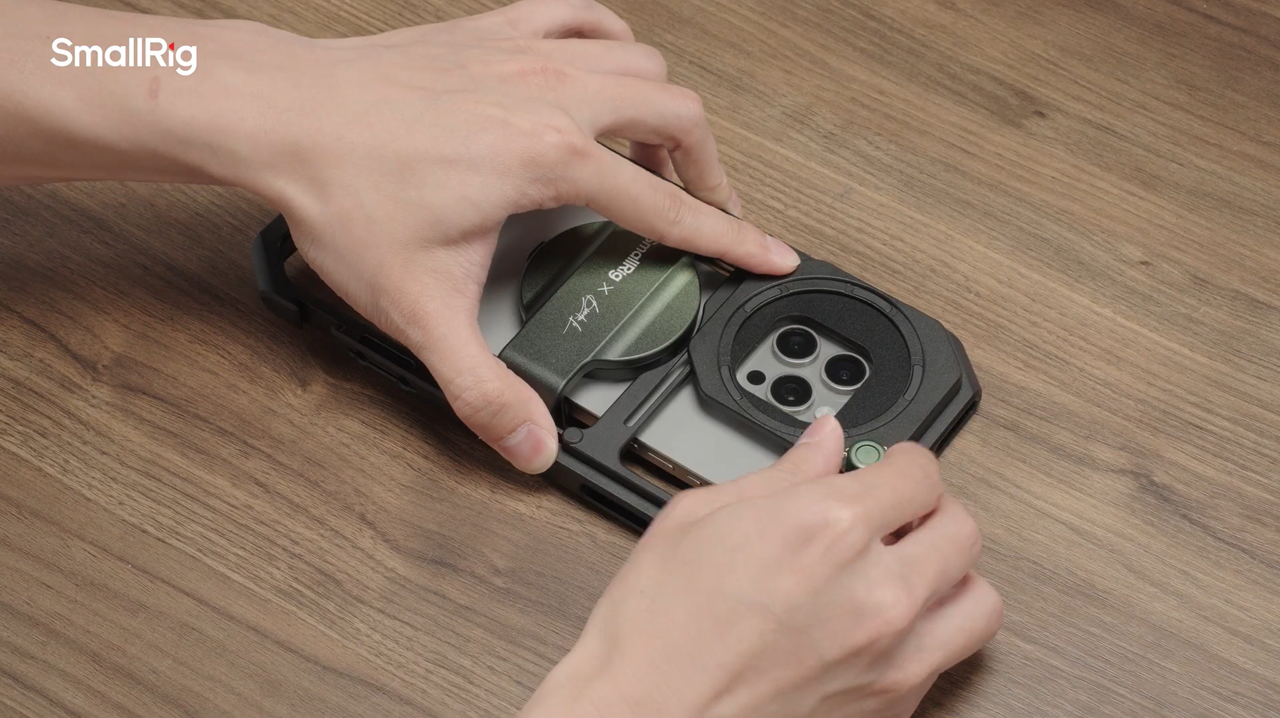
Step 1: Install the cage
Open the quick-release clamp fully and slide your phone in from the bottom, centering it side to side. The 4596 ships with shim adapters covering phones from 67 mm to 82 mm wide — that's every current flagship. Tighten the thumbscrew until snug, not strained. Over-tightening can warp the cage frame and may block the charging port.
Common mistake: People tighten until it feels "locked," which is well past what's needed. If the phone doesn't wobble when you shake the assembled rig, it's tight enough.
Step 2: Mount the VND filter
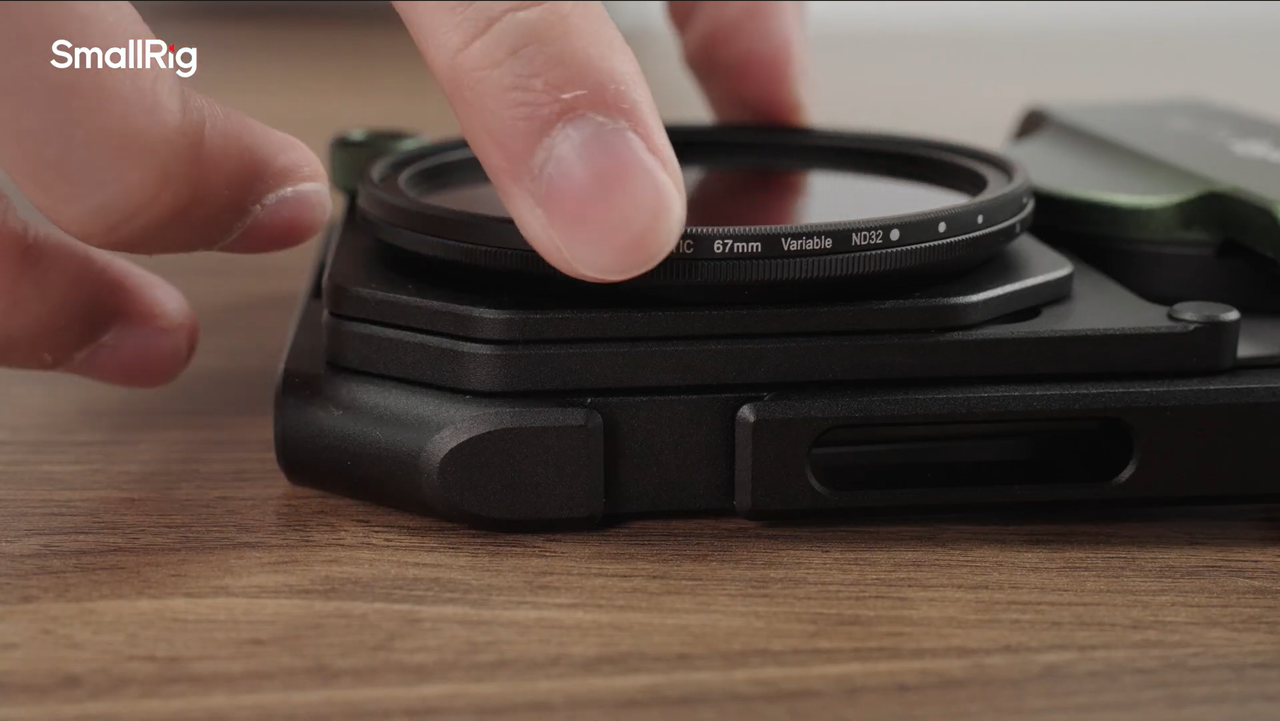
Thread the variable ND filter onto the cage's lens module over your phone's main camera. Then, instead of letting auto-exposure control your shutter speed, lock the shutter manually at approximately 2× your frame rate — 1/50 s for 25 fps, or 1/60 s for 30 fps. This is the 180° rule, and it's the single biggest contributor to footage looking cinematic rather than "digital." The VND dials down the light entering the lens so your exposure stays correct even at that slower shutter.
Common mistake: Shooting outdoors without any ND filter forces your phone's auto-exposure to use a very fast shutter (often 1/1000 s or faster). The result is hyper-sharp, slightly stroboscopic motion — the number-one visual tell that footage was shot on a phone rather than a cinema camera.
Step 3: Attach the handles
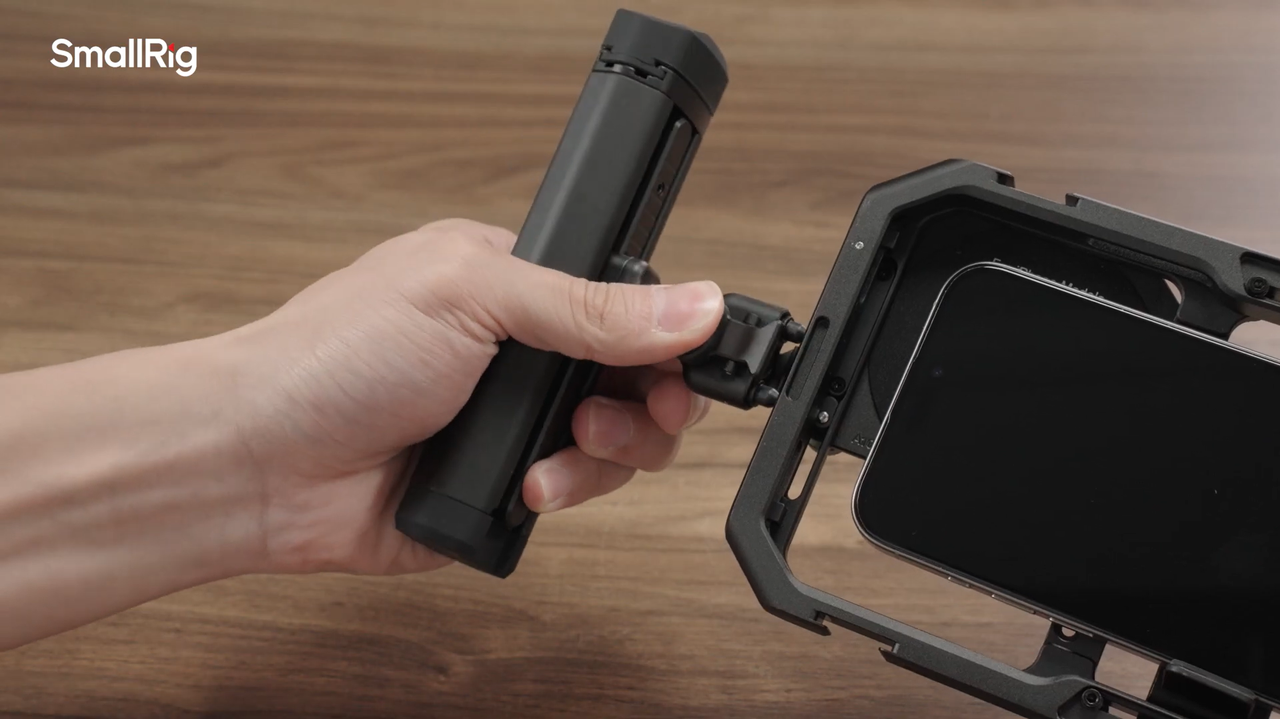
The left and right ergonomic handles thread onto the NATO rails on each side of the cage. Slide each into position and tighten the locking knob. The right handle has a Bluetooth shutter button — pair it with your camera app before you go out. Using it means you never touch the screen during recording, which eliminates the single most common source of clip-opening shake.
Tip: Test the Bluetooth trigger at home so pairing is automatic on set. In cold weather, some apps need the trigger re-paired after the phone restarts.
Step 4: Connect the hub and SSD
Mount the 4-in-1 USB-C hub to the cage's bottom 1/4"-20 port. Connect its USB-C data cable to your phone, then slot an M.2 NVMe SSD into the drive bay. In your camera app, select the external drive as the recording destination. The hub's second USB-C port accepts a power bank for simultaneous charging — no more shooting with one eye on the battery indicator.
Tip: Before a critical shoot, record a two-minute test clip to confirm the SSD's write speed is fast enough. ProRes and high-bitrate LOG need at least 1 GB/s sustained. Most NVMe drives are well above this; cheap SATA M.2 adapters sometimes aren't.
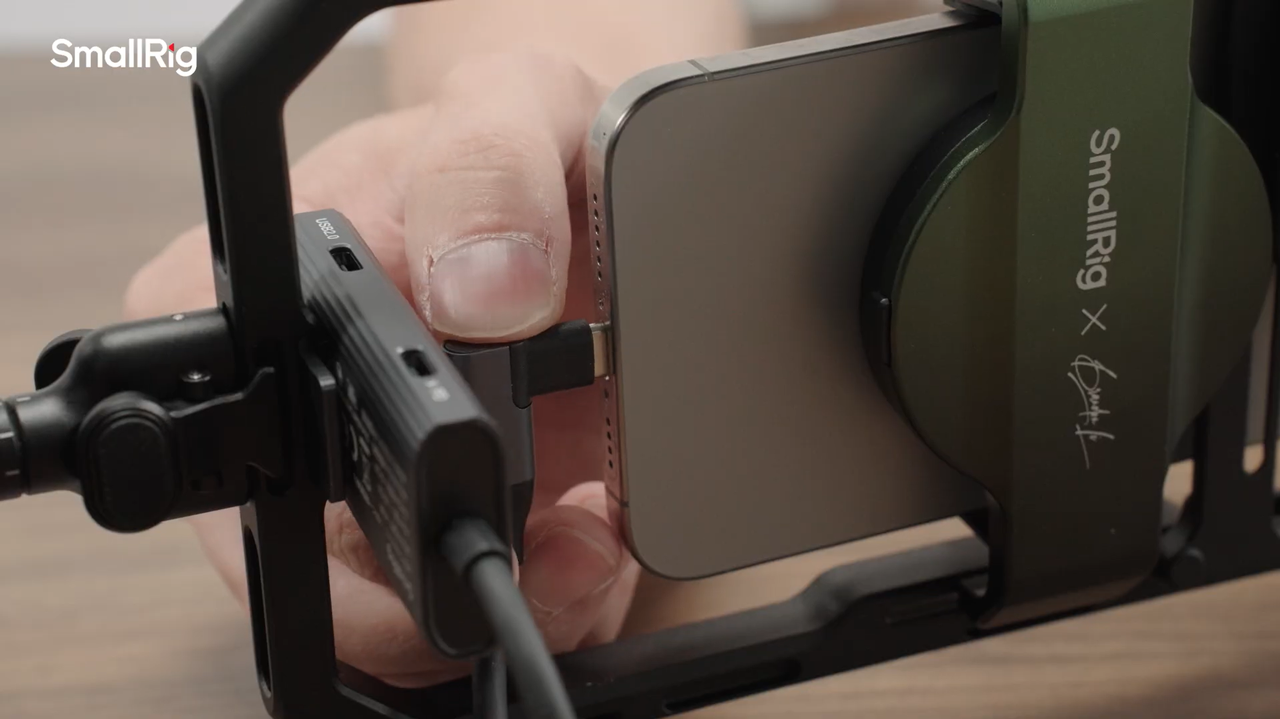
Step 5: Mount on a phone stand for filming
The cage's bottom 1/4"-20 thread is a universal tripod socket. Screw it onto any tripod, cell phone camera stand, or phone camera stand you own. For desk-based recording — tutorials, voiceovers, product shots — a compact tabletop phone stand for filming is faster and less intrusive than a full tripod. For exterior work, a fluid-head video tripod unlocks smooth pans and tilts that look controlled rather than wobbly.
Tip: Mark your tripod leg positions with gaffer tape so you can return to the exact same camera position across multiple setups. It's the simplest possible way to get consistent coverage without wasting time.
Before vs After — 5 Differences You'll Notice Immediately
Stability. On a bare phone, walking shots show every heel-strike and wrist micro-movement. With the dual-handle cage, your grip becomes a two-point brace, and the added mass of the rig damps high-frequency vibration. The Bluetooth trigger removes the jolt-at-start problem entirely.
Audio. The built-in microphone is omnidirectional and positioned right at your hand — it picks up grip noise, room reflections, and HVAC hum in equal measure. A directional shotgun on the cold shoe, aimed at the subject, rejects off-axis noise. The same voice in the same room goes from sounding captured to sounding recorded.
Lighting. Without accessories, you're at the mercy of whatever light happens to be in the scene. A single small LED panel on the cold shoe or rail gives you a controllable key light: soft, directional, and matchable to any color temperature. It's one accessory that routinely surprises people with how dramatic the impact is.
Cinematic motion blur. This is the VND filter's signature contribution. At 1/1000 s, motion looks sharp in a slightly uncanny way. At 1/50 s with proper ND, moving subjects have subtle, natural motion blur between frames — the same optical characteristic of every film ever shot on a proper cinema camera. Audiences don't consciously notice it; they just stop thinking "this looks like phone video."
Workflow speed. A bare phone setup means eyeballing framing every take, worrying about storage, babysitting battery percentage, and syncing external audio in post. The caged rig with external SSD and hub-powered charging removes all four friction points. Shoots run faster, and post-production has less busywork.
Do You Really Need a Phone Camera Stand?
A phone cage is optimized for moving shots. A phone video stand or iphone stand for recording is optimized for stationary setups where you're the only moving element. For talking-head YouTube content, online courses, product reviews, or any situation where you're locked in frame, a good cell phone camera stand often delivers more value per dollar than a full cage.
What to look for: a 1/4"-20 socket (compatible with the cage, so you can use both), a quick-release plate, angle adjustment across portrait and landscape, and a rated load capacity well above the weight of your rig. If your caged phone weighs 600 g, don't buy a stand rated for 800 g — you want comfortable headroom.
Who Should (and Shouldn't) Use a Phone Cage?
A phone cage makes the most sense for: travel vlogging and walking footage, documentary-style interviews, product reviews and unboxing, live streaming with elevated production value, and any solo situation where you need an external mic and light but don't have a second operator.
It makes less sense for: casual personal footage where setup speed matters more than production value, or situations where you're only adding one accessory (a simple cold-shoe adapter costs far less than a cage and handles a single mic perfectly well).
FAQ
Does a phone cage improve video quality? Not by changing the camera hardware — but yes, in practice. It improves stability, enables external audio, adds mounting for lighting and ND filters, and makes your setup repeatable. The result looks significantly more professional even though the sensor is unchanged.
Phone cage vs phone rig — what's the difference? A phone cage is the frame. A phone rig is the complete assembled system: cage plus handles, mic, light, filter, and stand. The SmallRig 4596 kit is a phone rig out of the box.
What's the best phone stand for filming? For desk use: a flexible-arm stand with a 1/4"-20 socket and quick-release plate. For outdoor static shots: a compact fluid-head tripod. Either works instantly with the 4596 cage's built-in thread.
Will a rig make my phone footage look cinematic? The VND filter does the heaviest lifting here. Lock your shutter to the 180° rule, add a proper key light, and use an external microphone — most viewers will stop identifying the footage as phone video.
Ready to Build Your Rig?
The SmallRig × Brandon Li 4596 kit is the starting point for any serious mobile videography setup. The core kit plus a tripod is enough to transform your footage right away. Add a shotgun mic and LED panel when you're ready to go further, and pair the cage with a quality phone stand for filming for controlled, repeatable shots.
Keep Reading
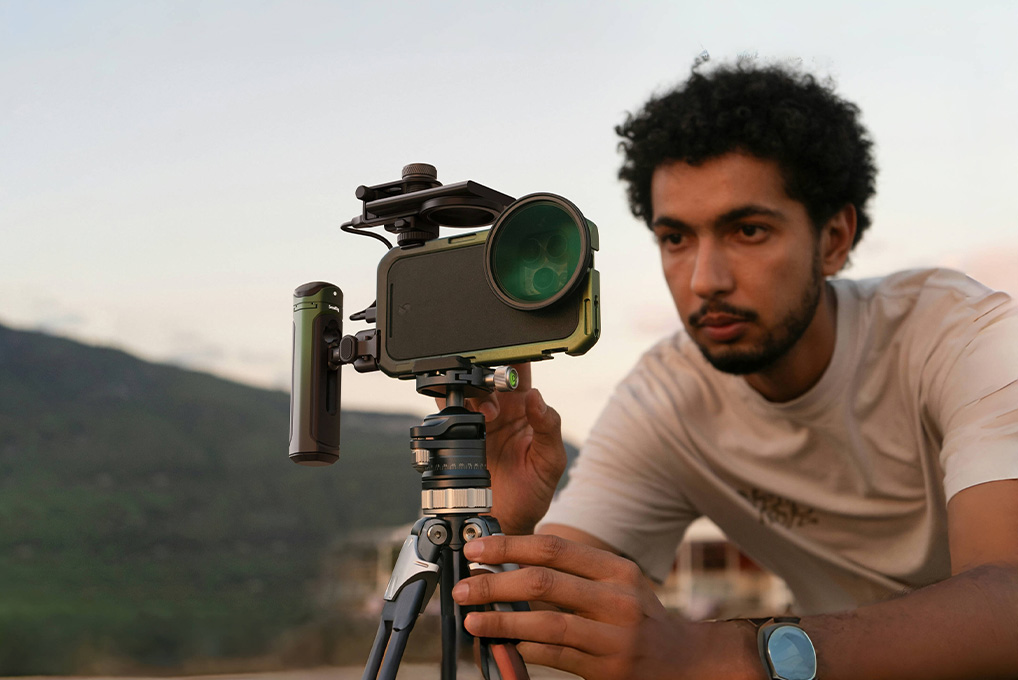 Phone Cages Explained: What They Do And If You Actually Need One
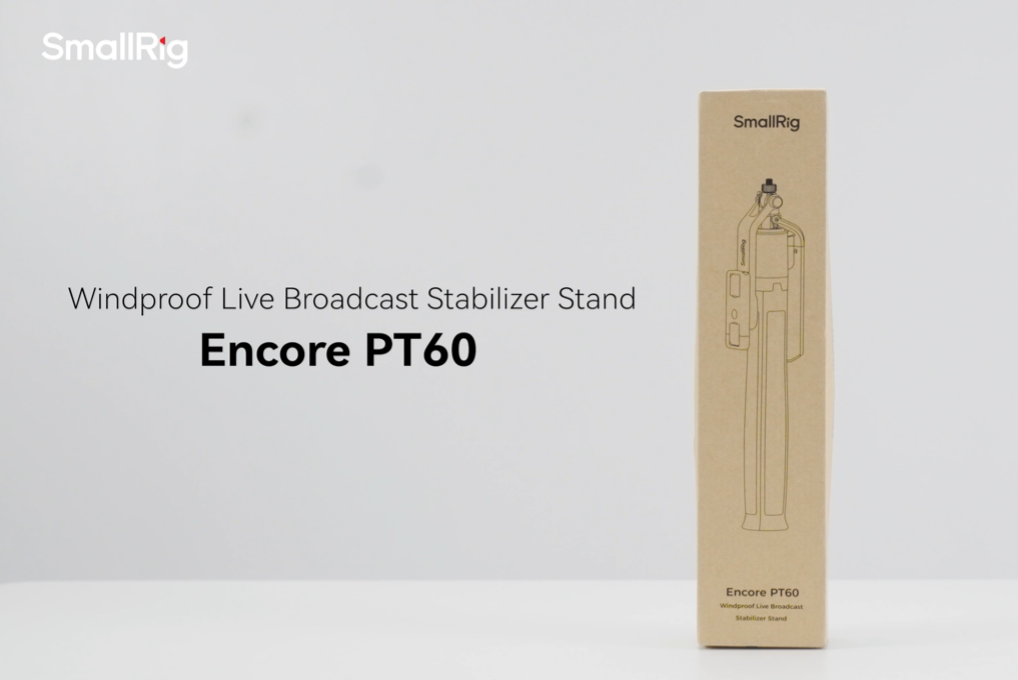 Elevate Your Live Streaming with the SmallRig Encore PT60 Stabilizer 4668
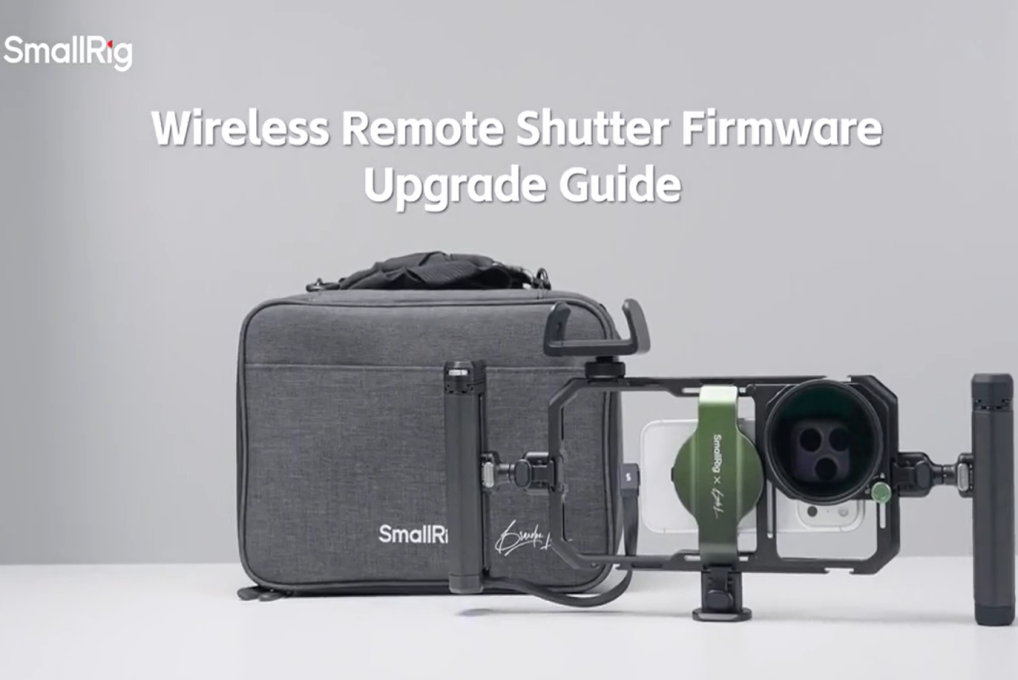 4596/4841-Wireless Remote Shutter Firmware Upgrade Video Guide
Related Products from SmallRig