Search smallrig.com...


12 Types of Photography Lighting Explained for Better Portraits and Studio Setups
SmallRig 2026-02-03 21:30:34
Contents
Most photographers obsess over cameras and lenses, but lighting makes or breaks your images. Understanding the 12 core types of photography lighting — from photo studio lights to natural light — transforms your portrait lighting setup. Here's what you need to know.
What Are the 12 Types of Photography Lighting?
Before you can control light, you need to recognize what you're working with.
Photography lighting falls into 12 distinct categories.
1. Natural Light comes from the sun — free but unpredictable.
2. Hard Light creates sharp shadows and high contrast, like noon sunlight.
3. Soft Light wraps around your subject with gentle shadows, the kind you get on cloudy days.
4. Direct Light hits your subject straight from the source.
5. Diffused Light passes through something (clouds, a softbox) before reaching your subject.
6. Bounce Light reflects off walls or reflectors before illuminating your subject.
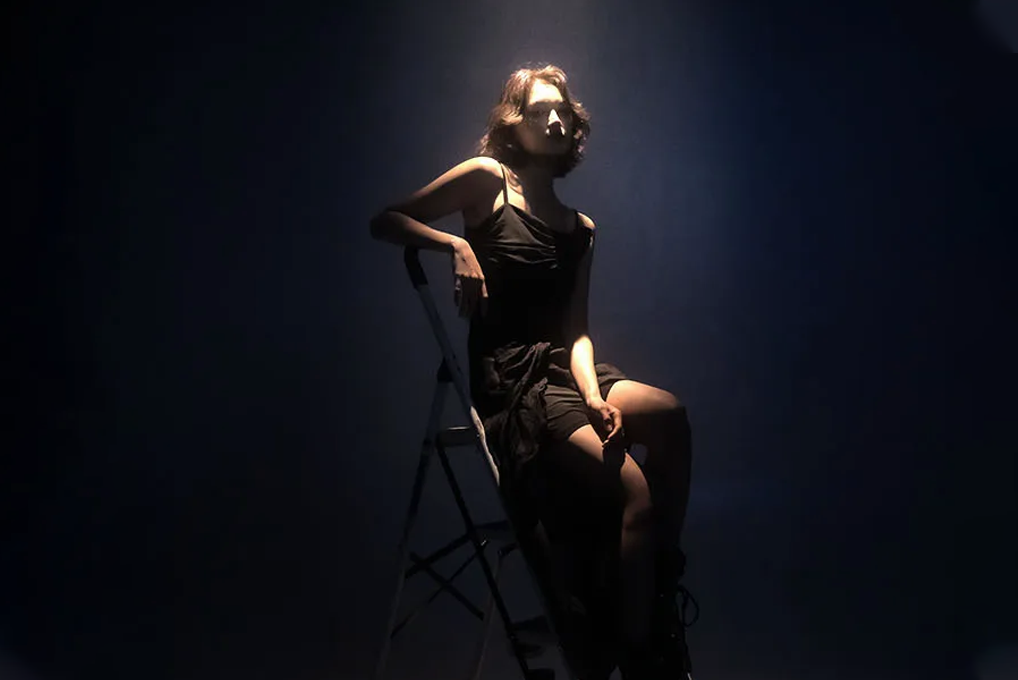
7. Backlight comes from behind, creating silhouettes or rim light.
8. Side Light emphasizes texture and dimension.
9. Front Light reduces shadows but flattens features.
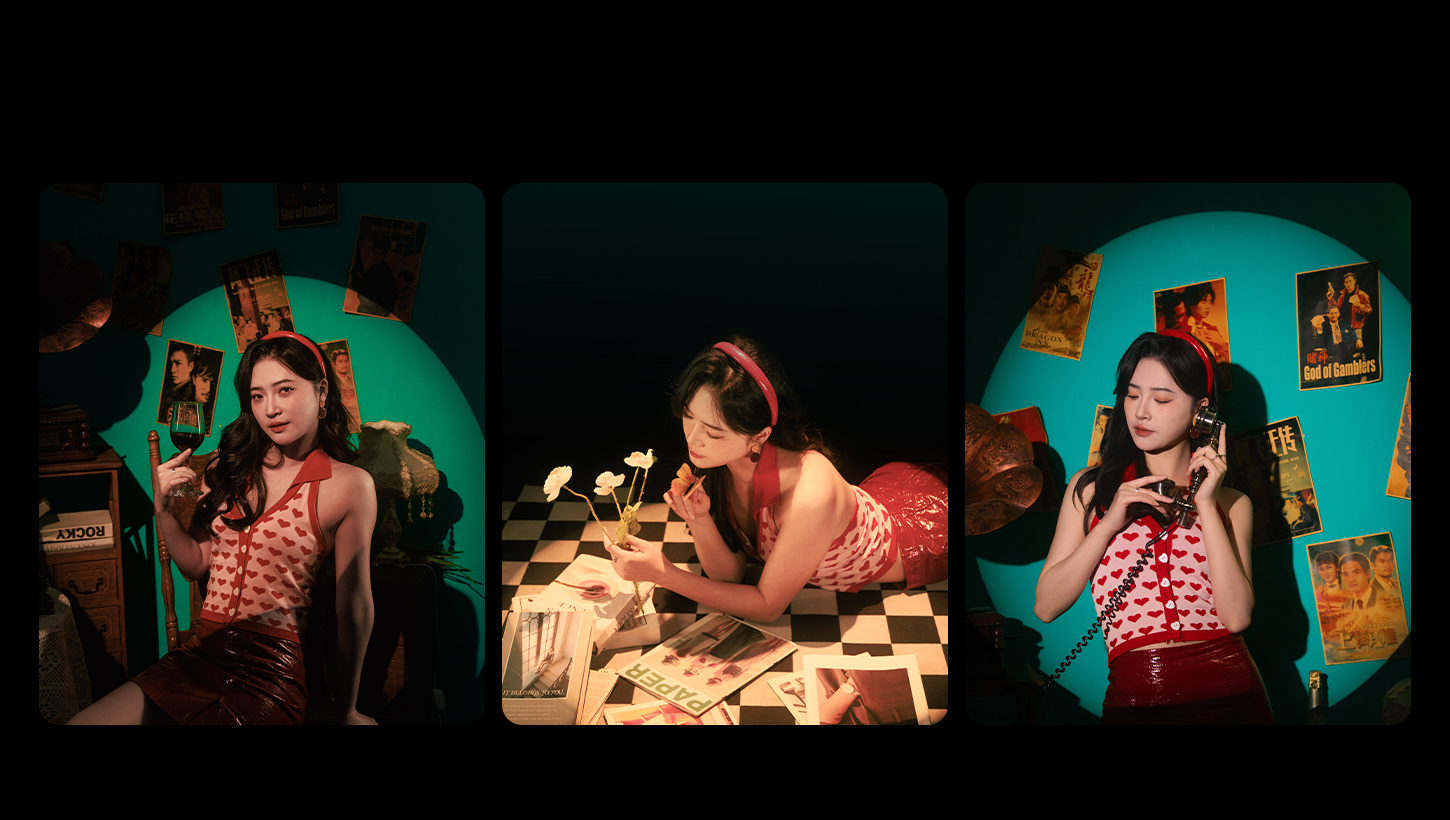
10. Ambient Light is whatever light already exists in your environment.
11. Continuous light stays on constantly (LEDs, video lights).
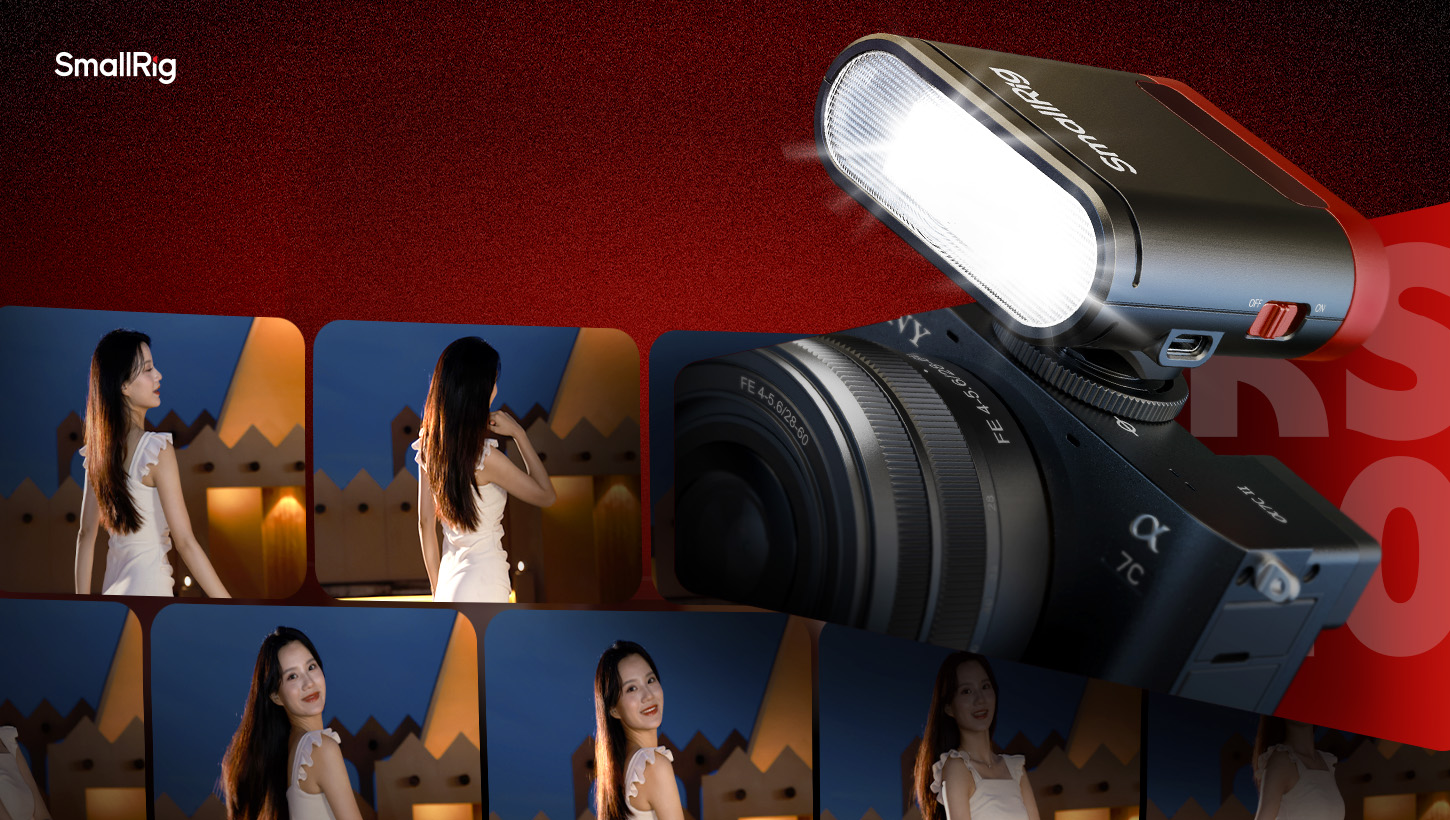
12. Flash/Strobe Light fires in quick bursts, freezing motion.
Each type has specific uses. You don't need to mast
er all 12 at once, but recognizing them is the first step to controlling them.
How Do Different Photography Lighting Techniques Affect Portrait Quality?
The way you light a face determines whether your portrait looks amateur or professional.
Hard Light vs Soft Light: When to Use Each
-
Hard light creates drama. It carves out cheekbones, emphasizes texture, and produces defined shadows. Think editorial fashion or moody artistic work. The problem? Hard light shows every pore and wrinkle. Use it when you want edge and intensity.
-
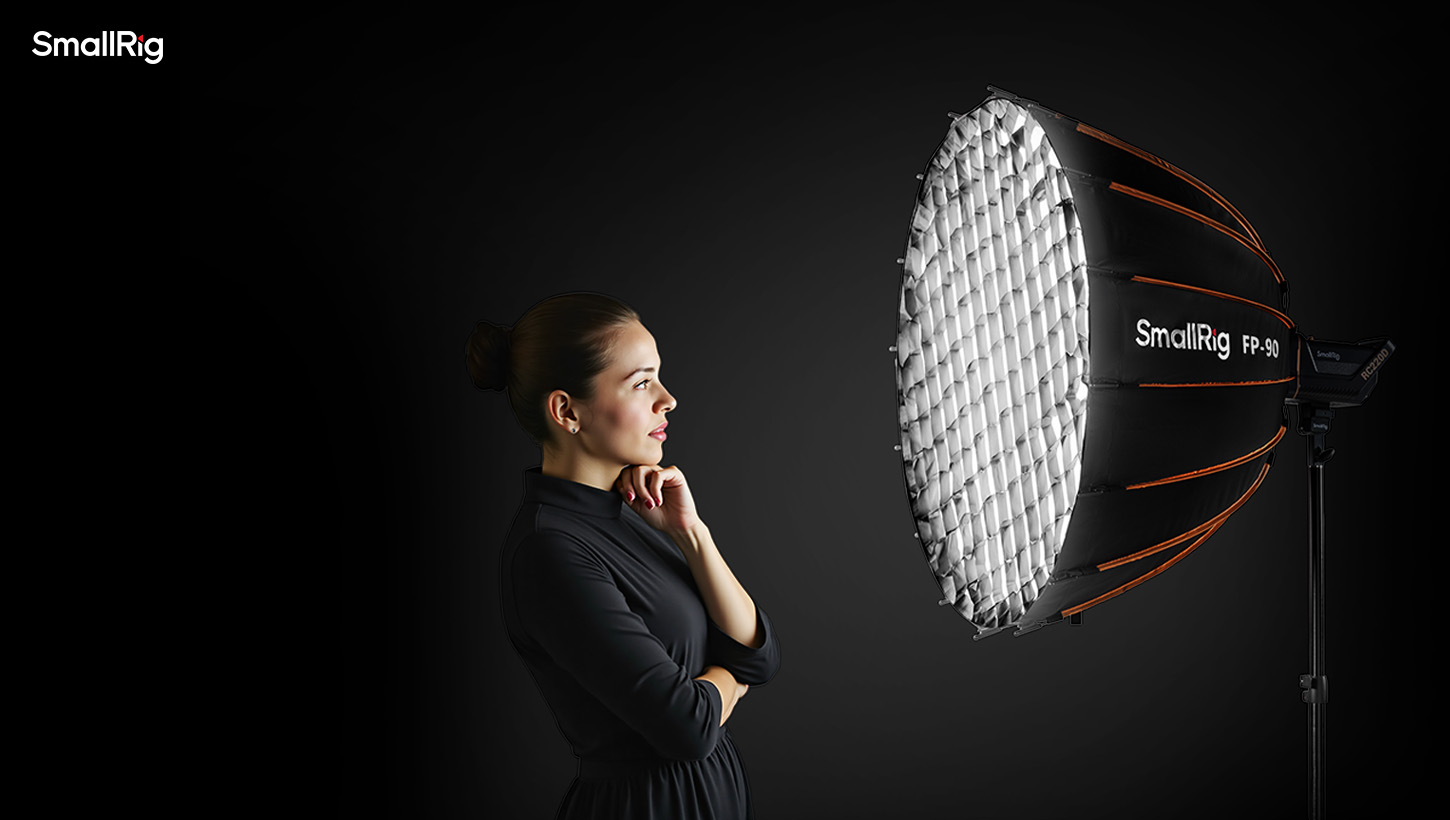
Soft light minimizes texture, smooths skin, and creates gentle transitions. This is why portrait photographers love softboxes — they turn harsh photo studio lights into flattering illumination. Soft light works for headshots, beauty photography, or anyone who wants to look good without heavy retouching.
-
reates gentle transitions. This is why portrait photographers love softboxes — they turn harsh photo studio lights into flattering illumination. Soft light works for headshots, beauty photography, or anyone who wants to look good without heavy retouching.
The key: light becomes softer as its size increases relative to your subject. A small bare bulb = hard light. That same bulb bounced into a large umbrella = soft light.
Light Direction and Face Dimension
Where you place your light changes face shape.
-
Front lighting is safe but flat — it reduces shadows and dimension. Your subject looks two-dimensional.
-
Side lighting brings out the bone structure. Place your portrait lighting at 45-90 degrees from your subject, and their face gains shape and depth. Professional portrait lighting setups often avoid putting the main light directly in front unless they want a flatter, shadow-minimized look.
-
Backlighting separates your subject from the
-
background with a rim of light.
Combine it with a properly positioned main light for a polished look.
Using Softbox and Modifiers for Portrait Lighting

A softbox makes light bigger and softer. The larger the softbox relative to your subject, the softer the light. A 24-inch softbox often works well for tight headshots. A 48-inch octabox can give you wrap-around light for full-body portraits.
Umbrellas spread light wide and soft, but with less control. Beauty dishes sit between hard and soft — popular in fashion because they maintain contrast while staying flattering. Grids and barn doors narrow your beam, controlling exactly where light falls. If you want quick, even fill for small spaces, a lantern-style softbox (for example, SmallRig’s lantern softbox) is a simple, practical option.
Start with one light and one modifier. Learn how moving it closer, farther, higher, or to the side changes your image. That understanding beats owning ten lights you don't know how to use.
Classic Portrait Lighting Setups Explained
-
Rembrandt Lighting creates a small triangle of light on the shadowed cheek. Position your light 45 degrees to the side and slightly above. It's dramatic without being harsh.
-
Loop Lighting puts a small nose shadow that loops toward the mouth. It's flattering on most faces — just move your light slightly off-center and above eye level.
-
Butterfly Lighting places light directly in front and above, creating a butterfly-shaped shadow under the nose. Classic Hollywood glamour that smooths skin and emphasizes cheekbones.
-
Split Lighting divides the face exactly in half — one side lit, one side shadowed. Position your light 90 degrees to the side for intense, moody portraits.
These aren't rules, they're starting points.
What Photo Studio Lights and Equipment Do You Need?
You don't need a truckload of gear, but you do need the right basics.
Essential Photo Studio Lights for Portrait Photography
For portraits, start with one light. A single strobe or continuous light with a modifier handles most of the portrait work if you know how to position it and use reflectors for fill.
Choose between strobes (flash) and continuous lights. Strobes are more powerful and freeze motion, but require learning since you can't see the effect until you shoot. Continuous lights show you exactly what you're getting, but you need more power.
Budget entry: Godox and Neewer offer solid strobes at entry-level price points (often under a few hundred dollars, depending on model, power, and promos).
Choosing Between Continuous Light and Flash
-
Continuous light is easier for beginners because what you see is what you get. The downside: you need lots of power to overpower ambient light.
-
Flash gives you more power in a smaller package and doesn't cook your subjects. You can overpower sunlight or freeze motion. The learning curve is steeper.
For portrait lighting setup purposes, both work. Flash is an industry standard, but continuous light is catching up as LED technology improves.
Softbox vs Umbrella vs Beauty Dish

-
Softboxes give you controlled, directional soft light. Light goes where you point it. Sizes range from small to massive. Rectangular softboxes (strip boxes) are great for edge lighting. Octagonal ones create round catchlights in eyes.
-
Umbrellas are cheaper and faster to set up. Shoot-through umbrellas diffuse light. Reflective umbrellas bounce it back. They spread light wider than softboxes.
-
Beauty dishes produce a distinct quality — harder than a softbox, softer than bare flash. Popular in fashion for maintaining skin texture while still flattering.
Start with a medium softbox (around 30–40 inches). It's versatile enough for most portrait work.
Budget-Friendly Lighting Equipment
A basic Godox strobe, a simple softbox, and a budget reflector can produce work identical to setups costing ten times more. The difference is in build quality, not light quality.
DIY options work too. White foam boards make excellent reflectors. A sheer white shower curtain over a window creates a giant softbox. Natural light is free. If you need a “third hand” for positioning, a SmallRig clamp/magic arm-style mount is an easy example of how to hold a reflector or small light exactly where you want it.
How Do You Set Up Effective Portrait Lighting?
Theory means nothing if you can't actually set up lights that work.
Building a One-Light Portrait Lighting Setup
Start simple: one light, one modifier, one reflector. Position your light 45 degrees to the side and slightly above your subject's eye level. Use a white reflector on the opposite side to fill shadows.
This setup works for headshots, environmental portraits, and most client work. Move the light closer for softer light, farther for harder light.
Master one light before adding a second.
Two-Light and Three-Light Configurations
-
Add a second light for separation. Place it behind your s
-
ubject, pointed at their hair or shoulders. Keep it lower power than your main light.
-
Three-point lighting is the classic setup: key light (main), fill light (reduces shadows), and back light (separation). The key does most of the work. Fill is usually a reflector or low-power light opposite the key.
You don't always need three lights. Sometimes one is perfect. The number doesn't matter — the result does.
Common Portrait Lighting Mistakes to Avoid
-
Overlighting: More lights don't mean better portraits. Start minimal.
-
Flat lighting: Putting your main light directly on-axis with the camera removes all dimensions. Move it to the side.
-
Ignoring the background: Light your background separately or control it with distance and aperture.
-
Wrong modifier: A tiny softbox from ten feet away acts like a hard light. Size and distance matter as much as the modifier itself.
Natural Light and Photo Studio Lights
Natural light looks real because it is real. Photo studio lights give you control. Use window light as your main source, then add a small strobe for filling. Or use natural light for ambient mood and overpower it with flash for your subject.
Balance is key. Match your flash color temperature to daylight (around 5500K). Use your camera's histogram to dial in the ratio between ambient and flash.
FAQ
Q1. Do I Need a Light Meter for Portrait Lighting, or Can I Just Use My Camera?
Your camera's histogram and preview screen work fine for most portrait lighting setups. Modern cameras show you exposure accurately enough that dedicated light meters are optional unless you're shooting film or working with complex multi-light scenarios where you need precise ratios. For digital photography lighting work, shoot a test frame, check your histogram, and adjust. The advantage of a light meter is speed in professional studio environments where you're repeating the same setup, but beginners should invest in modifiers before meters.
Q2. How Do I Light Different Skin Tones Without Washing Them Out?
Expose for the face, not the overall scene. Use your camera's spot meter on the subject's cheek or forehead to get accurate exposure. For darker skin tones, some photographers underexpose by roughly about half a stop to around one stop to preserve rich color and avoid ashy highlights — adjust in post if needed. For lighter skin, watch for blown highlights on foreheads and noses. The key is proper portrait lighting placement, not just exposure. Side lighting and Rembrandt setups work across all skin tones because they create dimension through shadows, not brightness alone.
Q3. Can I Shoot Professional Portraits Outdoors Without Bringing Photo Studio Lights?
Absolutely. Golden hour (often around sunrise and sunset) gives you soft directional light naturally. Overcast days create a giant natural softbox. Even harsh midday sun works if you put your subject in open shade and use a reflector to bounce light into their face. The trick is controlling harsh sun — use buildings, trees, or reflectors to modify natural light the same way you'd use a softbox indoors. Many professional portrait photographers prefer natural light for environmental work because it looks authentic and requires minimal gear.
Conclusion
Photography lighting isn't about expensive gear or complicated setups. It's about seeing light and using it intentionally. Start with one light, one softbox, and the portrait lighting techniques in this guide. Master these basics, and your portraits will improve more than any camera upgrade ever could.
If you want a clean, beginner-friendly path to build these setups faster (light + mount), consider SmallRig and pick a few pieces you’ll actually use every shoot.
Keep Reading
 Best Portable Lighting Setup for Solo Content Creators
 Review: SmallRig RF 20C Portable Zoom Light
 Why You Need a Video Light: A Complete Guide for Content Creators
Related Products from SmallRig