Search smallrig.com...


How to Take Photos and Vlogs Alone in Public Without Feeling Awkward
SmallRig 2026-03-26 19:10:13
Contents
Filming alone in public feels awkward for practical reasons and social reasons. Small technical issues stack up fast: shaky shots, drifting framing, noisy audio, and long pauses while you adjust things. At the same time, it is easy to assume strangers are watching closely. A well-planned iPhone camera rig helps because it reduces fiddling, gives your hands a stable grip, and supports a repeatable setup that feels calm in real locations. Confidence grows when your process stays the same from one shoot to the next.
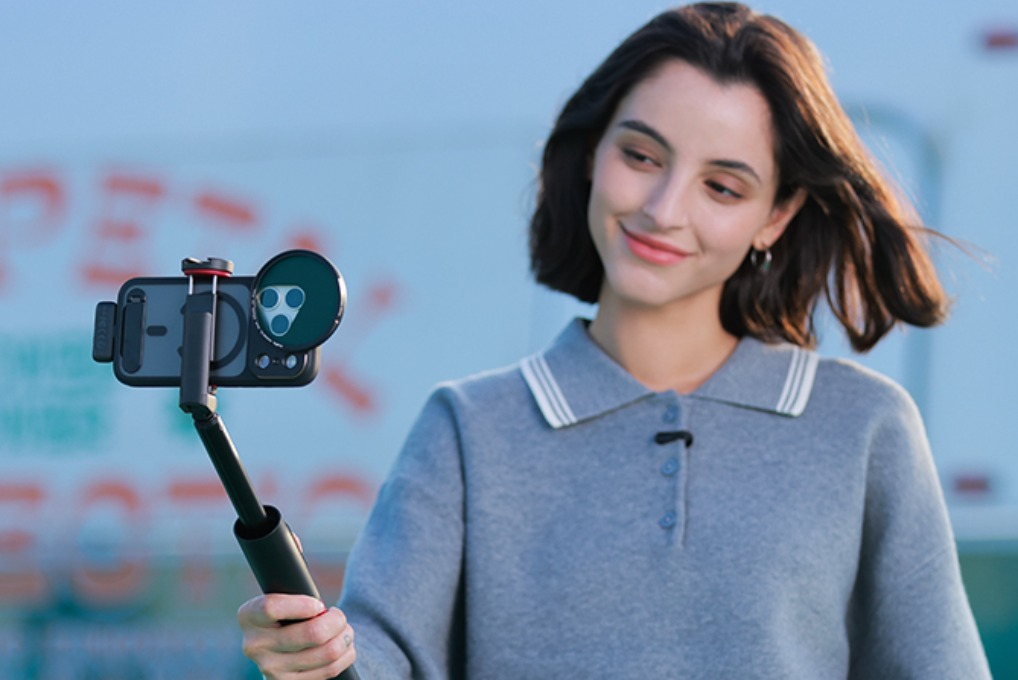
What iPhone Camera Rig Setup Works Best for Solo Filming in Public?
To feel comfortable outside, your setup needs to match how you actually film. The right iPhone camera rig is the one that supports your most common shots and stays simple once you arrive. Pick a base approach, then build around it.
Match Your Setup to Your Shot Style
Choose the style you use most often:
-
Walk and talk clips: a phone cage or clamp plus one comfortable handle
-
Standing talking head: a cage, a compact tripod, and a simple mic mount
-
Mixed vlog format: a cage, a handle, a compact tripod, and basic audio support
Choose the Right Setup Level for Your Vlog
Committing to one level for a few weeks keeps your choices focused.
| Setup Level | Core Parts | Best Fit |
| Minimal | clamp or cage, grip | quick street clips, travel b roll |
| Balanced | cage, handle, compact tripod, audio mount | most vlogs, consistent handheld |
| Full | cage, handle, tripod, light, mic, power | longer sessions, night scenes |
Most solo creators do best at a balanced level. It stays portable, looks organized, and supports clean audio. Next, you will make sure your iPhone video rig stays small enough to carry without hesitation.
Choose Rig Parts That Keep Your iPhone Video Rig Small and Easy to Carry
A portable kit is easier to use, and it also draws less attention because setup is quick. Keep your iPhone video rig compact by choosing parts that do one job well, then avoiding duplicates.
What to Pack for a Small iPhone Video Rig
-
One comfortable grip you can hold for several minutes
-
One mini tripod that also works as a handheld grip
-
One compact microphone, plus wind protection if you film outdoors
-
One remote trigger so you do not reach toward the phone during takes
-
One short cable and a simple way to secure it to the rig
-
One small LED light only for indoor filming or evening scenes

Reduce Setup Time with Fewer Adapters
Adapters add time and create little problems in front of other people. If your iPhone rig needs multiple adapters to mount a mic or a light, your setup will feel slow. Fewer connection points can be fine as long as they are practical, secure, and not blocked by your hands.
Portability is handled when you can walk to a location, set up quickly, film, and pack away without searching for parts. Now the focus shifts to stability and framing, which are the fastest ways to make your footage look intentional.
Improve Stability and Framing with Simple iPhone Rig Upgrades
Stability affects comfort as much as it affects image quality. When your shot is steady, your brain has more space to speak clearly, watch your surroundings, and stay relaxed. Small upgrades to an iPhone camera rig can make a noticeable difference.
Use Two Points of Contact for Handheld Clips
Aim for two points of contact whenever possible:
-
One handle plus your second hand on the rig frame
-
Compact tripod used as a lower grip, plus your other hand on the frame
-
Strap tension that adds gentle resistance while you hold the rig
Two contact points reduce micro shakes and help your posture feel grounded.
Lock Framing Before You Record
Public filming often falls apart when framing changes mid-sentence. These habits help:
-
Turn on grid lines for consistent headroom
-
Decide vertical or horizontal before each take
-
Use a remote trigger so you do not reach toward the phone mid-shot
-
Keep the lens clean so you do not stop to fix haze or fingerprints
If you film yourself with the rear camera, a simple monitoring method helps you keep eye line and framing consistent. The goal is less checking and fewer restarts. With a stable image, it becomes easier to add light, audio, and power in a way that stays fast.
Add Light, Audio, and Power to Build a Complete iPhone Filming Rig
Once your shot is stable, the next frustrations come from the quality that changes by location. A complete iPhone filming rig solves three common public problems: harsh lighting, unreliable voice audio, and battery anxiety. Keep the build minimal and focus on changes that you can feel immediately.
Lighting That Supports Fast Public Setups
A small LED can help in shade, mixed indoor lighting, and evening scenes. Set the brightness before you raise the rig so you are not standing there adjusting settings in front of people. Use light only when it fixes a real problem, such as deep shadows under your eyes or dim indoor corners.
Quick habits that help:
-
Angle the light slightly above eye level
-
Keep brightness moderate to avoid distracting glare
-
Turn it off between takes if you are waiting
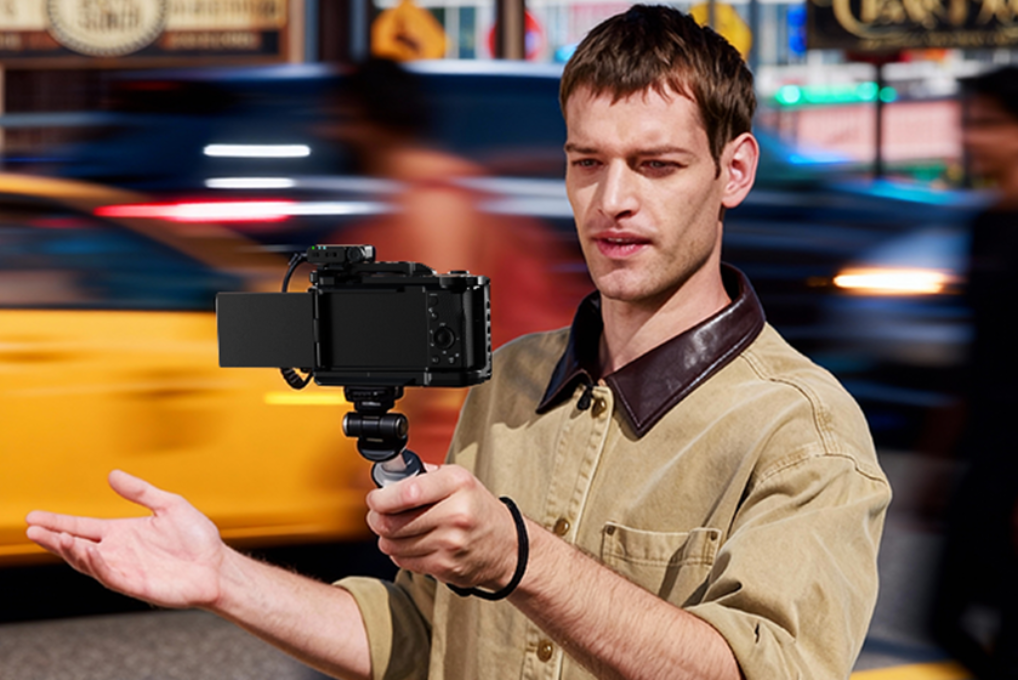
Audio That Stays Clear in Real Locations
Traffic and wind ruin more vlogs than camera resolution. For talking clips, external audio is often worth it, even with a simple USB microphone or a compact wireless mic. For a film rig for iPhone, keep the mic close to your mouth, add wind protection outdoors, and record a short test before you commit to a long take.
A practical way to avoid audio stress:
-
Record five seconds of voice
-
Listen with one earbud
-
Adjust placement, then record again
Power That Prevents Interruptions
Public shoots drain battery faster than expected because screen brightness stays high, and you often record multiple takes. A slim power bank and a short cable are usually enough. Secure the cable so it does not snag while you walk. This is also where an iPhone camera rig helps again, since it gives you a clean place to route and secure cables.
With your iPhone filming rig set up for image, audio, and power, the remaining challenge is social. The next section focuses on etiquette that keeps filming calm.
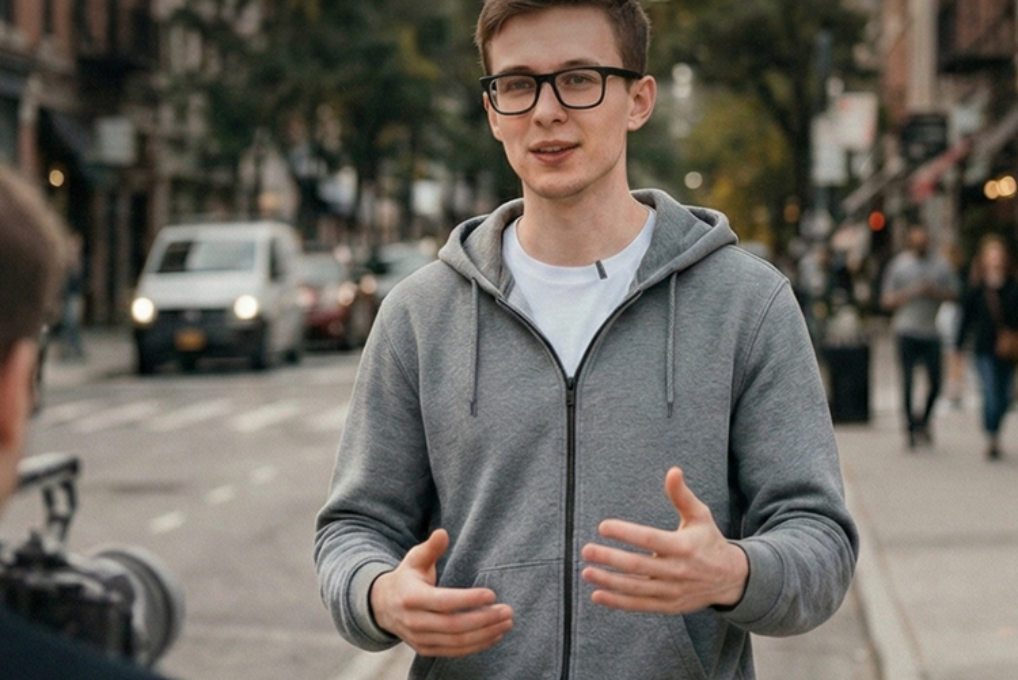
Handle Onlookers with Practical Public Filming Etiquette
Etiquette reduces awkward moments because it lowers the chance of conflict. It also helps you feel in control. Think of it as part of your public filming workflow, not a separate topic.
Know the Public Versus Private Difference
In public spaces, filming is usually allowed when you are lawfully present. Private property can have rules, and staff can ask you to stop. Audio can be more sensitive than video, and consent requirements vary by state. When your content includes clear conversations with strangers, asking permission is a safer default.
Use Short, Polite Lines That De-Escalate
Keep responses brief and calm:
-
“I’m recording myself. I can pause if you prefer.”
-
“I’ll be finished in a minute.”
-
“I can move so I’m not in the way.”
Positioning That Avoids Friction
Small choices reduce attention and complaints:
-
Stand near a wall or edge so foot traffic stays in front of you
-
Avoid blocking sidewalks, doors, and service lines
-
Keep taking short, so you are not filming for long stretches
When etiquette is handled, the remaining discomfort is internal. Next, you will use simple techniques that make you feel natural on camera when you are alone.
What Techniques Help You Feel Natural on Camera When You Are Alone?
Feeling natural comes from process, not personality. When you control your steps, your body language becomes calmer, and your voice sounds steadier. Your iPhone rig supports this by removing small problems that pull you out of the moment.
Use Short Takes and Clear Prompts
Long takes increase pressure. Record one sentence at a time. Pause, then continue. Use bullet prompts instead of full scripts, so your voice stays normal. Leave space for b-roll so small mistakes do not force a restart.
Warm Up Before You Speak
Film ten seconds of B-roll first. Your hands settle, and your brain adjusts to filming in that location. A stable iPhone camera rig helps because you can capture quick clips without constant re-framing.
Give Yourself a Simple Focus Point
People often look tense when they try to monitor everything at once. Pick one focus point per take:
-
Your next sentence
-
Your framing grid
-
Your mic distance
Keeping one focus point reduces mental noise, and it improves delivery. With these techniques in place, you can finish the shoot with less stress and better results.
Start Filming in Public with a Simple iPhone Camera Rig Setup You Can Use Anywhere
A consistent setup reduces awkwardness because you already know what to do when you arrive. Keep your kit small, follow the same order each time, and adjust only one weak point at a time. Many people end up with the best iPhone video rig by filming regularly, then refining their iPhone filming rig based on real problems they notice. Bring the same iPhone camera rig to familiar places first, then increase the challenge as your comfort grows.
FAQs
Q1: Should You Shoot 4K for Solo Public Vlogs?
No. 1080p is enough for many social platforms and is easier on storage and editing. Use 4K only when you plan to crop, stabilize heavily, or deliver 4K. Higher resolution increases file sizes and can slow transfers.
Q2: Should You Record HEVC (High Efficiency) on iPhone?
Yes, if you want smaller files at similar visual quality. HEVC is built into Apple devices and supported across modern systems, but older workflows may need conversion on export, which can add time.
Q3: Is ProRes a Good Choice for Everyday Public Vlogging?
No. ProRes is designed for editing heavy workflows and creates very large files. iPhone also needs free storage to record ProRes reliably. Use it only when you truly need that editing flexibility.
Q4: Can an iPhone Overheat and Stop Recording Outdoors?
Yes. In hot conditions, the phone may dim the screen, reduce performance, or stop recording to manage temperature. Move into shade, remove the phone case, lower brightness, and take short breaks between takes.
Keep Reading
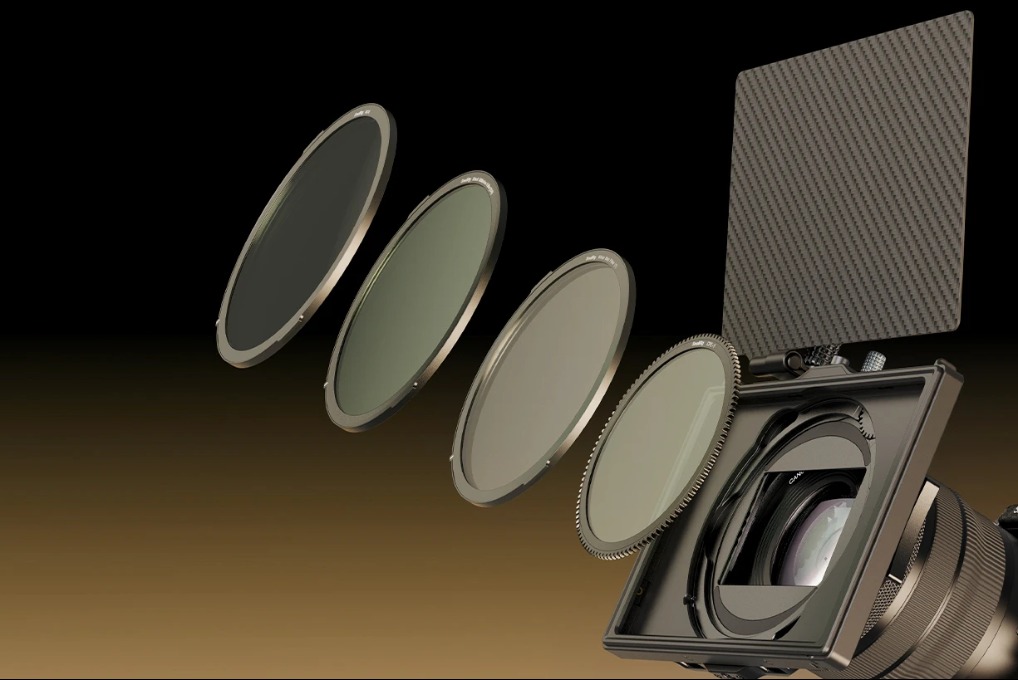 CPL vs ND Filter: What's the Difference and When to Use Each
 SmallRig S70 Wireless Mic Review: Best Budget Option?
 How to Choose a Microphone for Live Streaming