Search smallrig.com...


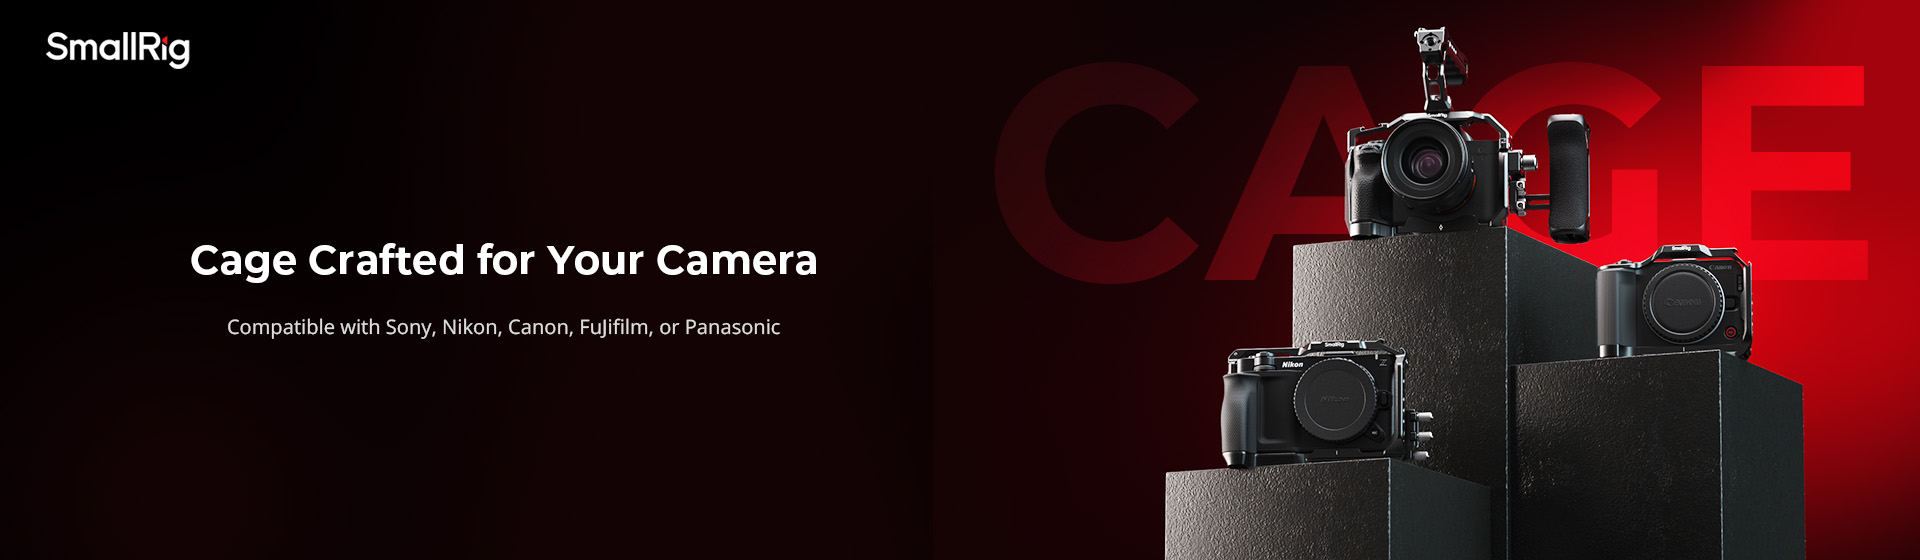
Can a Camera Cage Scratch Your Camera? How to Prevent It
SmallRig 2026-03-26 04:04:45
Contents
Yes, a camera cage can scratch your camera, but it doesn’t have to. The main culprits are usually poor installation, missing protective padding, or dirt trapped between the cage and your camera body. The good news? These issues are completely avoidable. This guide walks you through the causes of scratches and gives you practical steps to keep your gear safe while using a camera cage.
What Causes a Cage for a Camera to Damage Equipment?
Camera cages are meant to protect and expand your setup, but they can backfire if you’re not careful. Understanding what causes damage is the first step to preventing it.
Improper Installation Methods
Rushing through installation is where most problems start. If you don’t align the cage properly with your camera’s mounting points, you’ll end up forcing it into place. This creates pressure on the wrong spots and can scrape the finish right off your camera body.
The cage should slide on smoothly without any resistance. If you’re fighting with it, stop and check your alignment.
Missing or Worn Protective Padding
Quality camera cages come with rubber or foam padding at contact points. This padding acts as a buffer between the metal cage and your camera. Over time, this padding wears down or falls off completely. Once that happens, you’ve got metal-on-metal contact, which means scratches are inevitable. Check these pads every few months, especially if you use your cage daily.
For example, some SmallRig model-specific cages explicitly note internal padding in the official product description to help safeguard the camera body from scratches—so it’s a detail worth verifying before you buy.
Dirt and Debris Accumulation
Even tiny particles of sand or dust can act like sandpaper when trapped between your cage and camera. This is especially common if you shoot outdoors or in dusty environments. That grit gets compressed when you tighten the cage, and every movement creates micro-scratches that add up over time. You might not notice it at first, but after a few months, the damage becomes obvious.
Over-Tightening Screws and Bolts
More torque doesn’t mean more security. When you crank down those mounting screws too hard, you’re crushing the protective padding and creating excessive pressure on your camera body. This can crack paint, dent softer materials, and even damage the threads on your camera’s mounting points. Hand-tightness is usually enough. If the cage wobbles, the problem isn’t the tightness but the fit itself.
These four factors are among the most common causes of cage-related cosmetic wear. Address them, and you’ll avoid most problems before they start.
How to Prevent Scratches When Using a Camera Cage?
Prevention beats repair every time. Here’s how to keep your camera pristine while getting all the benefits of a cage setup.
Cleaning Camera and Cage Before Installation
-
Before you attach any cage for the camera, wipe down both surfaces thoroughly.
-
Use a microfiber cloth to remove dust, fingerprints, and any particles from your camera body.
-
Pay special attention to the bottom plate and side panels where the cage makes contact.
-
Then clean the inside of the cage the same way.
This quick step prevents most scratch issues caused by trapped debris. Make it a habit every time you remove and reinstall your cage.
Proper Installation and Alignment Techniques
-
Start by loosely threading all screws before tightening any of them. This lets the cage settle into its natural position.
-
Check that all mounting points line up correctly. The cage should sit flush against the camera without gaps.
-
Tighten screws in a cross pattern, like you would with car wheels, to distribute pressure evenly.
-
Stop when you feel resistance. The cage shouldn’t wiggle, but you shouldn’t need tools to remove it later either.
Specific Tips for Sony FX3 Cage Users
The Sony FX3 has a unique body shape with ventilation holes along the sides. When choosing a Sony FX3 cage, make sure it doesn’t block these vents, as that affects cooling. The FX3’s grip area is also prone to wear, so look for cages with extra padding on the right side. Many FX3 users prefer half-cages that leave the grip exposed, which reduces contact points and scratch risk. The top handle mounting point is solid, so that’s your safest anchor.
If you want a reference point when shopping, some SmallRig FX3/FX30 cage kits include a cable clamp and multiple mounting points—features that can help keep the setup stable and reduce unnecessary rubbing caused by micro-movement.
Specific Tips for Sony A7IV Cage Users

The Sony A7IV has a more traditional body style, but its articulating screen needs clearance. A poorly fitted Sony A7IV cage can restrict screen movement or press against it when closed, causing hinge damage over time. Check that your cage allows full screen articulation before buying. The A7IV’s battery door is another vulnerable spot. Make sure your cage doesn’t interfere with opening it, or you’ll be removing the cage every time you swap batteries, which increases wear.
Taking these precautions means you can use your camera cage confidently without worrying about cosmetic or functional damage.
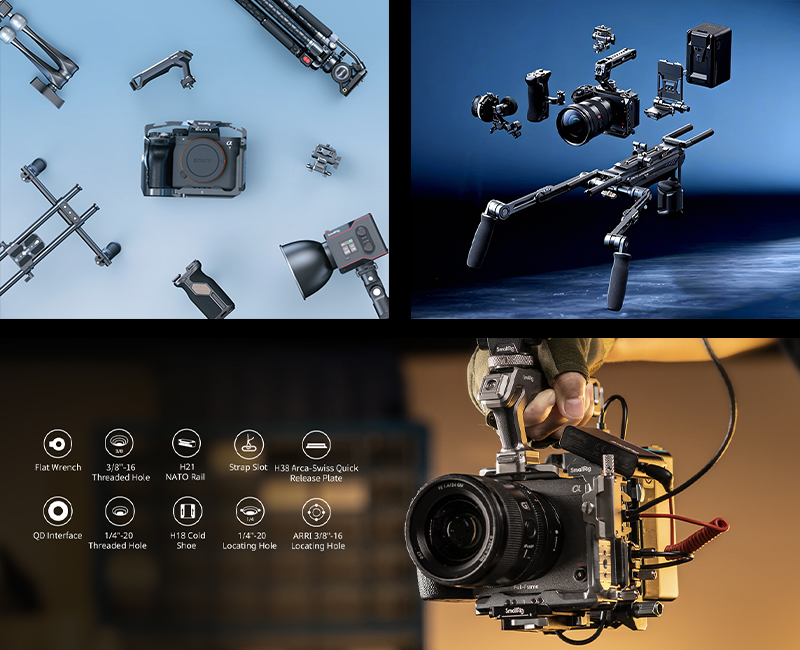
How to Choose a Scratch-Resistant Cage for a Camera?
Not all cages are created equal. Investing in the right one from the start saves you headaches and money down the road.
Anti-Scratch Padding Materials
Look for cages with silicone or rubber padding at every contact point. Cheap cages skip this or use thin foam that compresses permanently after one use. Some premium cages use replaceable padding strips, which is ideal for long-term use. Avoid cages with bare metal contact points unless they’re specifically designed for your camera model with precision tolerances.
Precision-Machined Contact Points
Better manufacturers machine their cages to exact specifications that match your camera’s dimensions. This means the cage fits snugly without requiring excessive force or tightening. You’ll see this described as “CNC machined” or “precision fit” in product descriptions. These cages cost more upfront but prevent damage that could cost hundreds to repair. Instead of relying on stated “tolerances,” focus on real-world fit: the cage should mount without forcing, sit flush, and resist twisting without needing excessive torque.
Quality Anodized Coatings
Anodized aluminum cages have a harder surface that’s less likely to shed particles that could scratch your camera. The anodizing also prevents the cage itself from corroding or developing rough spots over time. Look for a clean, consistent anodized finish and smooth internal edges—finish quality matters more than any specific anodizing “type” claim. Avoid cages with rough spots, burrs, or sharp edges near camera contact areas.
Compatibility with Your Camera Model
Generic “universal” cages are tempting because they’re cheaper, but they rarely fit any camera perfectly. Always choose a cage designed specifically for your camera model.
Manufacturers like SmallRig make model-specific cages that account for button placement, port access, and body contours. Check user reviews from people with your exact camera model before buying.
Spending a little more on a well-fitted, padded cage is usually worth it to protect an expensive camera body—especially if you use a cage daily.
How to Maintain Your Camera Cage Properly?
Even the best cage needs regular maintenance to keep protecting your gear effectively.
Tip 1: Regular Cleaning Routines
Remove your cage monthly and clean both it and your camera thoroughly. Use compressed air to blow out any dust from screw holes and tight spaces. Wipe all surfaces with a slightly damp microfiber cloth, then dry completely. This prevents buildup that leads to abrasion. If you shoot in harsh environments, do this weekly.
Tip 2: Periodic Inspection Checklist
Every few months, examine your cage closely. Check that all padding is intact and hasn’t hardened or fallen off. Look for any rough edges or burrs on the cage that could develop over time. Inspect screw threads for damage. Test that all mounting points still align properly. Catching small issues early prevents them from becoming big problems.
Tip 3:When to Replace Protective Components
Padding may need replacement periodically, depending on how often you shoot, how tight you mount the cage, and the environments you work in. You can often buy replacement pads from the manufacturer or cut your own from rubber sheet material. If screws become stripped or loose, replace them immediately. Don’t try to compensate by over-tightening. A $5 screw replacement beats a scratched camera body.
Tip 4: Proper Storage Practices
When not in use, store your caged camera in a padded bag or case. Don’t leave it sitting on hard surfaces where the cage can get dinged or collect debris. If you’re removing the cage for storage, keep it in a separate compartment so it doesn’t bang against other gear. Clean everything before storage to prevent corrosion or stuck-on grime.
Regular maintenance takes maybe 10 minutes a month but extends the life of both your cage and camera significantly.
FAQ
Q1. Do All Camera Cages Come with Protective Padding, or Should I Add My Own?
Not all cages include adequate padding, especially budget options. Before buying, check product photos and reviews to confirm padding is present at all contact points. If your cage arrives without padding or with minimal protection, you can add your own using adhesive-backed rubber or silicone strips available at hardware stores. Cut them to size and place them anywhere the cage touches your camera. This DIY solution works well and costs just a few dollars. Many model-specific cages from SmallRig include protective padding, but coverage varies by model—so confirm with photos and user reviews rather than assuming. Some third-party “universal” or low-cost cages may also include padding, but it’s often thinner or inconsistently placed, which is why verification matters.
Q2. Can I Leave My Camera Cage Installed Permanently, or Does That Increase Scratch Risk?
Leaving your cage installed is actually fine and may reduce wear compared to frequent removal and reinstallation. Each time you take the cage off and put it back on, you create opportunities for misalignment, dirt introduction, and screw wear. If you use your cage regularly, keep it mounted. Just make sure to periodically loosen and retighten screws to check the padding condition and clean any accumulated debris. The exception is if you’re storing your camera for extended periods, in which case removing the cage prevents any pressure on the padding or potential corrosion issues.
Q3. What Should I Do if My Sony fx3 Cage or Sony a7iv Cage Starts Making Clicking Sounds During Use?
Clicking or creaking sounds usually mean something has loosened or debris has gotten into the connection points. Stop using the setup immediately and remove the cage. Inspect all screws and tighten any that have backed out. Check for dirt or damaged padding that might be causing uneven contact. Examine your camera body for any new marks or wear patterns. If everything looks clean and tight but the noise persists, the cage may have developed a stress crack, or the mounting points on your camera could be damaged. In that case, contact the cage manufacturer or a camera repair service before continuing to use it.
Conclusion
If you’re looking to build a rig that feels cleaner, steadier, and easier to use, it’s worth checking out the SmallRig. You can find everything from model-specific camera cages to top/side handles, tripods, and LED lights without having to mix and match from a bunch of different places—making it simpler to put together a setup that balances a snug fit, protective padding, and anti-twist stability.
Keep Reading
 Fujifilm X-M5, X-T50 & X-E5 Cages & Cases — SmallRig Complete Guide 2026
 How to Build the Perfect SmallRig Rig for Sony A7V
 Why Your Camera Rig Feels Loose and Wobbly
Related Products from SmallRig