Search smallrig.com...


Heavy-Duty Fluid Head Tripod 3751B Clamping/Pin Repair Instructions
SmallRig Support Team 2025-12-28 19:37:24
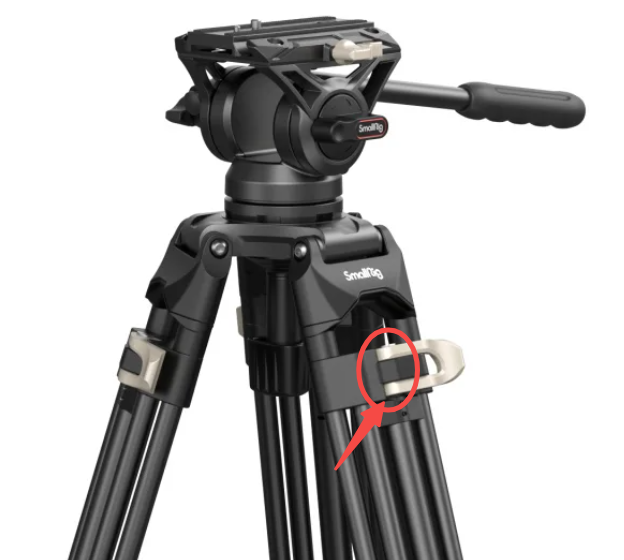
Upper Clamp Assembly Maintenance
1. Access the pin screw at the clamping groove using a cross screwdriver to unscrew and remove the retaining screw.
 |
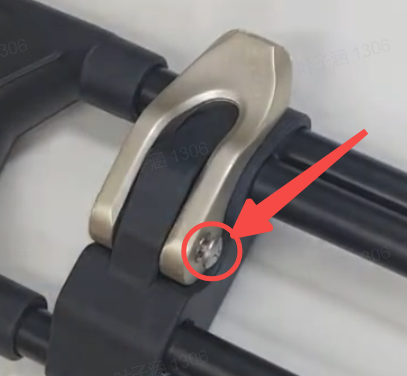 |
2. Locate the screws on the backplate of the clamp and use a hex key wrench to remove them.
 |
 |
-
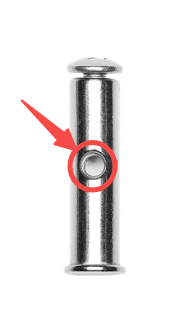
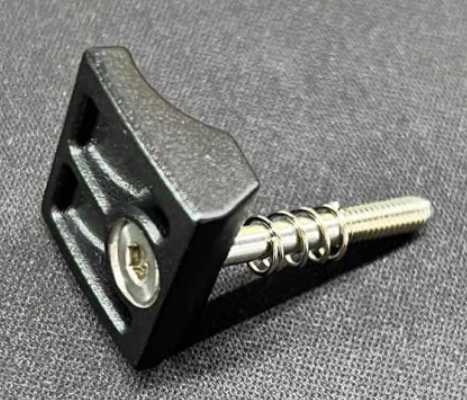
After removing both screws, carefully extract the entire clamping assembly. The components include:
-
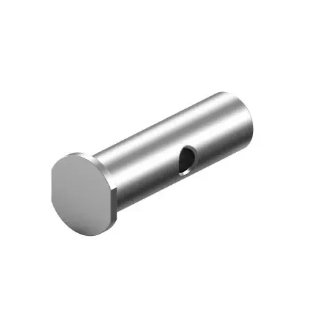
Pin ×1
-
Clamping plate ×1
-
Long screw ×1
-
Spring ×1
-
Rear fixing plate ×1
-
-
Replace damaged parts as needed:
-
Install the new clamping plate and align the pin’s threaded hole with the mounting holes on the backplate.
-
Slip the spring and rear fixing plate onto the long screw in sequence.
-
Use a hex key wrench to tighten the long screw into the frame.
-
-
Finally, secure the pin by reinstalling its retaining screw. Repair complete.
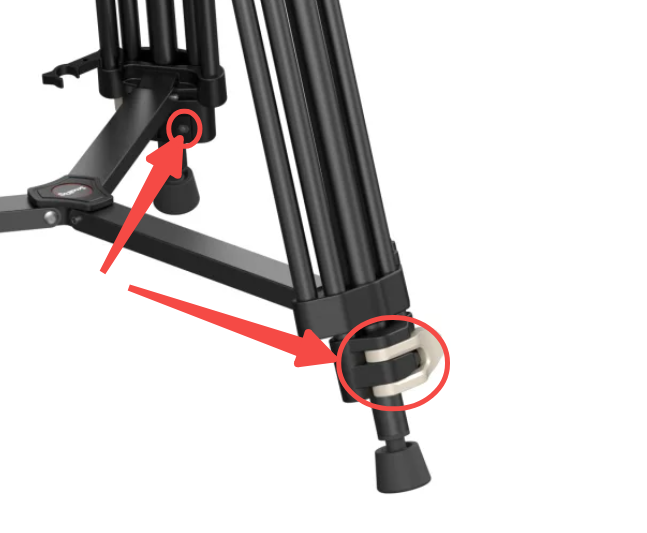
Lower Clamp Assembly Maintenance
-
Remove the lower clamping backplate screws using a hex key wrench (Note: The lower pin has no separate retaining screw).
 |
 |
-
Unscrew the screws to sequentially disassemble the backplate assembly, pin, and clamp.
-
Replace components:
-
Align the pin’s threaded hole with the backplate’s mounting holes and attach it to the frame.
-
Mount the rear fixing assembly onto the frame using a hex key wrench. Repair completed.
-
Keep Reading
 NAB Show 2026 Recap: Hands-On with SmallRig's New Osmo Pocket 4 Ecosystem, RF 20C & Carbon Fiber Monopod
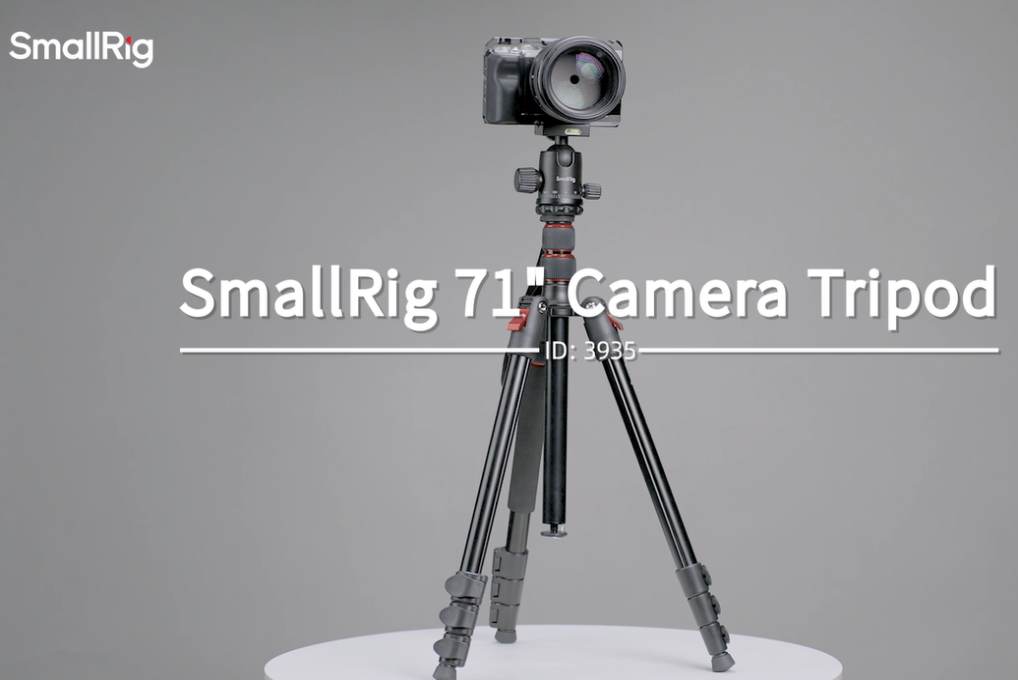 71" Camera Tripod 3935: A Quick Guide to Mastering Versatile Shooting
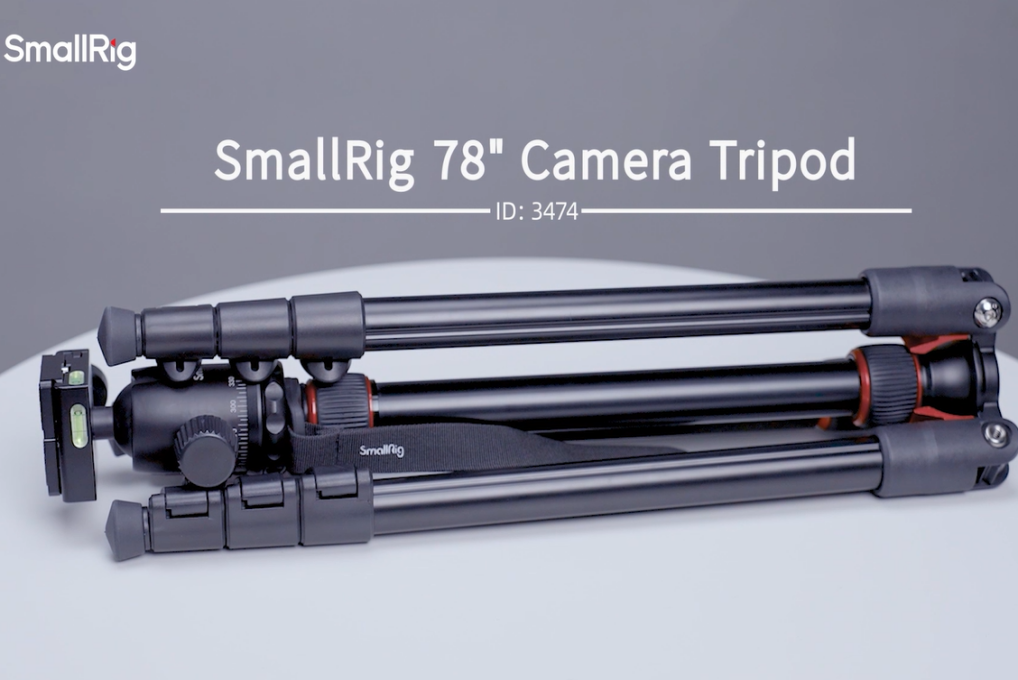 A Complete Guide to Using the SmallRig 78" Camera Tripod 3474C