Search smallrig.com...


Action Camera Night Shooting: Settings and Accessories That Help Most
SmallRig 2026-03-25 00:14:55
Contents
Shooting at night with action cameras comes down to two things: getting your settings right and using the proper action camera accessories. Increase your ISO, adjust your shutter speed, and add lighting gear like camera lights, video lights, or pocket lights. When you combine these elements correctly, you'll capture sharp, vibrant footage instead of dark, noisy clips.
Why Do Action Cameras Struggle After Dark?
Your action camera works great during the day, but turns everything into a grainy mess at night. This isn't your fault; it's how these cameras are built.
Sensor Size Limitations
Action cameras use sensors roughly the size of your pinky fingernail, typically from 1/2.3-inch up to 1/1.3-inch (for many current models). A regular interchangeable-lens camera sensor is much larger, about ~13× larger in area for APS-C vs 1/2.3", and ~30× larger for full-frame vs 1/2.3". Smaller sensors capture less light, which means darker images with more visible grain. When you're shooting in low light, this size difference really shows. Your camera is doing its best with limited light-gathering ability.
Fixed Aperture Constraints
Every action camera comes with a fixed lens, usually around f/2.5–f/2.8. You can't swap it out for something faster, like f/1.4, when you need more light. This locked aperture means you're stuck with whatever light-gathering capability the manufacturer gave you. There's no workaround except to add more light or adjust other settings.
Noise and Image Quality Issues
Push your ISO past the “low-to-mid” range (often around ISO 800–1600, depending on model and scene), and many action cameras start showing noticeable grain. The small sensor amplifies this noise because each pixel is packed so tightly together. Without help from external lighting, clean night footage is hard, especially if you’re moving.
Your action camera needs support when the lights go down. That's where smart settings and choose the right action camera accessories make all the difference.
What Camera Settings Work Best at Night?
Before you spend money on lights, learn to squeeze every bit of performance from your camera's settings.
ISO Sensitivity Tricks
Start at ISO 400 and work your way up while watching your screen. Many action cameras look acceptable up to around ISO 800 in brighter night scenes, but noise ramps up quickly beyond that, especially in shadows. Find your camera's breaking point: the highest ISO where detail still looks acceptable.
-
GoPro Hero 11 and 12 can often keep ISO 800 usable in some night scenes, but results vary by lighting and movement.
-
DJI Osmo Action 4 supports higher ISO values (its published ISO range goes up to 12,800), but image cleanliness still depends on the scene and how much real light you add.
Always lock your ISO manually because auto mode will max it out and give you unusable footage.
Shutter Speed Balance
Slower shutters let in more light but create motion blur. For video, follow the 180-degree rule: shoot 30fps at 1/60 shutter. If you're filming something stationary, you can drop to 1/30 or 1/15 to gather more light. But for anything with movement, faster shutters keep things sharp, which means you'll need stronger lights to compensate.
White Balance Adjustments
Auto white balance freaks out when you mix streetlights, neon signs, and car headlights. Lock your white balance to a preset instead. Try 3200K for warm indoor scenes or 4000K for typical city streets at night. You can tweak colors in editing, but starting with accurate white balance saves hours of color correction work later.
Frame Rate Choices
Lower frame rates mean more light per frame. Shooting 24fps instead of 60fps gives you about 2.5× more light per frame. You lose the ability to create smooth slow-motion, but you gain much cleaner footage. Unless you absolutely need slo-mo capability, stick with 24 or 30fps for night work.
These settings create your foundation. Get them dialed in first, then add lighting to fill the gaps.
Which Action Camera Accessories Actually Help?
Walk into any camera store, and you'll see dozens of lights. Here's what each type actually does and when you need it.
One quick upgrade that makes “night lighting” easier: add a cage with real mounting points, so you’re not stuck with flimsy adapters. For example, SmallRig’s cage for DJI Osmo Action 3/4/5 Pro includes a cold shoe plus 1/4"-20 threads, so you can mount a light and a mic cleanly without blocking buttons or the battery door.

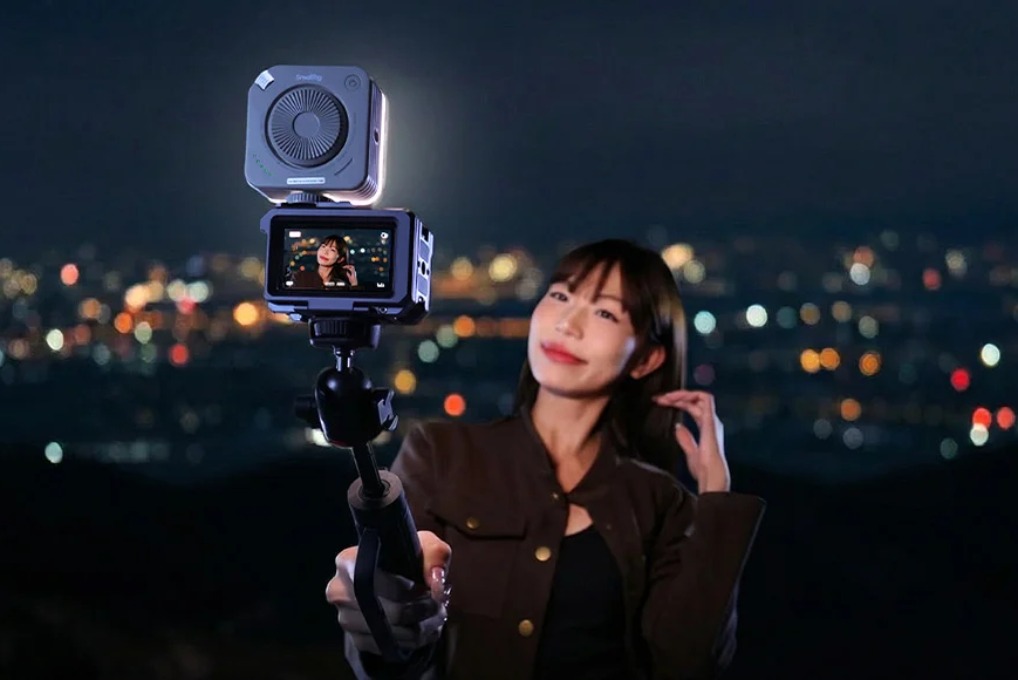
Camera Lights Core Function
Camera lights bolt directly onto your action camera's mounting system or frame cage. They move with your camera, always lighting whatever you're filming. Most are designed for close-range fill and typically land in the “few hundred lumens” class (though output varies widely), with battery life often measured in hours depending on brightness level. The main advantage is simplicity, mount it once and forget about repositioning.
If you want a simple “set it and go” option, P96 / P108 Neo mini LED Video Light is a good example of the camera-light category: it’s compact, mounts via cold shoe, and gives adjustable color temperature (2700K-6500K) with a built-in battery rated for up to about 75 minutes of full-power runtime.

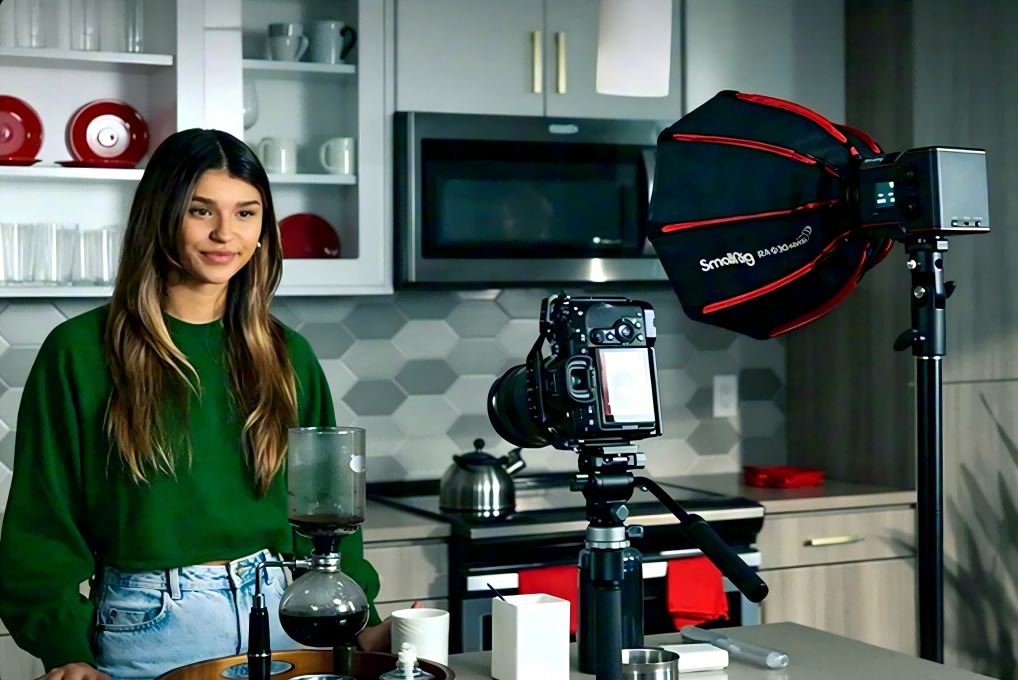
Video Light Professional Edge
Video lights are bigger, brighter, and more adjustable than basic camera lights. Expect higher output than compact camera lights, dimming controls, and (often) color temperature adjustment from warm 3200K to daylight 5600K. They're heavier and bulkier, but they give you professional-level control over your lighting.
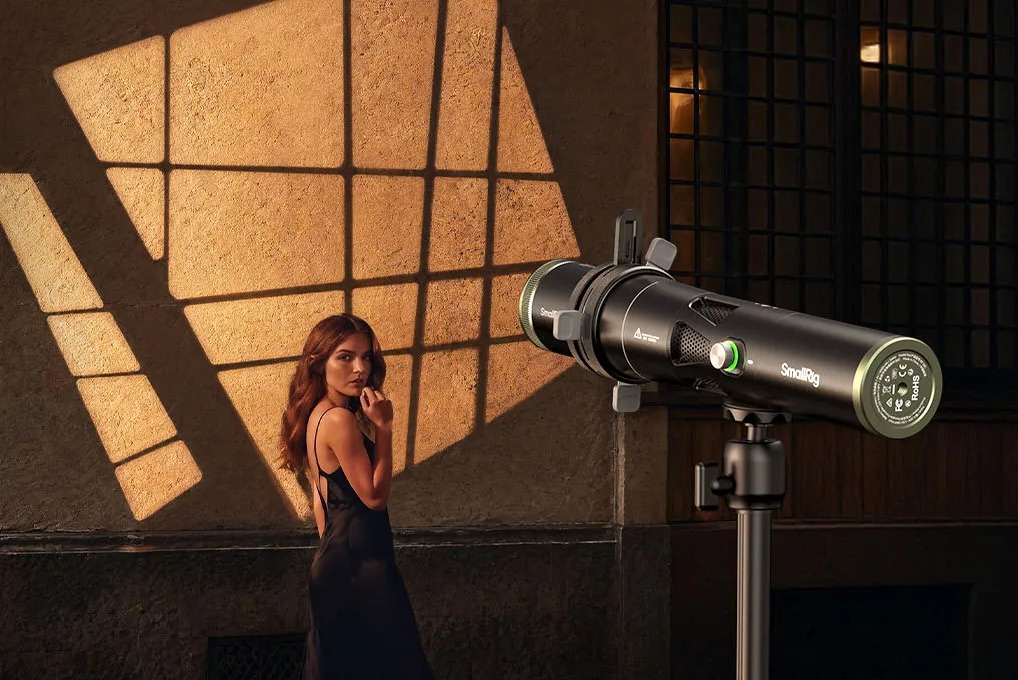
Pocket Light Portability Factor
Pocket lights are your versatile backup option. They clip onto anything, usually with modest output meant for close fill, and work great as fill lights or emergency illumination. They're small enough to always keep in your bag. Think of them as insurance, when your main light dies, or you need to light from a weird angle, these save the day.
If you like pocket lights with more creative flexibility, SmallRig’s RM-25C mini LED light is a solid “carry-everywhere” example: it supports adjustable CCT (2500K–10000K) plus RGB/effects, so you can match streetlights, mix neon looks, or just keep faces from going muddy.
Lighting Gear Comparison
| Light Type | Lumens | Battery Life | Best Use Case |
| Camera Lights | Varies widely (often “hundreds of lumens”) | Varies by brightness (often hours) | Direct mounting, POV footage |
| Video Lights | Varies widely (often brighter than compact lights) | Varies by brightness and size (often hours) | Controlled setups, pro work |
| Pocket Lights | Lower output (often “tens to a few hundred lumens”) | Varies by brightness (often shorter runtimes) | Fill lighting, backup, portability |
Each type serves a purpose. Most serious night shooters eventually own all three and pick based on what they're filming.
How Do You Mix Settings and Action Camera Accessories?
This is where everything clicks together. Stop thinking about settings and lights as separate problems.
Balancing ISO and External Light
Use the lowest ISO your lighting allows. If a 500-lumen camera light gives you proper exposure at ISO 400, don't shoot at ISO 800 just because you can. More external light equals lower ISO, which equals cleaner footage every time.
Try this test: film the same night scene at ISO 800 with no lights, then at ISO 400 with a camera light. The difference will shock you.
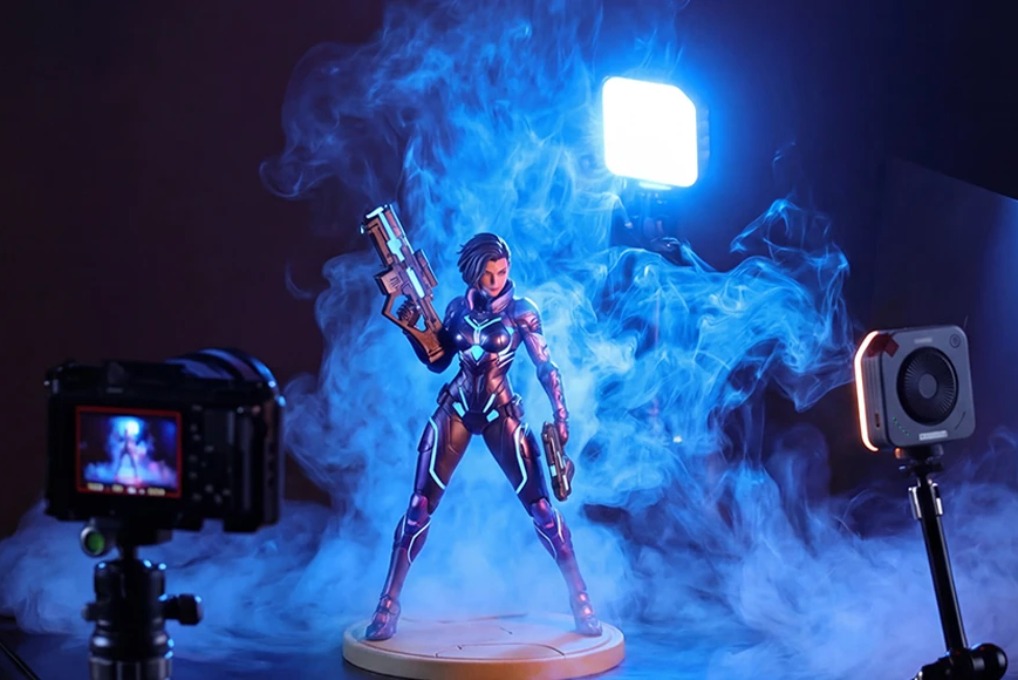
Multiple Light Positioning
One light creates harsh shadows and flat-looking footage. Two lights solve this instantly. Put your main video light on-camera for key lighting, then add a pocket light at 45 degrees as fill. This reduces harsh contrast and reveals more detail in shadows. For moving shots, even a headlamp worn slightly off-axis from your camera works as a makeshift fill lighting.
Adjusting for Light Output
Match your settings to your available light.
-
Using a powerful 2000-lumen video light? Drop your ISO to 200 and keep the shutter at 1/60 for clean, sharp footage.
-
Working with just a 200-lumen pocket light? Bump ISO to 800 and slow your shutter to 1/30. The formula stays consistent: stronger external lights mean more conservative camera settings.
Real Shooting Scenarios
-
Night bike riding: Mount a 1000-lumen video light on your handlebars, shoot ISO 400, 1/60 shutter, 30fps for smooth, bright footage.
-
Urban exploring: Use a 500-lumen camera light mounted on your chest rig, ISO 800, 1/30 shutter to handle walking pace movement.
-
Campfire scenes: Add a pocket light for fill, ISO 1600, 1/30 shutter to blend with ambient firelight without overpowering it.
Each scenario needs different combinations. Test these setups and adjust based on what you see on your screen.
FAQ
Q1. Will Waterproof Action Camera Accessories Work In Heavy Rain or Underwater?
Most camera lights advertised as "waterproof" are actually just splash-resistant, often with IPX ratings that may cover rain/spray but not guaranteed submersion. For true submersion, you need an IPX8-rated light (the IP code system is defined under IEC 60529). GoPro's official Light Mod is built tough and waterproof to 33 ft (10 m). Check the IP rating carefully: manufacturers use "waterproof" loosely. If you're diving, snorkeling, or doing serious water sports, spend extra on lights with verified depth ratings and sealed battery compartments.
Q2. How Many Lumens Do I Actually Need for Different Night Shooting Situations?
For close-up work within 3-5 feet, a modest fill light is often enough, but distance shooting needs much more output. Urban streets and trails typically require substantially brighter output than tight close-ups. Fast movement, like biking or skiing, needs even more light so you can see far enough ahead. Wider landscapes or filming groups generally push you toward larger video lights or multiple lights.
Q3. Can I Mix Different Color Temperatures From Multiple Lights Without Ruining My Footage?
Mixing warm and cool lights creates weird color casts that are painful to fix in editing. If you're using multiple action camera accessories, match their color temperatures as closely as possible, all around 3200K or all around 5600K. Most video lights let you adjust temperature, so dial them to match your pocket lights or camera lights. If you're stuck with mismatched lights, position the off-color light as a rim or hair light where the color difference looks intentional rather than as key lighting on faces. Better yet, buy lights from the same manufacturer's product line since they typically share similar color profiles even across different models.
Conclusion
Night shooting doesn't have to mean settling for grainy, dark footage. Master your camera settings, invest in quality action camera accessories, and learn how to balance them together. Start with one reliable camera light, practice your ISO management, and expand your kit as you need it. Get out there and capture those nighttime moments properly.
Keep Reading
 Best Portable Lighting Setup for Solo Content Creators
 Review: SmallRig RF 20C Portable Zoom Light
 Why You Need a Video Light: A Complete Guide for Content Creators