Search smallrig.com...


Vlogging Camera Lights 101: Types, Setup & Buying Guide
SmallRig 2026-02-03 18:54:33
Contents
Good lighting can make or break your vlog. While your phone or camera does the recording, it's the camera light that transforms amateur footage into professional content. Whether you're shooting makeup tutorials, product reviews, or daily vlogs, understanding video lights—from LED panel lights to pocket lights—helps you create videos that actually get watched. Let's break down what works, what doesn't, and how to pick the right setup without wasting money.
What Types of Camera Lights Work Best for Vlogging?
The vlogging world runs on five main types of camera lights. Each one solves different problems, and knowing which fits your style saves you from buying the wrong gear.
Camera Light Comparison Table
| Light Type | Best Uses | Key Benefits | Light Quality | Portability |
| LED Panel Light |
Indoor fixed shots, Interview videos, Product
demos, Live streaming
|
Even brightness, Adjustable color
temp, Low power usage, Good heat control
|
Soft and even, Wide coverage | Medium, (various sizes) |
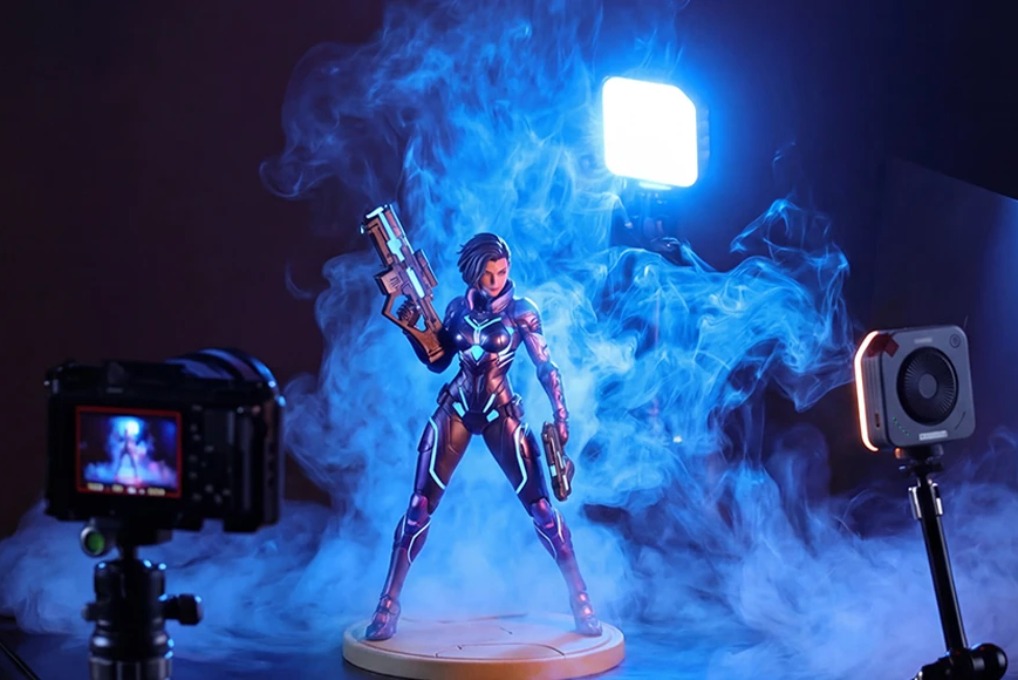
| RGB Light |
Colorful mood setting, Creative backgrounds,
Special effects, Music videos
|
Color adjustable, Strong atmosphere,
Multiple effects, App control
|
Dynamic colors, Programmable | Good, (usually lightweight) |
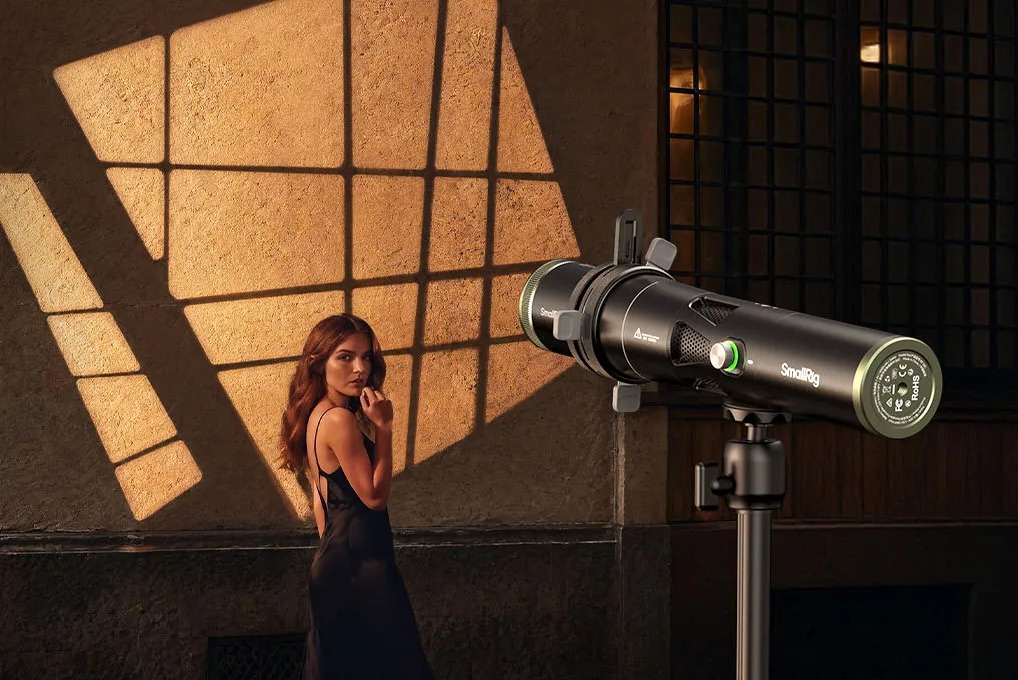
| COB Light |
Professional needs, High brightness scenes,
Long-distance fill, Cinema-grade work
|
Extremely bright, Focused beam, Great
color accuracy, Pro output
|
Strong focused, Sharp shadows | Fair, (heavier/larger) |
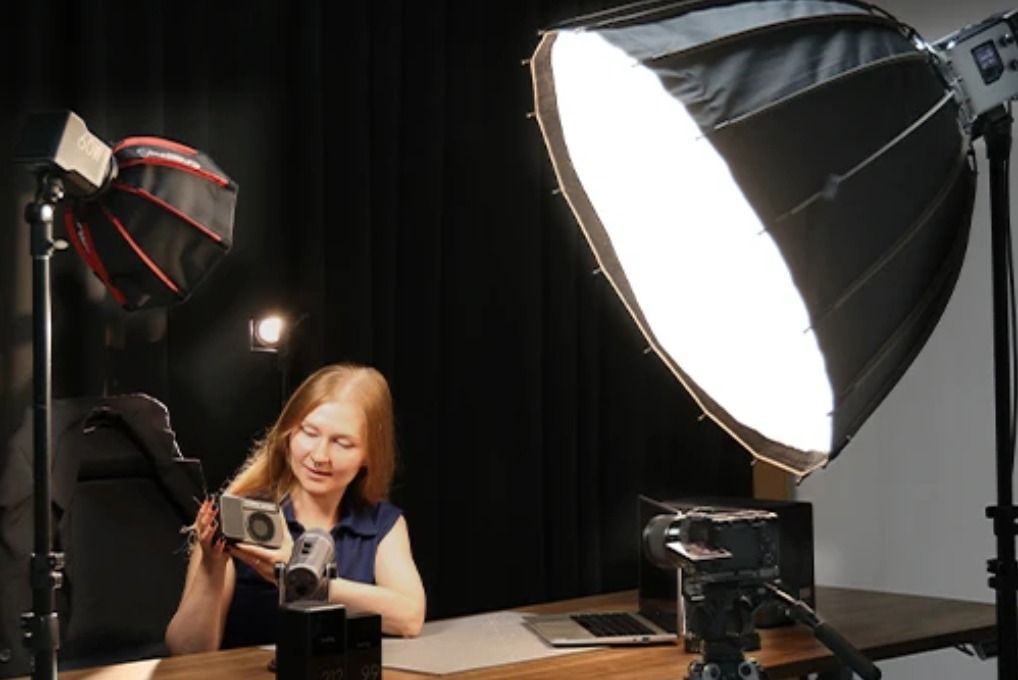
| Softbox |
Portrait shots, Beauty tutorials, Interview
shows, Soft light needs
|
Gentle light, Flattering effect, Natural
shadows, Reduces glare
|
Ultra soft, No harsh shadows | Poor, (needs light stand) |
| Pocket Light |
Travel filming, Mobile vlogs, Emergency
fill, Flexible angles
|
Compact size, Ready anytime, Multiple
mounts, Budget-friendly
|
Weaker but flexible, Close-range
effective
|
Excellent, (pocket-sized) |
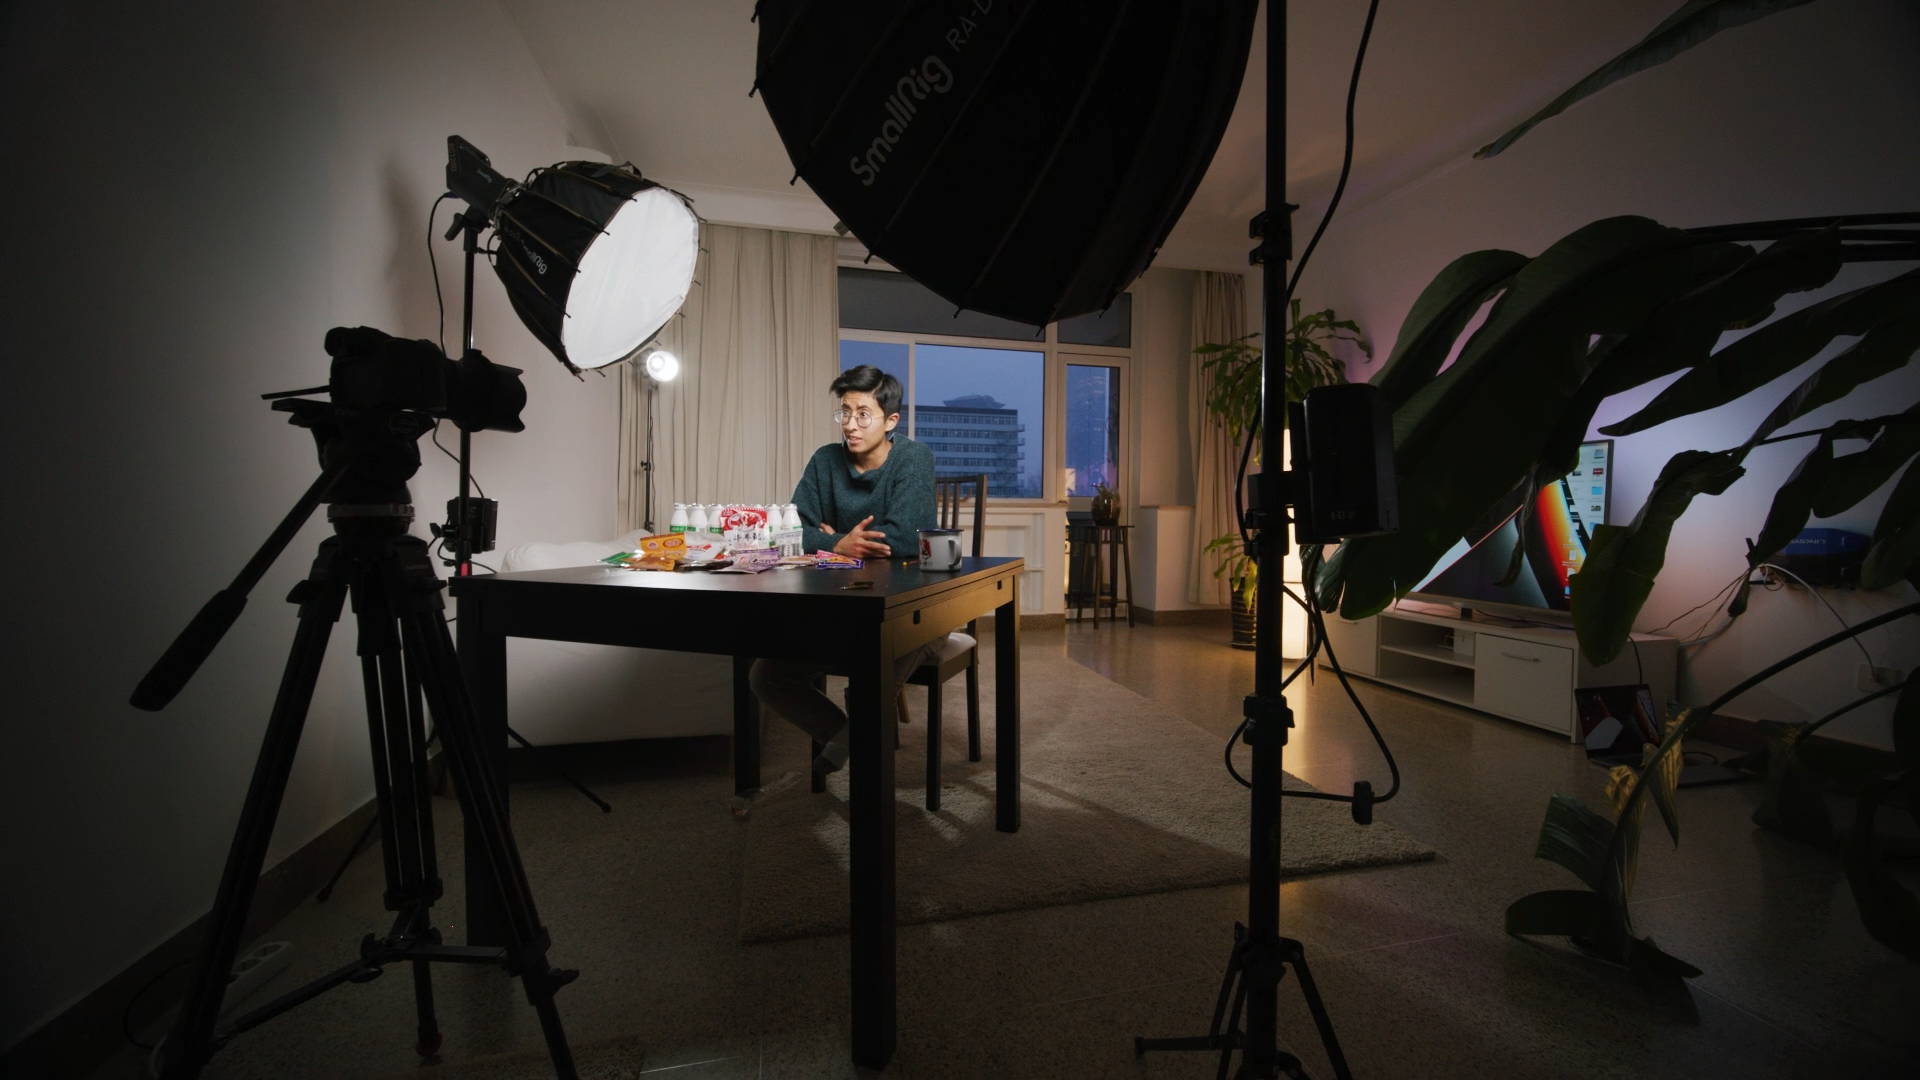
Picking your camera light depends on where you shoot most, your budget, and whether you're filming in one spot or moving around. Many vloggers mix different video lights to handle various situations. For example, creators often pair a compact LED panel (like SmallRig’s on-camera/portable LED options) with a simple stand or clamp so the setup stays stable even in tight desk spaces.
How Should You Choose Camera Lights Based on Budget?
Money talks, but you don't need to drop thousands to get decent video lighting. Smart buying means matching your current needs with room to grow.
Entry-Level Video Light Options (Under $60)
Start here if you're testing the water. Small pocket lights and basic LED panels work fine for face-focused content. You'll find clip-on lights with adjustable brightness and color temperature—enough to make your indoor videos look intentional rather than accidentally lit by your ceiling fan.
Mid-Range LED Panel Light Choices ($60-200)
This sweet spot gets you quality that shows on camera. Lights in this range typically offer better color accuracy, more power output, and useful features like remote control or battery power. They're built better, too, meaning they'll survive getting tossed in a bag between shoots.
Professional RGB Light Setup ($150-300)
Moving into serious territory here. Professional-grade RGB lights give you precise color control, higher brightness levels, and app integration that actually works. These video lights often include advanced features like music sync and scene programming that make your content stand out.
High-End COB Light Investment ($260+)
Cinema-quality lighting that delivers professional results. These COB lights produce enough output to compete with sunlight, maintain perfect color accuracy across the spectrum, and are built to handle daily professional use. You're paying for reliability and results that translate directly to viewer retention.

Kit vs. Individual Purchase
Starter kits seem like deals, but they often include stuff you won't use. Buy what you need now. Most vloggers use one or two lights consistently, not the five-light setup gathering dust in their closet.
What Parameters Matter When Buying Camera Lights?
Specs sheets overwhelm newcomers, but only a few numbers actually matter for vlogging.
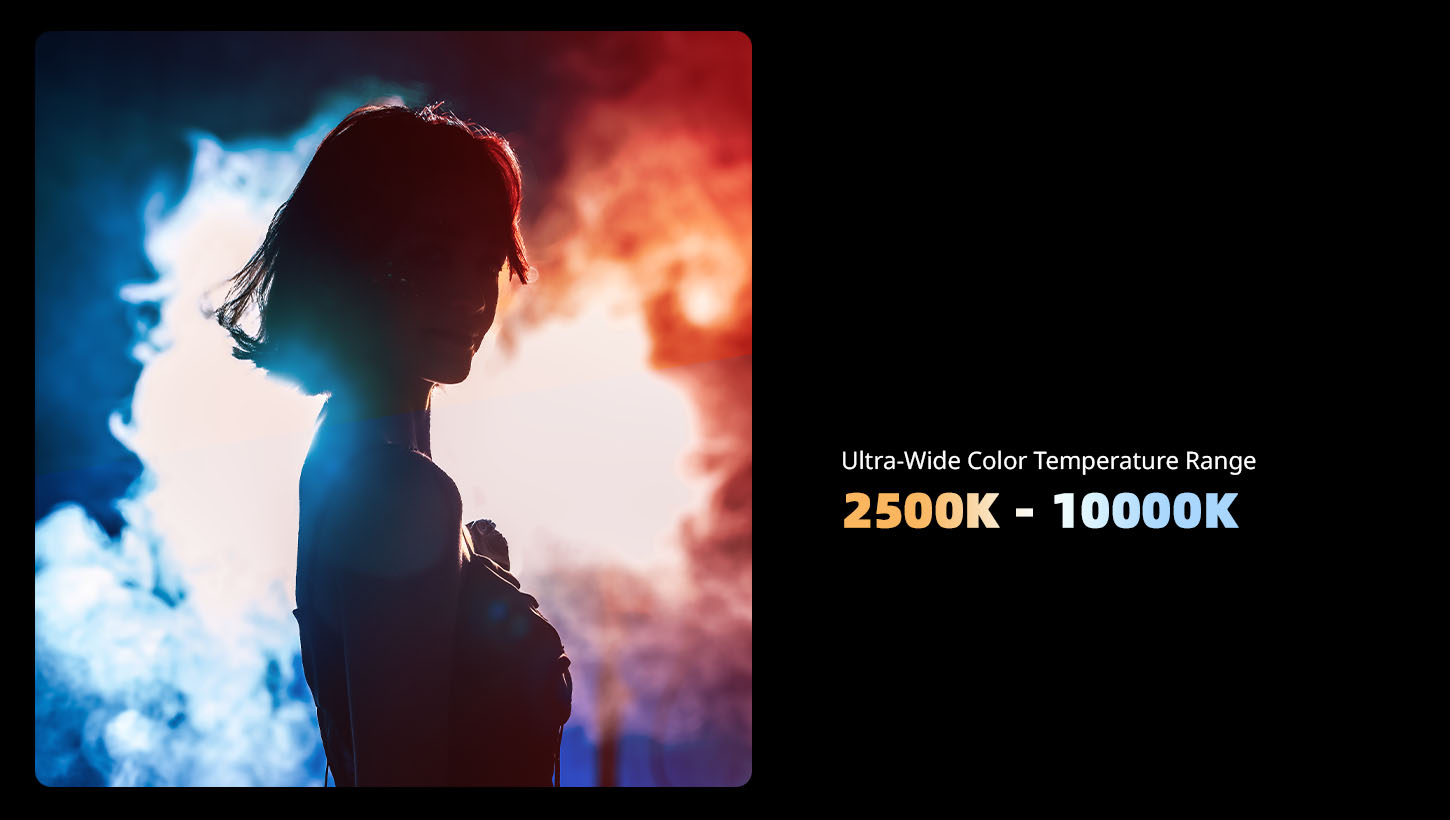
Color Temperature Range
Measured in Kelvin, this determines whether your light looks warm (orange) or cool (blue). Good video lights adjust from 2700K (warm) to 6500K (cool), letting you match any room lighting or create specific moods. Daylight sits around 5600K, while indoor bulbs run warmer at 2700K.
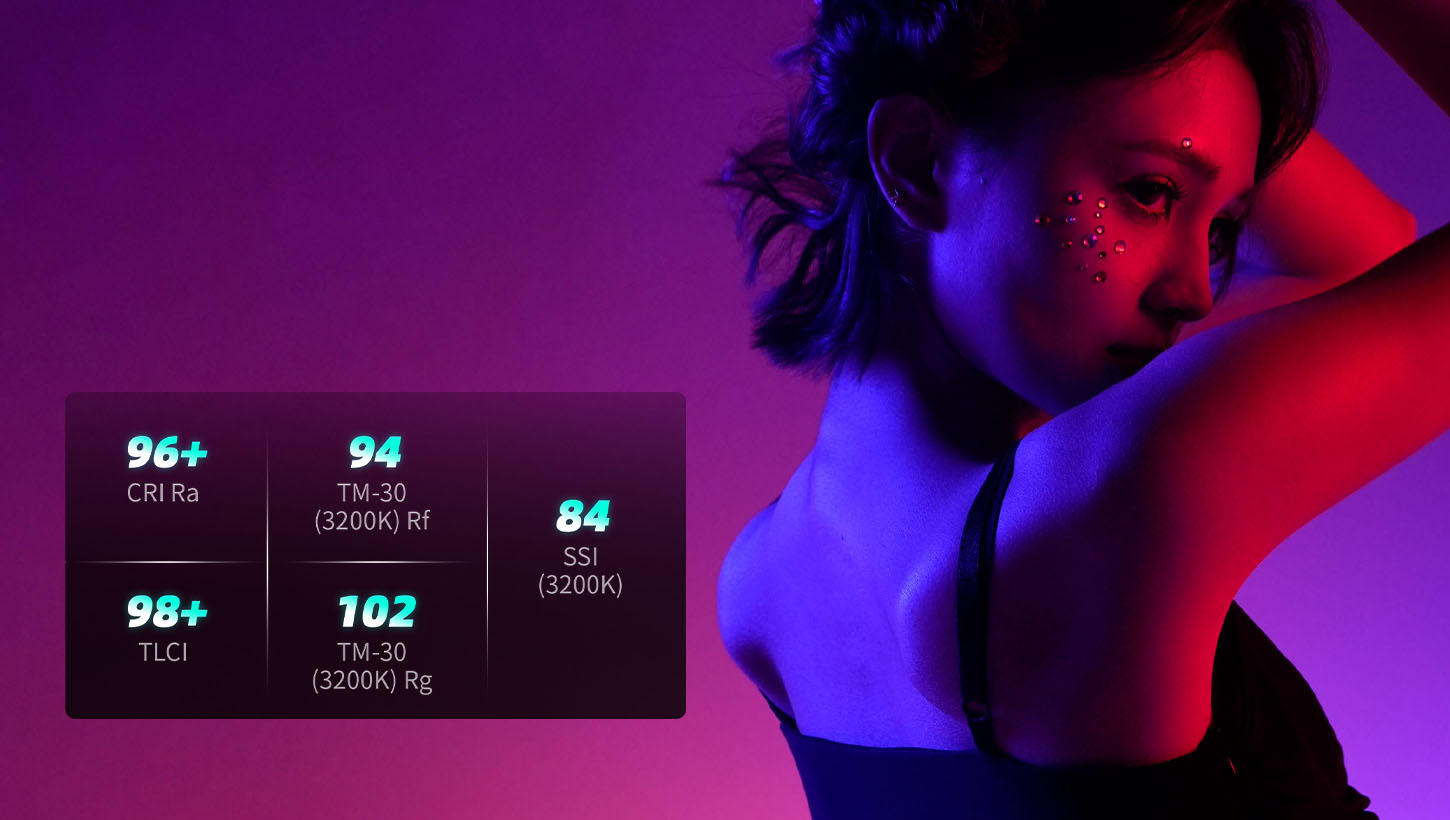
Brightness and Color Accuracy
Lumens measure total light output, but for camera lights, you care more about how it looks on camera. That CRI number mentioned earlier? Aim for 95+ if you're serious. Anything below 90 makes colors look off, which kills product videos and beauty content.
Battery Type and Runtime
Built-in batteries mean one more thing to charge. Removable batteries (usually Sony NP-F style) let you swap fresh ones and keep shooting. Runtime varies wildly—check real-world tests, not manufacturer claims. A good LED panel light should run 2-3 hours at full brightness.
Build Quality and Durability
Plastic housings crack. Metal ones survive. If you're moving your lights regularly, pay attention to how the controls feel and whether the mounting points seem solid. Cheap video lights break at the worst times.
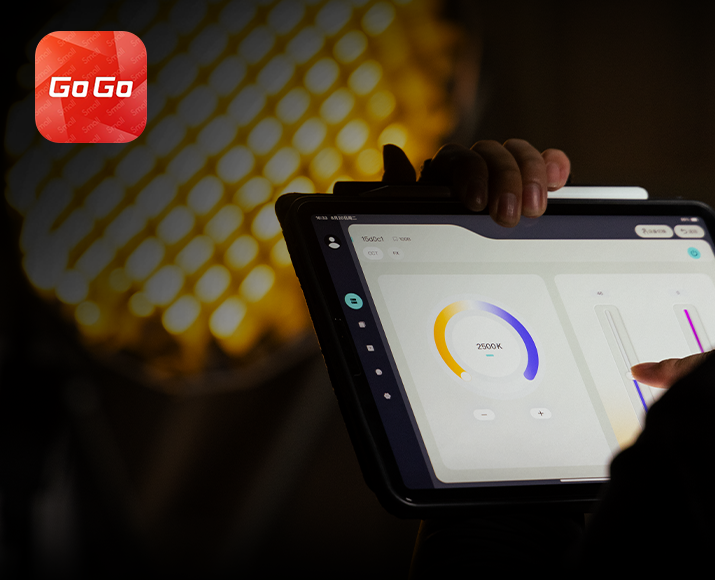
Wireless Control Features
App control sounds fancy, but it proves useful when your light sits across the room. Some RGB lights and LED panel lights now include Bluetooth control, letting you adjust settings without climbing over furniture mid-shoot.
How Do You Set Up Camera Lights for Quality Results?
Gear means nothing without proper placement. Lighting setup separates okay videos from professional-looking content.
Three-Point Lighting Basics
This classic setup uses three lights: key (main), fill (softens shadows), and back (separates you from the background). You don't need all three starting out, but understanding the concept helps. Place your key light at 45 degrees to one side, slightly above eye level. This creates dimension and prevents that flat, webcam look.
Single Light Positioning Tips
One good camera light beats three bad ones. Put it in front of you, slightly to one side, and higher than your face, pointing down. This mimics natural window light and looks flattering. Avoid placing lights directly behind your camera—it flattens features and looks boring.
Background and Fill Light Application
Your background shouldn't be brighter than you. Use a second video light aimed at the wall behind you to add depth. Fill lights go opposite your main light, set to about half the brightness to soften shadows without eliminating them completely.
Video Light Height and Angle Adjustment
Lighting from below makes everyone look creepy. Keep lights above eye level angled down. The exact angle depends on your face shape, but 30-45 degrees works for most people. Experiment while recording test clips—what looks good to your eyes differs from what looks good on camera.
Common Setup Mistakes Beginners Make
Don't point lights directly at shiny surfaces—you'll get hotspots. Don't place your LED panel light too close—it creates harsh shadows despite being "soft" light. Don't forget about your background. A well-lit face against a dark wall looks amateur. And never trust your room's overhead lighting to do the job—it creates weird shadows and unflattering top-down illumination.
FAQ
Q1. Can I Use My Phone's Flash Instead of Getting a Camera Light?
Phone flashes work in emergencies but create harsh, unflattering light that screams "amateur." They're designed for photos, not continuous video recording. The color temperature usually runs too cool, making skin tones look washed out. Even a basic pocket light at around $50–$60 dramatically outperforms a phone flash for video work. Plus, phone flashes drain battery fast and can overheat during longer recordings. Invest in proper video lighting—your viewers will notice the difference immediately, even if they can't explain why your content suddenly looks more professional.
Q2. Do More Expensive Camera Lights Really Make Videos Look Better?
Price doesn't automatically mean better videos, but it usually means better tools. Cheap video lights often have poor color accuracy (low CRI), which makes skin tones look off and products appear different than reality. They also flicker at certain brightness levels, creating annoying strobe effects in footage. Expensive lights deliver consistent output, accurate colors, and reliable performance. That said, a $50–$70 LED panel light used correctly beats a $260+ COB light used poorly. Learn lighting fundamentals first, then upgrade gear as your skills and needs grow. The jump from $50 to $150 matters more than $300 to $1,000.
Q3. Should I Buy Battery-Powered or Plug-In Camera Lights?
Battery-powered video lights give you flexibility to shoot anywhere without hunting for outlets, but they add ongoing costs for batteries and limit shooting time. Plug-in lights provide unlimited runtime and consistent brightness, but tie you to power sources. For home studio setups, plug-in LED panel lights make sense. For mobile vlogging or outdoor content, battery power wins. Many mid-range lights offer both options: an AC adapter for studio use and battery slots for portable shooting. Consider your primary shooting location before deciding. If 80% of your content happens at your desk, portability isn't worth sacrificing reliability.
Conclusion
Quality camera lights transform your vlog from forgettable to watchable.
If you want a simple “buy once, build out later” path, SmallRig is worth considering because its lights, mounts, and small rigging accessories are designed to work together—so you can start with one compact light and add stands, clamps, or diffusers only when your setup actually needs them.
Keep Reading
 Review: SmallRig RF 20C Portable Zoom Light
 Why You Need a Video Light: A Complete Guide for Content Creators
 The Ultimate Guide to Film Lighting: Techniques, Types, and Setup
Related Products from SmallRig