Search smallrig.com...


5 Essential Camera Accessories Every Photographer Needs in 2026
SmallRig 2026-03-25 01:06:02
Contents
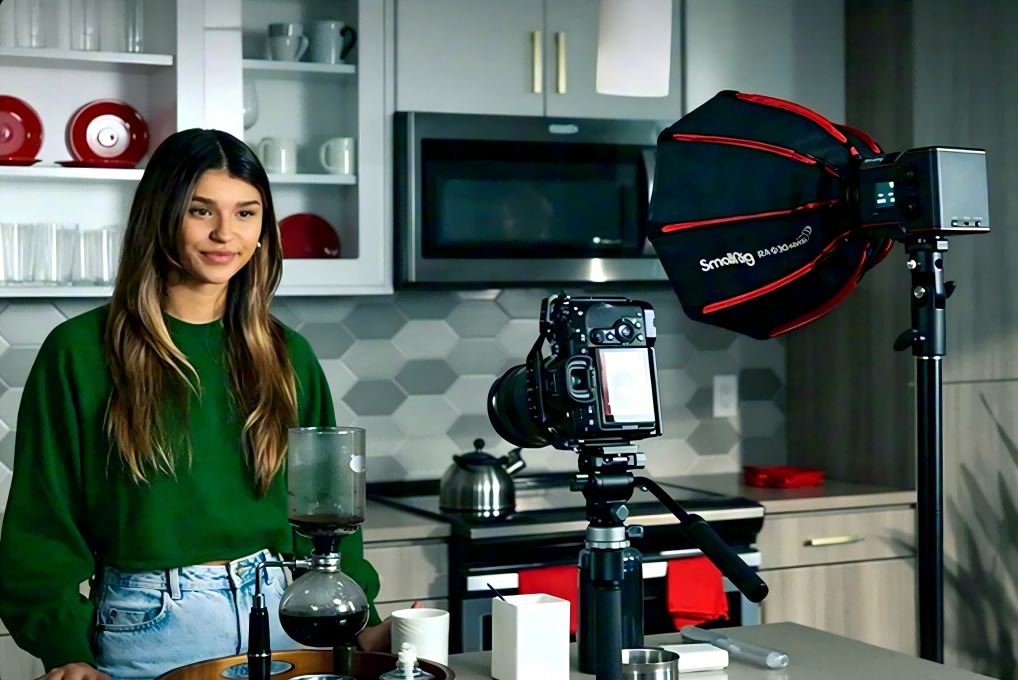
Getting the right camera accessories can make or break your photography game. Whether you're shooting weddings, documentaries, or commercial content, these five tools will level up your work: camera cages for mounting flexibility, tripods for rock-solid stability, camera handles for smooth handheld shots, V-mount batteries for all-day power, and shoulder rigs for comfortable video work.

What Is a Camera Cage and Why Do You Need This Camera Accessory?
A camera cage transforms your camera from a standalone body into a modular production platform. Choosing the right camera cage is like having a clever solution to common shooting problems.
This metal frame wraps around your camera body, adding multiple mounting points through standard 1/4"-20 and 3/8"-16 threaded holes, plus cold shoe mounts and NATO rails. The aluminum or carbon fiber construction protects your expensive camera body while providing grip points that make handling larger setups comfortable during long shoots.
Key considerations when buying:
-
Full camera access without removing the cage for battery and card swaps
-
Weight under 300 grams to prevent arm fatigue during handheld work
-
Camera-specific designs that don't block important buttons or ports
-
If you don’t want to stick random adapters all over your camera, many SmallRig camera cages include the common mounting threads, cold shoe points, and (on select models) NATO-style options already built in.

How Does a Tripod Enhance Your Camera Accessories Setup?
Tripods provide the stability foundation that separates amateur from professional results.
-
Traditional photo tripods handle still work and basic video, while video tripods add fluid heads for smooth panning. Travel tripods prioritize packability over maximum stability. Understanding the differences between them can make all the difference in achieving smooth workflows and stunning results.
-
Your tripod should handle 2-3 times your actual camera weight: a 5-pound rig needs a tripod rated for 10-15 pounds minimum.
-
Leg lock mechanisms matter: twist locks work faster but can loosen over time, while flip locks stay tight but take longer to deploy.
-
Height range determines shooting flexibility, with most professionals seeking tripods reaching at least 60 inches extended and folding under 20 inches for transport.
Choosing between portable and professional:
-
Travel tripods max out around 4 pounds, fold to 15 inches, and are perfect for landscape photography and mirrorless setups
-
Professional tripods weigh 6-10 pounds, support 20+ pounds, ideal when shooting from one location with vehicle access
-
Carbon fiber models can be noticeably lighter than aluminum (often around 20–30% lighter), but typically cost more

When Should You Use a Camera Handle for Better Stability?
Camera handles shift your camera's center of gravity for confident handheld shooting.
A top handle positioned directly over your wrist reduces arm strain during extended sessions, while side handles provide low-angle shooting options and better weight distribution for heavy lens combinations. The stability improvement is often noticeable right away - what used to require a much higher ISO at 1/60s often looks cleaner at a lower ISO, depending on your scene and setup.
-
Top handles excel at quick transitions and run-and-gun work, mounting to a cage's top NATO rail for instant grab-and-shoot capability.
-
Side handles shine for low-angle work and vertical shooting, making ground-level product shots comfortable instead of back-breaking.
-
Modern handles use quick-release NATO or ARRI rosette mounts for tool-free attachment in seconds.
-
With something like SmallRig’s NATO Top Handle, it’s fast to mount, easy to grab, and super smooth for quick position changes.
SmallRig handle options:
-
Wooden handles ($40-$60) offer comfort and style for everyday shooting
-
NATO-mounted handles attach/remove in seconds without tools
-
Some models include built-in cold shoes for mounting lights or microphones
-
Best setups use both top and side handles on a cage for maximum flexibility

Why Are V-Mount Batteries Essential Camera Accessories for Long Shoots?
V-mount batteries pack 95-290 watt-hours compared to typical camera batteries' about 16–20 watt-hours.
-
A standard Sony NP-FZ100 gives you a few hours of runtime (varies heavily by camera model, settings, temperature, and accessories), while a 150Wh V-mount can power many setups for most of a full shoot day, depending on your total draw. Wedding shooters needing 6-8 hours of actual shooting time face four battery swaps with standard cells versus zero with one V-mount.
-
These powerhouses aren't just camera power - one battery runs your camera, monitor, wireless video transmitter, and LED light simultaneously through D-Tap and USB outputs.
-
Choosing the right V Mount Battery depends on your power needs, shooting style, and portability preferences. Modern V-mount batteries function as mobile power stations with two D-Tap outputs for 12V devices, USB-A and USB-C ports for phones and tablets, and some units even include AC outlets for laptops.
-
95Wh batteries: 4-6 hours camera runtime, carry-on friendly (≤100Wh)
-
150Wh batteries: 8-12 hours runtime, best balance of capacity and weight (101–160Wh typically requires airline approval)
-
290Wh batteries: 15-20 hours runtime, generally not allowed on passenger flights (>160Wh)
-
If you want one battery to cover a camera + monitor setup, something compact like the SmallRig VB99 Pro mini V-Mount Battery is super convenient, and you can recharge with 100W PD fast charging.

What Makes a Shoulder Rig Worth Adding to Your Camera Accessories?
Shoulder rigs solve the fatigue problem by distributing camera weight across your skeletal structure instead of hanging from muscle.
Holding a 10-pound camera setup at arm's length can fatigue your shoulders quickly, but rest that same weight on a shoulder pad with proper counterbalance, and you can shoot for hours. Documentary and event shooters following action through crowds get mobility that tripods can't provide and stability that handheld cameras lack. The best setups allow quick transitions from shoulder-mounted walking shots to low mode for ground-level angles without stopping recording.
When shoulder rigs make sense:
-
Extended handheld shooting sessions over 30 minutes
-
Documentary work requiring mobility with stability
-
Event coverage where tripods limit movement
-
Commercial production needs organic camera movement
-
For event coverage where you’re constantly moving and filming, SmallRig’s Shoulder Rig Kit (Classic Version) with a 15mm dual-rod + Arca quick-release approach is genuinely practical.
How Do You Choose the Right Camera Accessories for Your Needs?
Start with what you shoot today, not what you might shoot someday. The right accessories should solve real problems: stability, power, speed, and comfort.
Step 1: Identify Your Top 3 Shooting Scenarios
List the work you actually do most often, then match accessories to those needs.
-
Typical shoot length (2 hours vs. 10 hours = battery priority)
-
Movement style (static tripod work vs. following action)
-
Transport limits (car access vs. public transit vs. hiking)
Step 2: Budget Smart (Priorities > Cheap Deals)
Plan to spend 20–30% of your camera body budget on accessories. A solid tripod or cage is worth more than splitting money across weak gear. Start with essentials, then expand:
-
Foundation: quality tripod + camera-specific cage
-
Power: one V-mount + charger or extra camera batteries
-
Handling: top handle and/or side handle
-
Specialty: shoulder rig, only if you truly need it
Step 3: Build for Compatibility and Modularity
Avoid random accessories that don’t work together. Stick to standard systems so you can upgrade later without replacing everything:
-
1/4"-20 and 3/8"-16 threads
-
NATO rails + ARRI rosettes (fast tool-free mounting)
-
Weight capacity based on your heaviest setup
-
The cage should fit both light and heavy configurations
Step 4: Create Preset “Kits” for Faster Work
Instead of carrying everything every time, build a few repeatable setups:
-
Interview kit: cage + top handle + monitor mount
-
Run-and-gun kit: cage + side handle + wireless mic + compact battery
-
Studio kit: tripod + cage + wired connections
-
Travel kit: lightweight tripod + minimal cage + camera batteries
Note: Label bags/cases so you can grab the right kit instantly.
Step 5: Check Weight Before You Buy
Small accessories add up fast. If your handheld rig hits 5 lbs+, comfort becomes a real issue. Prioritize:
-
Carbon fiber over aluminum (often around 20–30% lighter)
-
Integrated solutions (less stacking)
-
Shoulder support for shoots over 30 minutes
-
One battery powering multiple devices (instead of many small packs)
Step 6: Buy in the Right Order
Invest based on immediate need, not “just in case.” Best sequence:
-
Tripod
-
Cage
-
Handle
-
Battery solution (when shoots exceed 4 hours)
-
Shoulder rig (only for long handheld video)
FAQ
Q1. How Often Should I Upgrade My Camera Accessories?
Camera accessories last significantly longer than camera bodies. A quality tripod serves you for 10-15 years if properly maintained. Cages and handles work until you change camera systems entirely. V-mount batteries often start to show noticeable capacity loss after a few hundred charge cycles (varies by brand and care), typically 3-5 years of professional use. Upgrade when your shooting requirements genuinely change, not just because new products appear. Safety-critical items like tripod leg locks and shoulder rig pads should be replaced immediately if showing wear or damage.
Q2. Can I Mix Different Brands of Camera Accessories Safely?
Absolutely. The beauty of standardized mounting systems is cross-brand compatibility. SmallRig cages work perfectly with any handle using ARRI rosettes or NATO rails. Stick with industry standards like 1/4"-20 threads and avoid proprietary mounting systems unless you're committed to that brand's ecosystem. One exception is V-mount batteries, where quality matters more than brand. Always verify your battery's output voltage matches your device requirements before connecting expensive gear.
Q3. What’s the Minimum Camera Accessories Investment for Starting Professionals?
Plan for $500-$800 to build a functional professional kit. This gets you a reliable carbon fiber tripod ($250-$350), a camera-specific cage ($80-$120), a basic top handle ($40-$60), and one quality V-mount battery with charger ($200-$280). This foundation handles most professional scenarios. Skip the shoulder rig initially unless you're specifically shooting video projects that require one. Add accessories as jobs demand them, not before.
Conclusion
Building your camera accessories kit is about matching tools to your actual shooting needs. Start with the fundamentals: a solid tripod and camera cage, then add power solutions and handling options as your work demands them. Your photography deserves equipment that works as hard as you do.
Keep Reading
 Best Portable Lighting Setup for Solo Content Creators
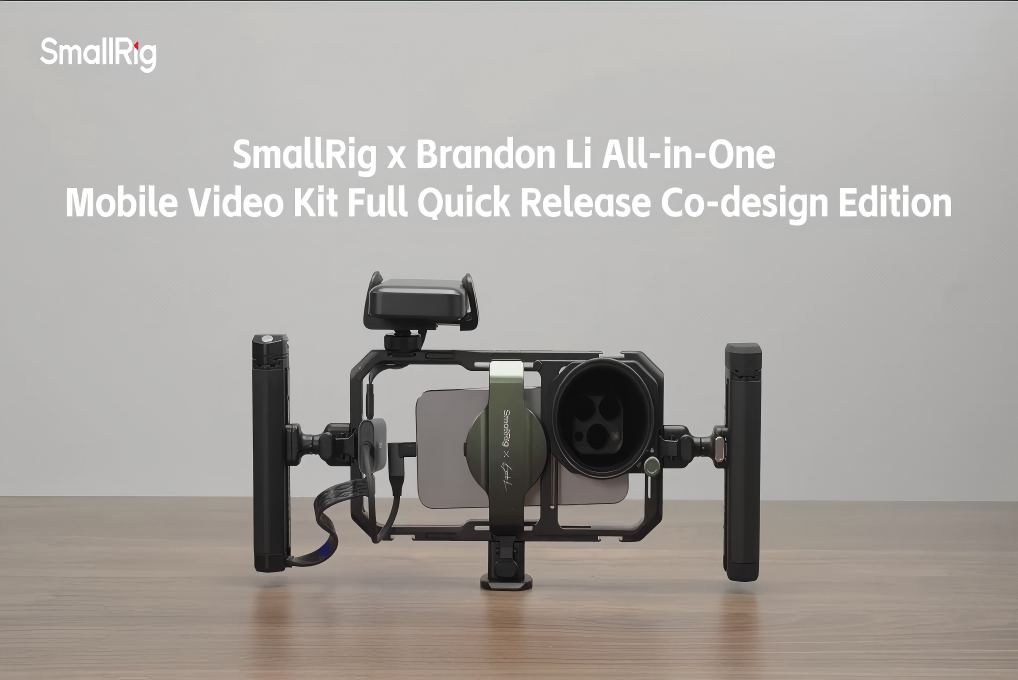 From Bare Phone to Pro Rig: The Complete Setup Guide for SmallRig × Brandon Li
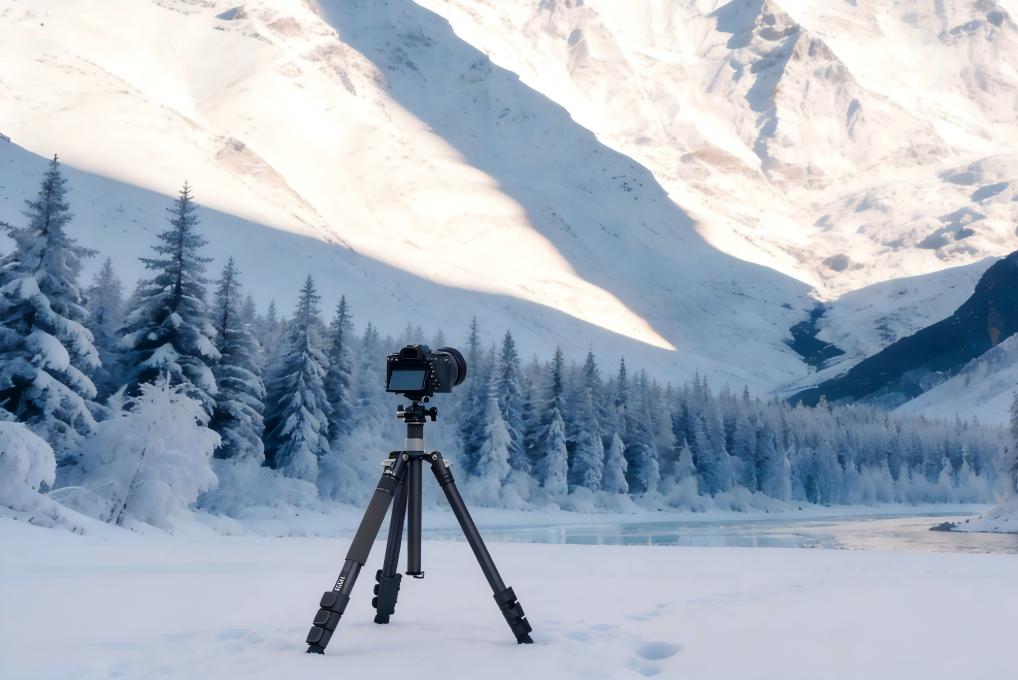 Best Travel Tripods 2026: Carbon Fiber vs Aluminum — Which Should You Choose?
Related Products from SmallRig