
Search smallrig.com...


Mouth-Watering Food Photography: Tips, Lighting & Gear Guide
SmallRig 2026-07-01 00:57:58
Contents
The smoky aroma from the grill mixes with the scent of grass and sunscreen. Soda bottles clink in the ice bucket. A warm breeze rolls in—along with heat, laughter, and the buzz of the night.
At 11 PM, after everyone heads home, you scroll through 200 photos on your phone—only one feels Instagram-worthy. And even that one looks like the same generic shot everyone else took.
The reason 90% of food photos don’t look “delicious” isn’t your gear—it’s that the light is wrong, the composition isn’t stable, or you missed the key moment.
If you want faster results, start with just one goal: make the food look more appetizing, make the scene feel more alive, or make your images feel more premium.
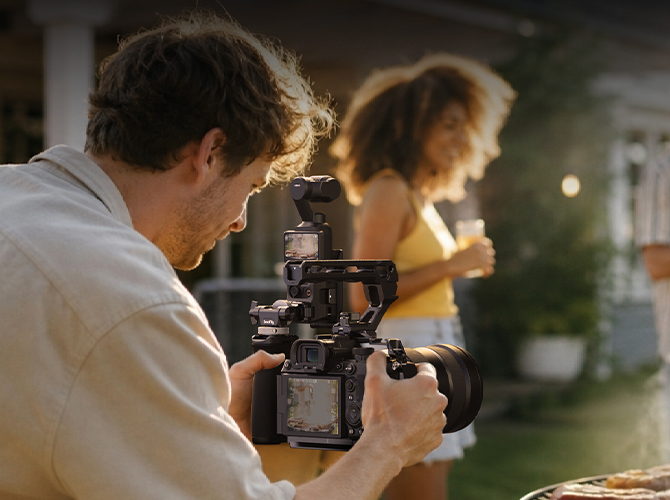
Make Food Look More Appetizing: Texture, Shine, and Steam You Can See
Those “instantly crave-worthy” shots you see online usually aren’t because the food is more expensive—they’re because the texture looks more dimensional: crisp grill marks, natural highlights on oil, sauce that feels like it’s moving, and even steam that looks lit.
The most effective change is simply to move your key light away from the front. Place the light at about 45° from the front side of the dish, or slightly behind for backlight. The highlights immediately look better, and the texture pops. For close-ups, move in, wait for the smoke to clear for a split second, and press the shutter—grill marks and fine details will look much sharper.
Then add a “feast” shot: a top-down spread, a corner of the table, or a main dish with a couple of sides. Don’t fill the frame completely—leave some breathing room. Add one small prop at the edge (a glove, lemonade, a sauce bottle, cutlery), and the image will feel more like a real meal in real life.
Recommended setup (lightweight, consistently good results):
One light = light + stand + gimbal, all in one. Unbox and start shooting—no extra stand needed, no compatibility guessing, no extra spending.
-
24°–60° variable beam angle: narrow for punchy close-ups; wide for more even coverage on platters.
-
CRI 97+ / TLCI 99+: caramelized browns, oily sheen, and sauce saturation look more natural—no weird color cast, no dull gray tones.
Workflow tip: shoot the close-up first, then the platter shot. With one light, you can switch between two light positions in about a minute and keep your output consistent all night.
If the reflections look too harsh, don’t rush to change settings—move the light a bit more toward the side/back, or rotate the plate about 15°. The highlights will soften immediately.
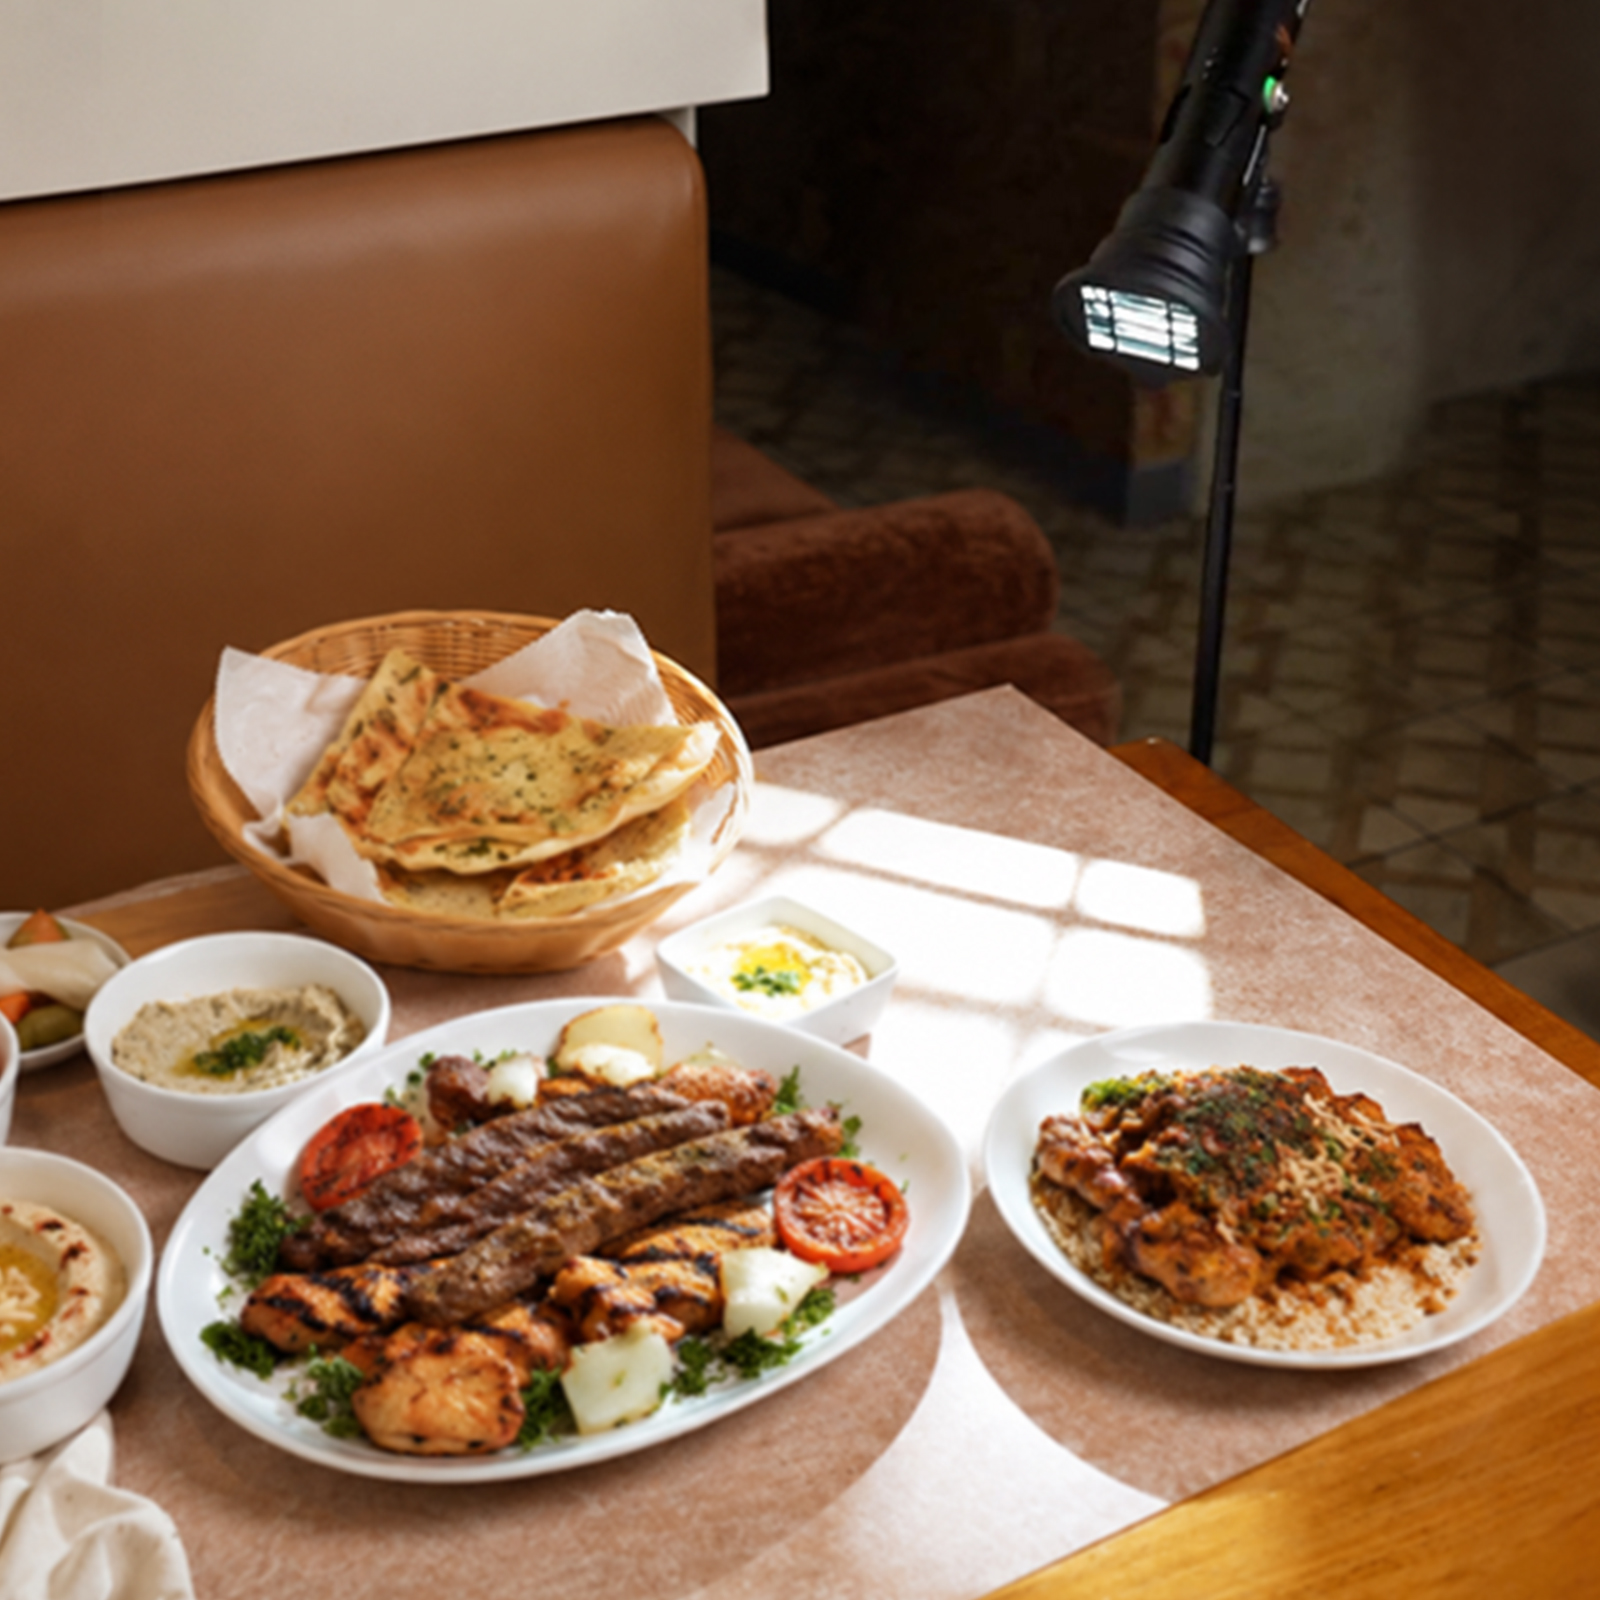
Make the Scene Feel More Lively: No Dark Tables, Better Group Photos, More Story
The easiest way for party or gathering photos to fail isn’t that they’re “unclear”—it’s that they have no atmosphere. You end up with heavy dark corners on the table, uneven brightness across dishes, and no clear subject once people enter the frame. The result feels like an information-heavy record shot, but not an actually good-looking photo.
A more effective approach is to decide who the “main character” is first—
-
If you want the food to stand out, make the main dish the most noticeable area (it only needs to be slightly brighter than the surroundings). Keep the background from competing.
-
If you want the group/people to stand out, make faces the brightest or highest-contrast subject, and use the food as foreground atmosphere. The image will feel more immersive.
Lighting can stay simple: one light handles the main subject’s texture, and a smaller, more flexible light lifts table shadows, adds sparkle to drink glasses, and creates a subtle rim light on people or the background. The atmosphere comes alive—and you won’t need to keep adjusting lights all night.
For a more story-driven set, shoot in this order: start with a hero close-up of the main dish (to make people hungry), then a top-down shot of the full table (to create participation), and finally capture an “interaction moment” (cheers, grabbing food, sprinkling seasoning, or that juicy cut-open moment).
Recommended setup (like a mobile mini-studio):
-
SmallRig RF20C (key light) : lock in the subject’s texture and highlights.
-
a compact but bright 40W light—great for filling shadows, creating glass highlights, and adding color accents. 2,500K–10,000K, CRI 96 / TLCI 99, built-in battery with PD fast charging.
-
SmallRig TRIBEX Tripod (5305) : ideal for stable wide shots and group photos; using a timer becomes much easier, and your visual style stays consistent all night.
-
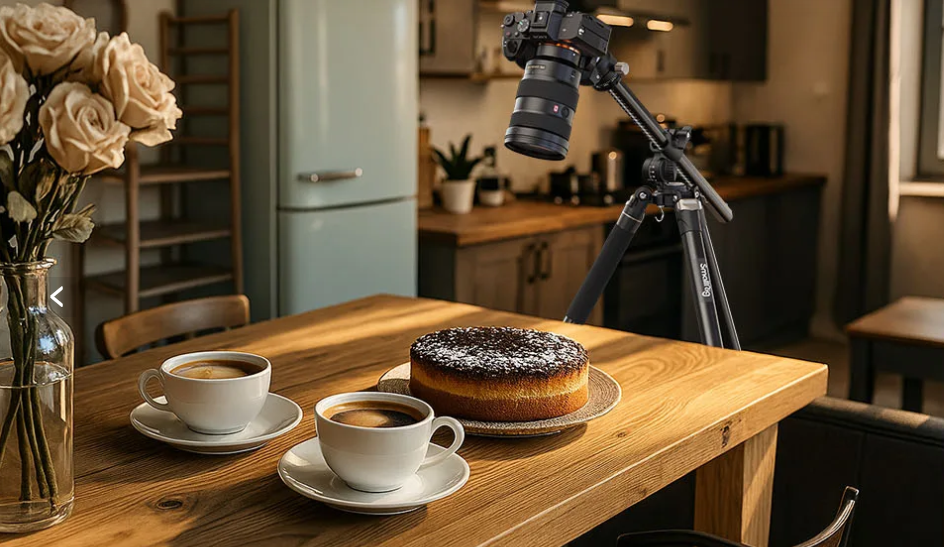
SmallRig CT200 Lateral Center Column Tripod (4288) : better for tabletop details and close-up angles (grill marks, flowing sauce, etc.). It’s much easier to find a flattering angle in tight tabletop setups.
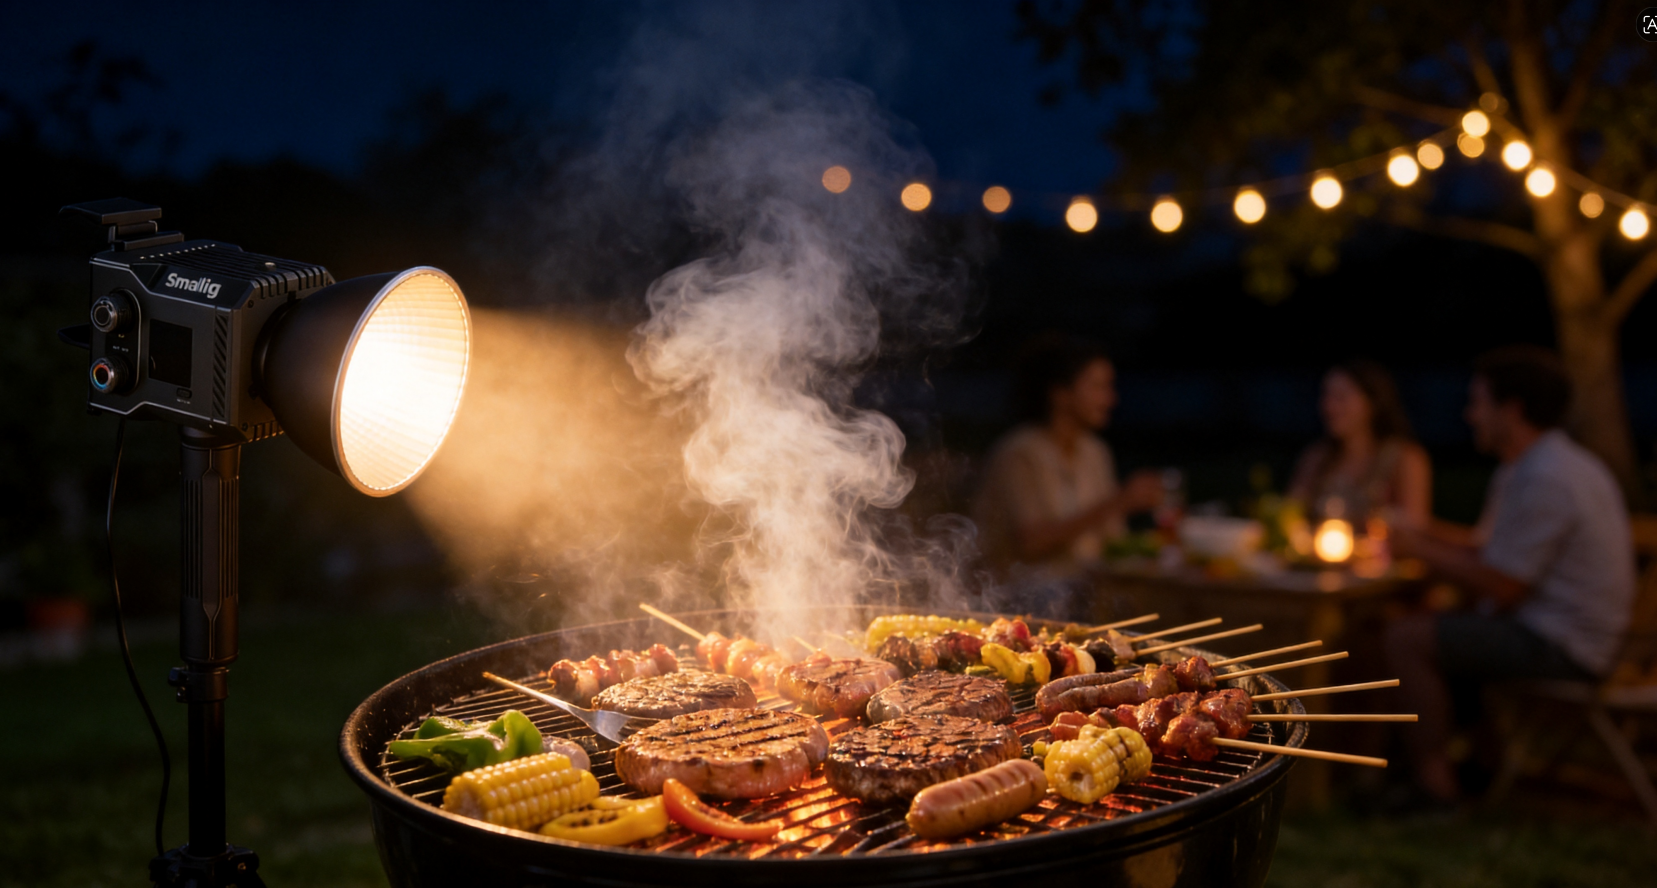
Make Your Images Feel More Premium: Softer Light, Cleaner Nights, More Dimensional Smoke
When you start shooting vlogs, family moments, or outdoor/camping dinners at night, one thing becomes obvious: hard light can make food look “dry,” make faces look “shiny,” and low light can make the image look noisy and messy. The upgrade at this stage isn’t adding more lights—it’s making the light softer, and making color and power more reliable.
The benefit of soft light is immediate: edges stop looking harsh, textures feel smoother, facial shadows become gentler, and people look cleaner. Use the same soft key direction for people, food, and group shots, and the whole set naturally feels cohesive.
If you want dramatic smoke shots, the trick isn’t burst shooting—it’s a dark background plus backlight. The darker the background, the more the smoke reads like it’s outlined, and the more dimensional it looks.
Recommended setup (for more serious creators / night mood):
-
SmallRig RC-60C RGB LED Video Light (4808) : 2,500K–10,000K color temperature range with professional color features including HSI/RGBCW, G/M adjustment, color filtering, and color sampling; built-in battery (approx. 45 minutes at full power) supports PD fast charging, and can be powered via adapter, power bank, or battery handle for extended operation. -
-
SmallRig RA-D30 Mini Parabolic Softbox (4358) : Quick-release design, one-touch opening and closing, lightweight and portable, featuring a honeycomb grid for better light control. Product page indicates compatibility with RC 60/100 and other lights; actual pairing should follow the compatibility guidelines provided on the product page.
-
SmallRig VB99 mini V-Mount Battery (3580) : Ideal for extended outdoor shoots: 99Wh capacity, USB-C PD 65W bidirectional fast charging, multiple power ports, and OLED display for enhanced convenience. TSA-compliant, safe to carry on flights.
Conclusion
You Only Need to Start with One Goal.
If you want the fastest improvement today, start with “making food look more appetizing.” You’ll quickly realize the real dividing line in food photography isn’t the camera—it’s whether you placed the light in the right spot.
Once you can consistently capture texture, move on to making the scene feel lively, then use more controllable color and more stable power to push your images to a more premium level. Step by step, your photos will start to feel like you can almost smell them.
Keep Reading
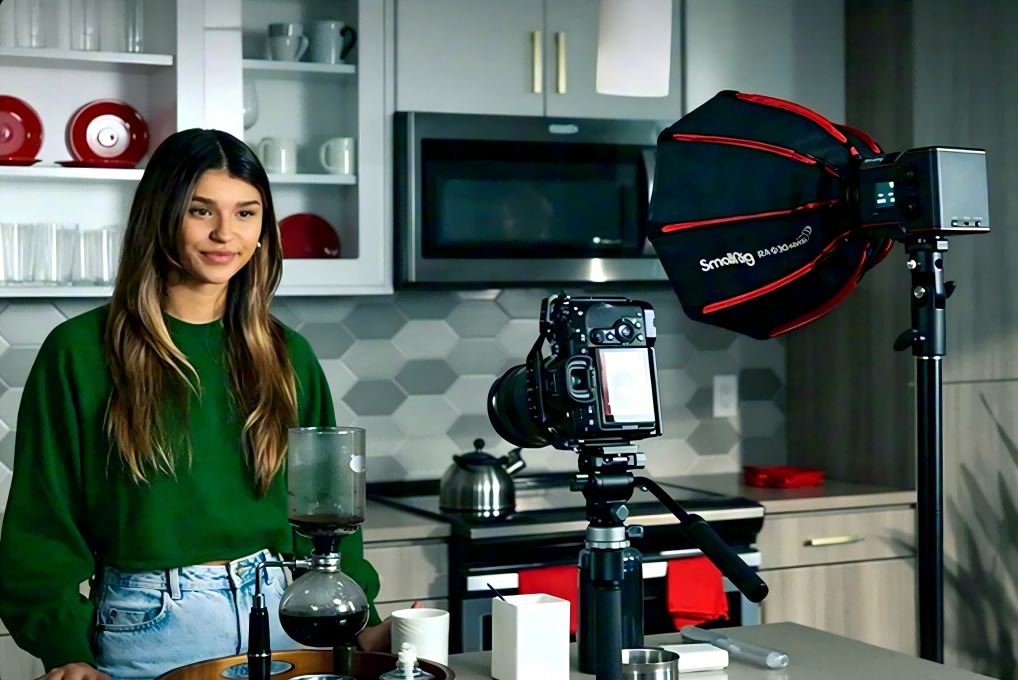 Best Portable Lighting Setup for Solo Content Creators
 NAB Show 2026 Recap: Hands-On with SmallRig's New Osmo Pocket 4 Ecosystem, RF 20C & Carbon Fiber Monopod
 SmallRig RM 25C Pocket-Sized RGB LED Video Light
Related Products from SmallRig